9
EEWB332B
2.1 ELECTRIC INST
ALLATION
ANY ELE CT RICAL WIR ING MUS T BE
PERFORMED BY
LICENSED PERSONNEL.
ALL
SERVICE MUST BE PERFORMED BY AN
AUTHORIZED SERVICE TECHNICIAN.
Check on the plate of the machine that the electrical
specifi ca tions of the power source are the same as
the machine. The machine uses 115VAC, 60Hz, 1Ph,
6.0 Ampere.
NOTE:
Any electrical
outlet installation must be verifi ed
by a licensed electrician before connecting the
balancer.
NOTE:
This machine performs a self-test routine on start-
up. There will be a delay of several seconds before
the display is activated.
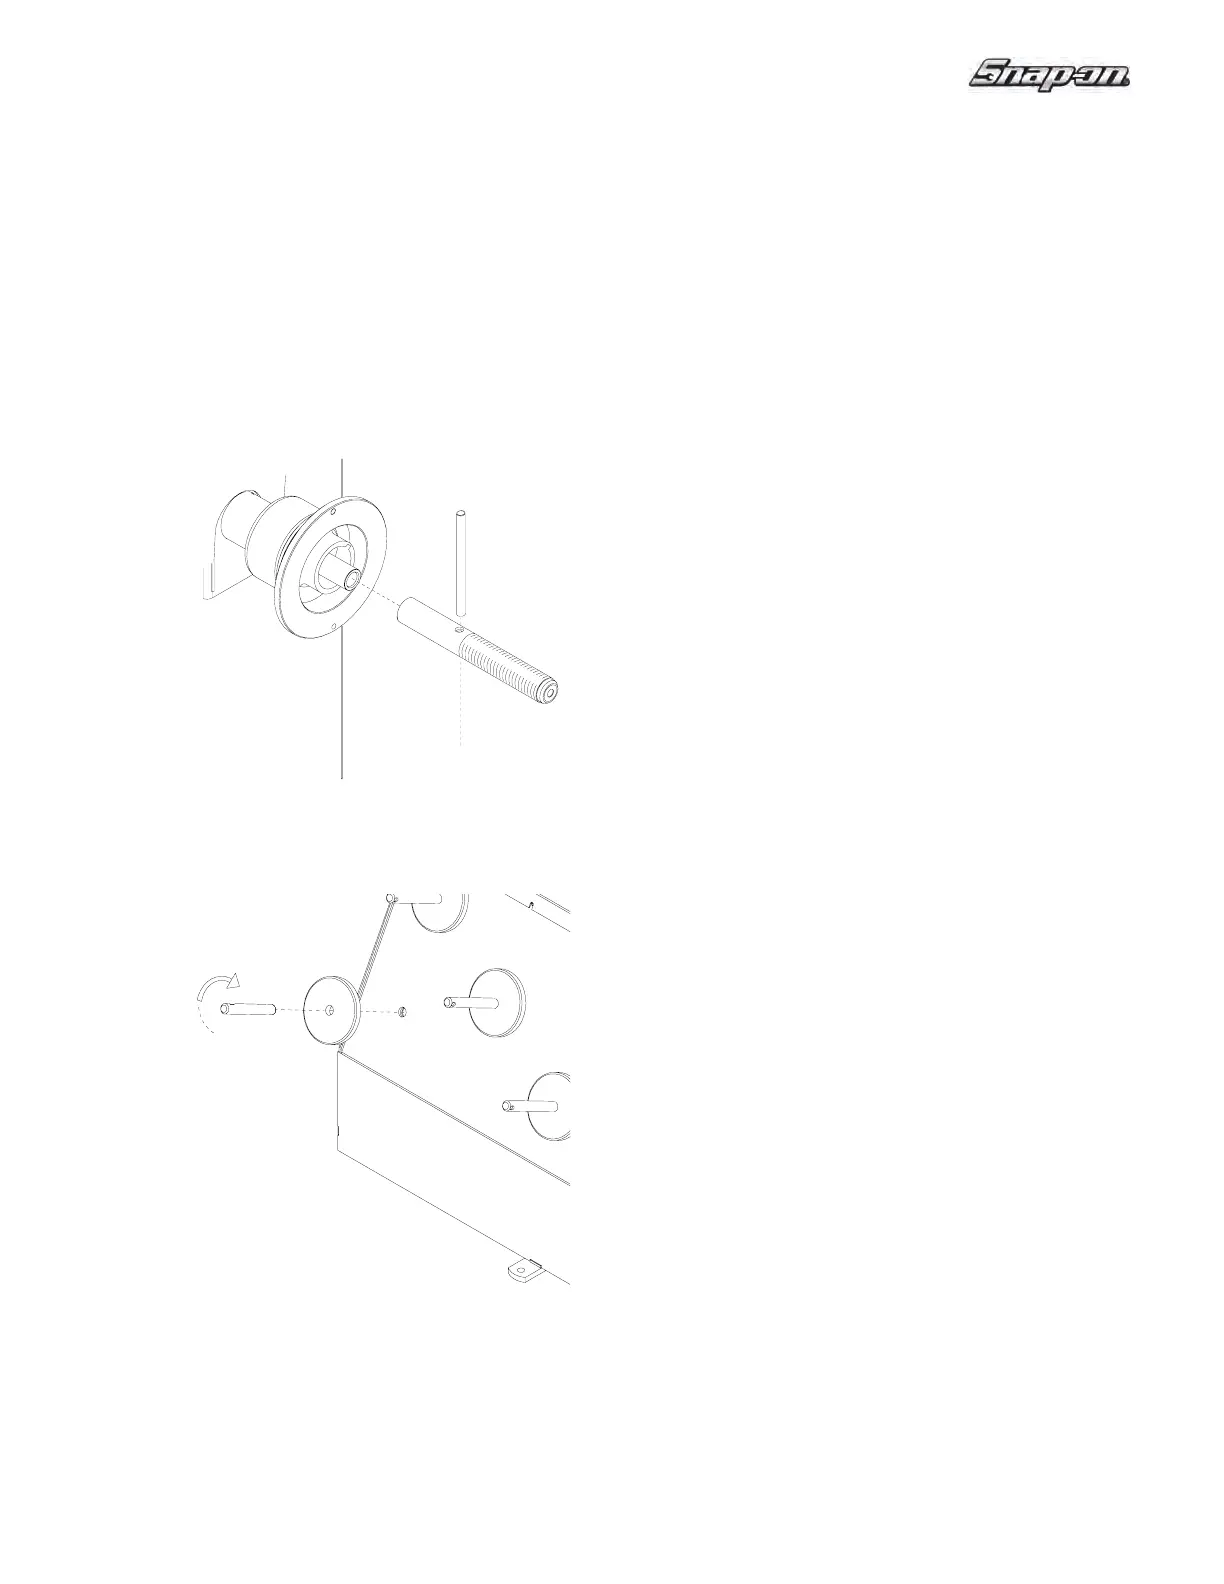
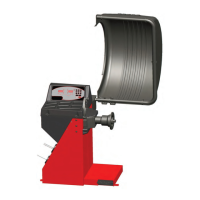
Figure 6
2.0 BALANCER INSTALLATION
Mounting the Shaft
Adapter
IMPORTANT!
CHECK THAT THE SURFACES ARE PERFECTLY
CLEAN AND NOT DAMAGED. AN INCORRECT
MOUNTING MAY RESULT IN SIGNIFICANT
IMBALANCE.
A. Mount the threaded shaft onto the arbor of the
balancer. Tighten fi rmly using supplied rod. (Figure 6).
Figure 7
C. Place cones and other accessories onto the
accessory pins.
B. Install
the accessory pins (Figure 7). Tighten fi rmly.