EasyManuals Logo

SolarEdge Energy Bank User Manual

SolarEdge Energy Bank
68 pages
To Next Page IconTo Next Page
To Previous Page IconTo Previous Page
Page #38 background imageLoading...
Page #38 background image
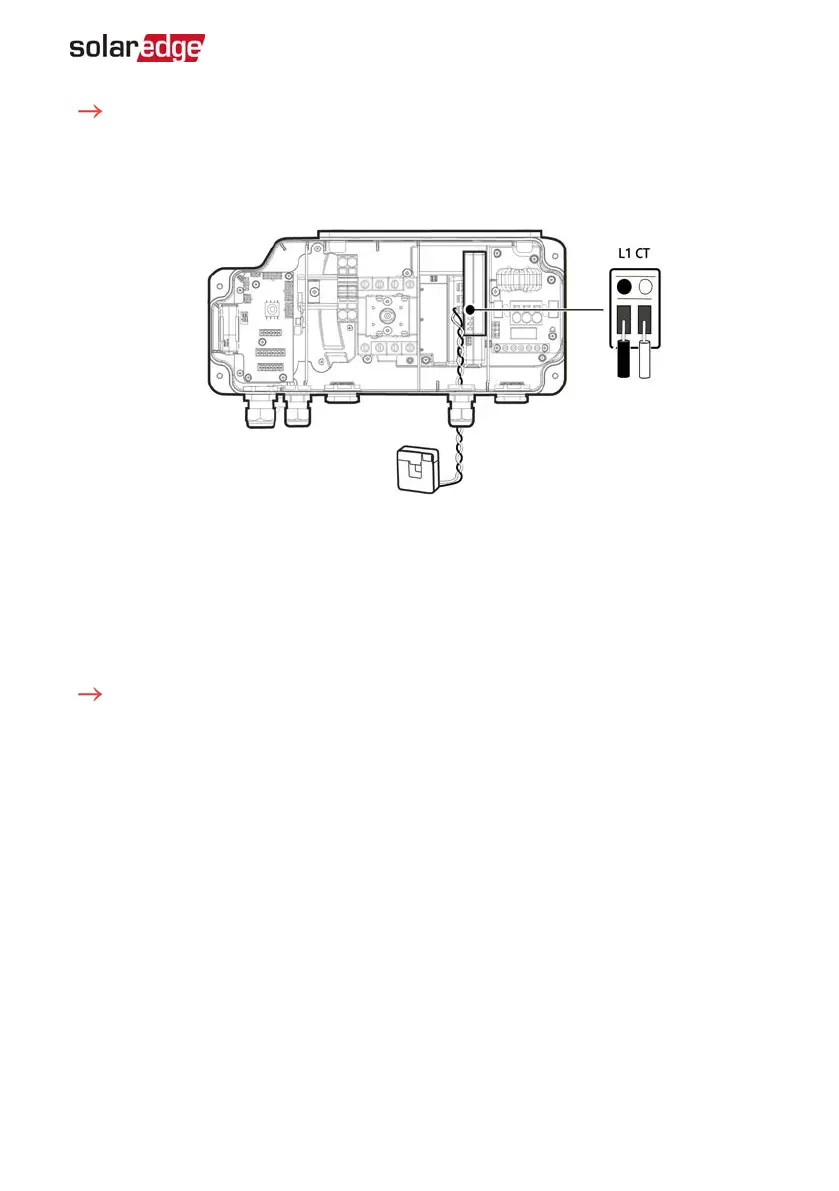
To connect an external CT:
1.
Open the CTgland at the bottom of the Connection Unit.
2. Feed the CTwires through one of the gland openings.
3.
Connect the CTwires to Energy Meter's L1 CT connector, as shown below.
Figure 17: External CTconnection
4. Close the CTgland to a torque of 5.5 N*m.
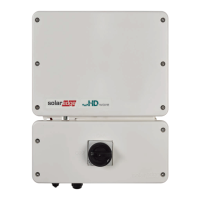
Installing the 9V Battery
A 9V battery is supplied with the inverter to enable the inverter to start production in
case of a power outage.
To install the 9V battery:
1.
Connect the snap-on clip to the battery contacts.
2.
Insert the battery into the battery holder in the Connection Unit.
Chapter 5: Connecting the Inverter 37
Single Phase Energy Hub Inverter MAN-01-00812-1.1

Table of Contents

Questions and Answers:

Question and Answer IconNeed help?

Do you have a question about the SolarEdge Energy Bank and is the answer not in the manual?

SolarEdge Energy Bank Specifications

General IconGeneral
Max Continuous Output Power5 kW
Round Trip Efficiency94.5%
Warranty10 years
CommunicationRS485, Ethernet
Battery TypeLithium-ion
AC Power Output5 kW
Frequency60 Hz
Operating Temperature Range-20 to 50°C

Related product manuals