12
– 2 wall plugs
– 3 screws M6 x 12 mm
■ 1 AC connector (Wieland)
■ 1 M6 cable lug for the earthing cable and the hardware:
– 1 Flat washer M6
– 1 Spring lock washer M6
– 1 serrated washer
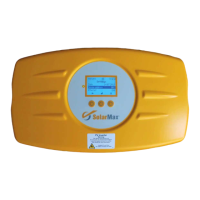
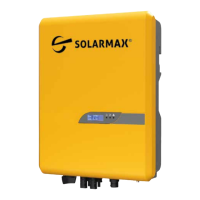
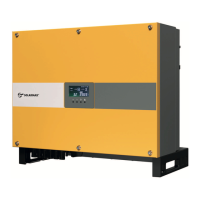
4.6 Installation
The inverter can be easily installed using the included installation plate and installation
material on a level installation base. You will nd more information about how to properly
install the inverter in the quick guide included in the delivery.
Procedure
1. Drill two holes, Ø 8 mm in diameter and to a depth of 60 mm in a distance of 370 mm.
2. Insert the dowels.
3. Attach the installation plate using the two 6 x 50 screws and washers.
4. Install the inverter as follows:
– Slide the inverter onto the mounting rail from the left
– push it rightwards up to the limit stop. Push the right-hand side of the inverter
against the wall
– slide it along the rail leftwards up to the limit stop
– Attach the SolarMax inverter with screws
Use of other mounting rails
If you mount the inverter on the mounting rails other than those included in the delivery
the result is frequently too much distance between the inverter and the wall. This distance
restricts effective air cooling (reduced canal effect across the heat sink). There may be no
wall at all, a situation which nearly cancels any effective air cooling at all. This requires
you to mount an appropriate metal plate between the mounting rail and the inverter.