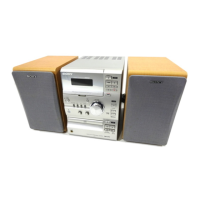
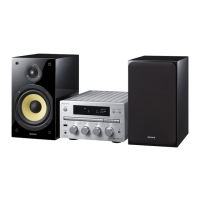
17
GB
Getting started
1
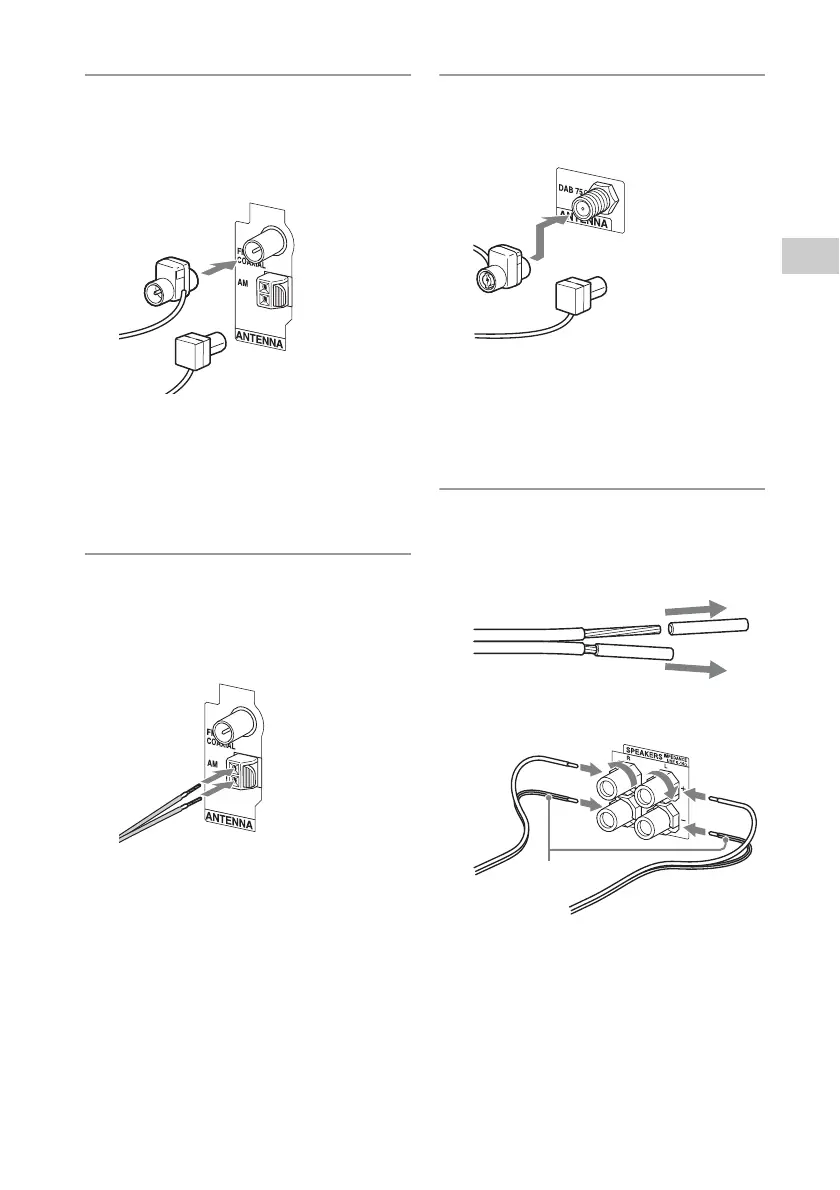
Connect the FM lead antenna.
Find a location and an orientation that
provide good reception, and set up the
antenna. Make sure the antenna is fully
extended.
Keep the antenna away from the speaker
cords and the power cord to avoid picking up
noise.
Use a 75-ohm coaxial cable (not supplied) to
connect the unit to an external antenna to
improve reception.
2
Connect the AM loop antenna.
Find a location and an orientation that
provide good reception, and set up the
antenna. Make sure the antenna is fully
extended.
Keep the antenna away from the speaker
cords and the power cord to avoid picking up
noise.
3
Connect the DAB lead antenna
(CMT-G2BNiP only).
Make sure the antenna is fully extended.
Use a 75-ohm coaxial cable with a male F
type connector (not supplied) to connect a
DAB external antenna (not supplied) to
obtain higher DAB/DAB+ broadcast sound
quality.
4
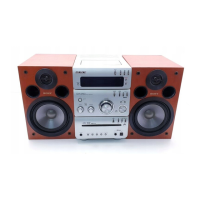
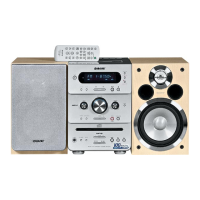
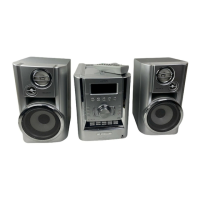
Connect the speaker cords.
Note
First, remove the cover attached to the end of the
speaker cord.
Connect the speaker connectors to the
SPEAKERS jacks on the unit.
FM lead antenna
or
DAB lead antenna
or
Black
 Loading...