6
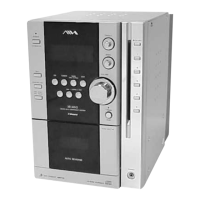
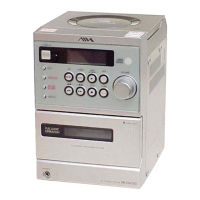
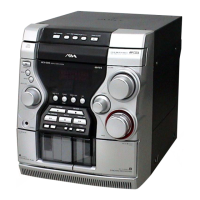
CX-LDB10/LDB20
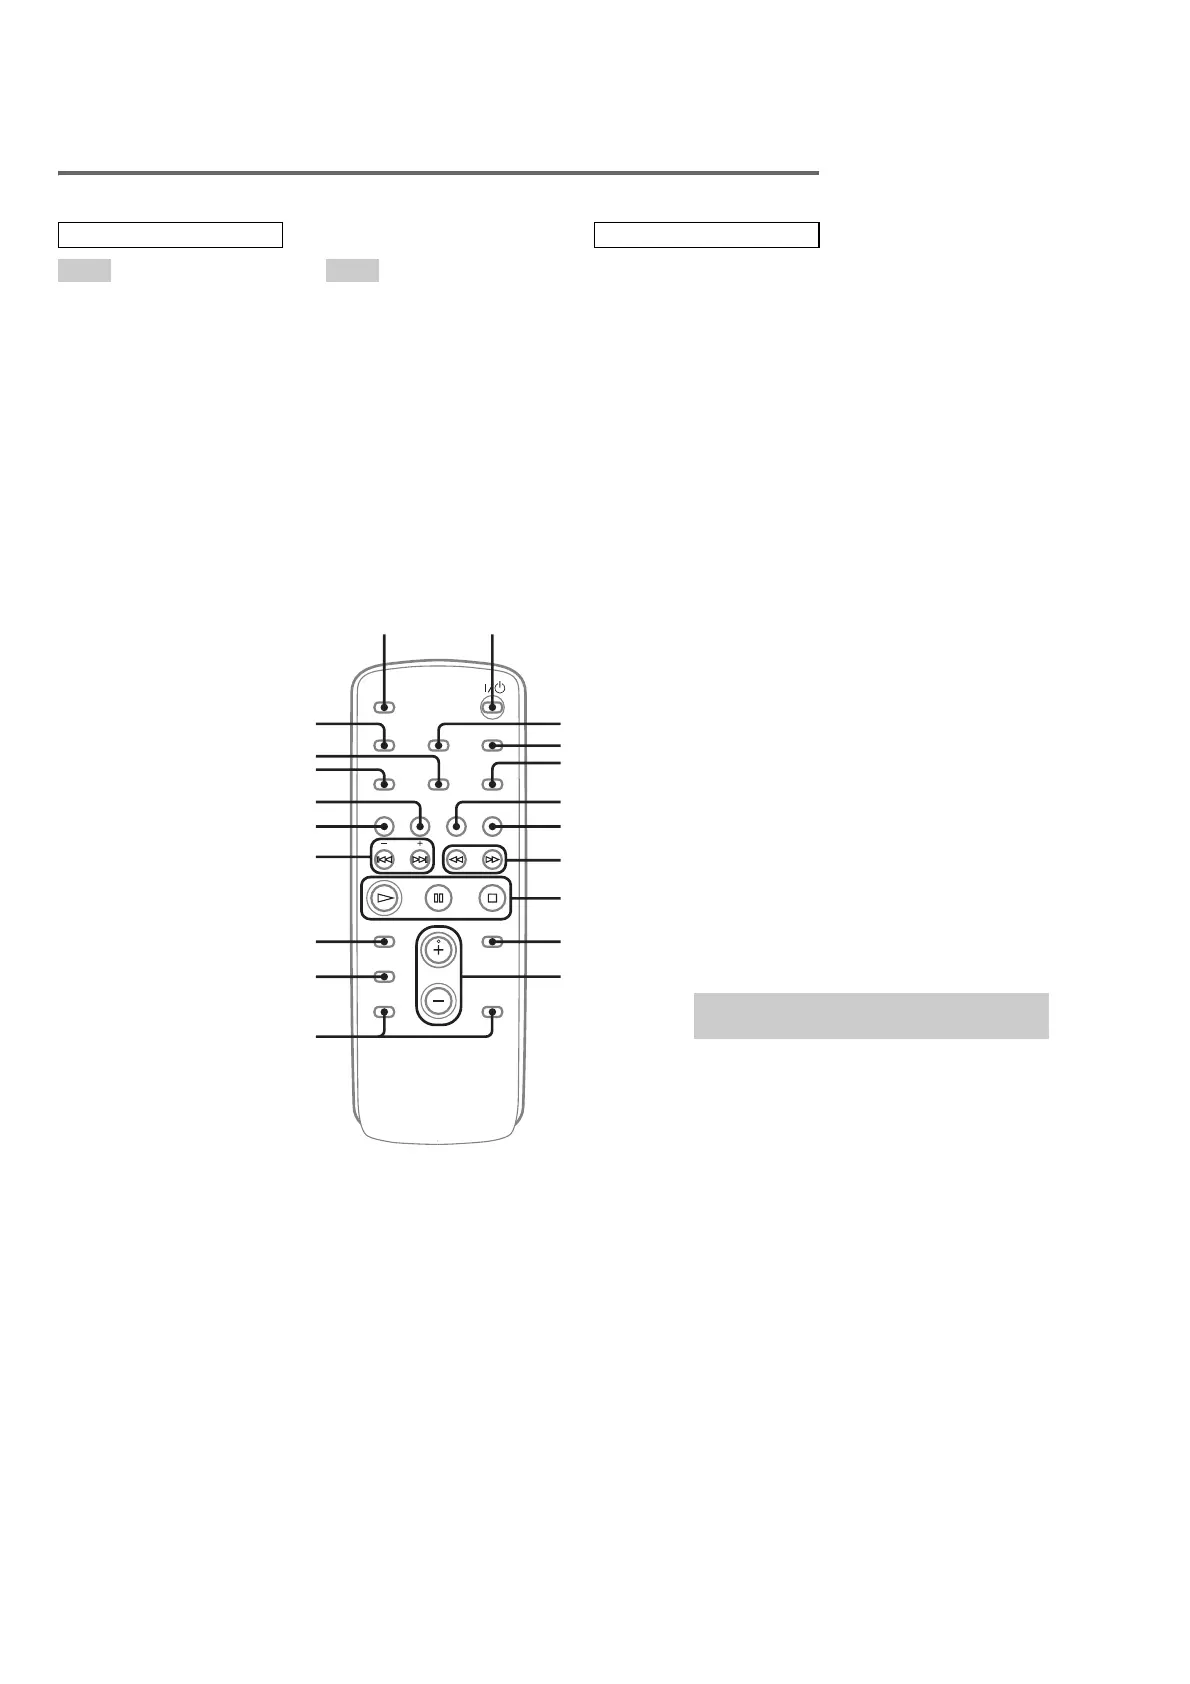
Remote control
CD qh (9, 11)
CLEAR qd (11)
CLOCK/TIMER SELECT 2
(18, 19, 23)
CLOCK/TIMER SET 3 (8, 18,
19)
DISPLAY ql (14, 20)
ENTER 9 (8, 11, 12, 18, 19)
EQ qs (17)
FM MODE 4 (14, 24)
FOLDER +/– qa (10, 11, 16)
FUNCTION 6 (22, 25)
PLAY MODE qk (9, 11, 24)
REPEAT 4 (10)
SLEEP w; (17)
TAPE qg (15)
TUNER/BAND 5 (12, 13)
TUNER MEMORY qj (12)
TUNING MODE qk (12, 13)
VOLUME +/– 0 (18, 23)
?/1 (power) 1 (7, 18, 19, 25)
m/M (rewind/fast forward)
7 (10, 15)
x (stop) 8 (10, 16, 25)
X (pause) 8 (10, 15)
N (play) 8 (9, 11, 19)
+/– (tuning) qf (12, 13)
./> (go back/go forward)
qf (8, 10, 11, 18, 19)
ALPHABETICAL ORDER
A – O P – Z
BUTTON DESCRIPTIONS
4
5
6
7
8
9
0
3
2
1
qa
qd
qs
ql
qk
qj
qh
qg
qf
w;
Use buttons on the remote for the operation.
1 Press ?/1 to turn on the system.
2 Press CLOCK/TIMER SET.
3 Press . or > repeatedly to set the
hour.
4 Press ENTER.
5 Press . or > repeatedly to set the
minute.
6 Press ENTER.
The clock starts working.
To adjust the clock
1 Press CLOCK/TIMER SET.
2 Press . or > until “CLOCK” appears,
then press ENTER.
3 Do the same procedures as step 3 to 6
above.
Note
The clock is not displayed in Power Saving Mode
(page 20).
Setting the clock