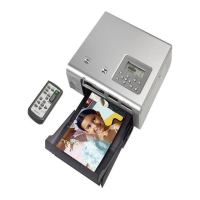
10
GB
Making various printing
Correcting a failed
photo automatically
(AUTO TOUCH-UP)
What is “AUTO TOUCH-UP” feature?
The “AUTO TOUCH-UP” feature allows you to
adjust an image automatically as follows in
addition to the Auto Fine Print4 automatic
adjustment:
• Brightness adjustment using the face
recognition
Detects the face automatically and adjusts the
brightness so that the face becomes of its
optimum brightness.
• Out-of-focus reduction
Detects the out-of-focus level automatically
and corrects the image in-focus.
• Red-eye correction
Corrects automatically red-eye phenomenon
caused by flash.
Printing with the AUTO
TOUCH-UP adjustments
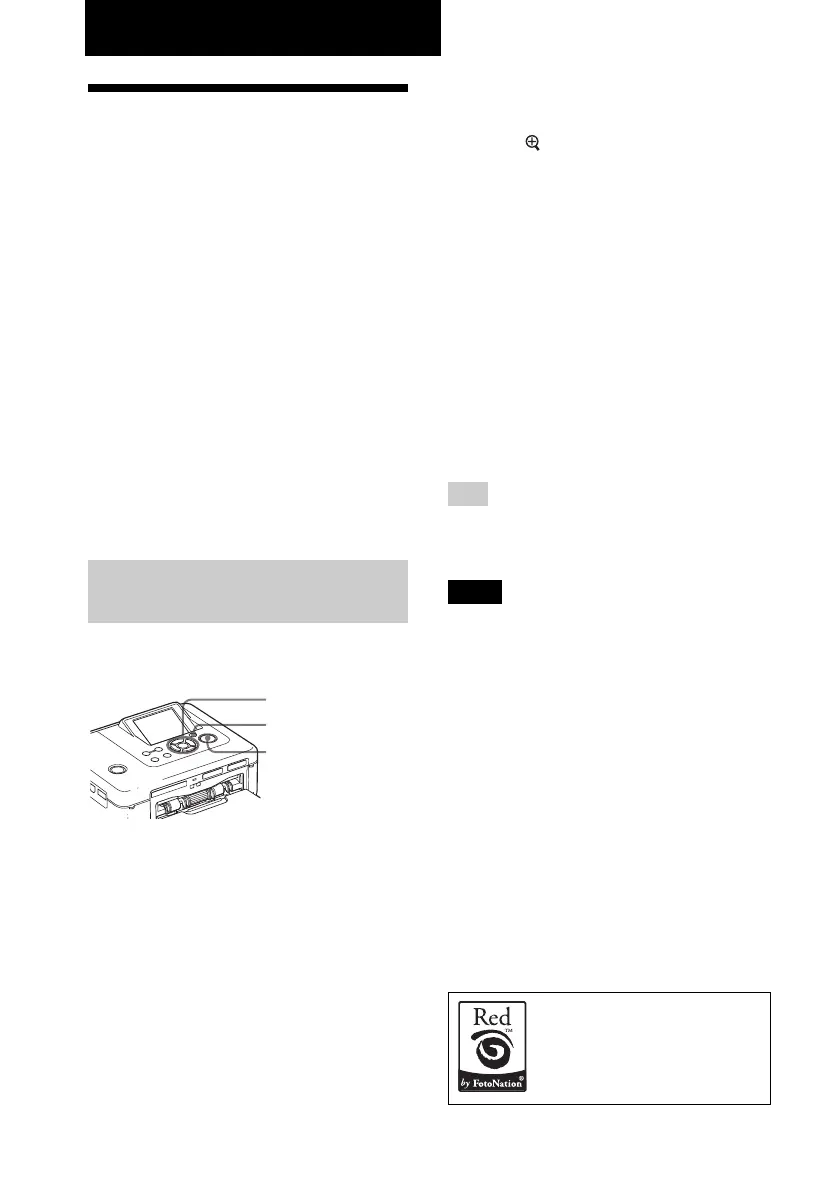
Buttons to be used in AUTO TOUCH-UP
correction print
g/G/f/F/ENTER
AUTO TOUCH-UP
PRINT
1
Select an image or images.
Press g/G repeatedly until the
desired image is displayed. When
you want to print multiple images,
set the print quantity for each image
in advance.
2
Press AUTO TOUCH-UP.
Adjustments of the selected image(s)
starts. The adjustment results will be
displayed on the screen. When a human
face is detected, the face is displayed
with frame as adjustments process.
To check the adjustment result
more clearly:
Press
to enlarge the image.
To display the original image
(before adjustments) again
Press AUTO TOUCH-UP. To display
the adjusted image, press AUTO
TOUCH-UP again.
If you have selected multiple
images when pressing AUTO
TOUCH-UP
All the selected images are adjusted.
To display other images, press g/G.
3
Press PRINT.
Printing of the selected image(s)
starts.
Tip
Adjustment takes effect only on the image
being printed. The original image will not be
adjusted.
Notes
• Depending on the image, face may not be
automatically detected. If brightness of face is
not adjusted properly, use the Edit-Adjust
menu to adjust the brightness manually (page
14).
• Depending on the image, out-of-focus
phenomenon may not be corrected. In this
case, use the Sharpness of the Edit-Adjust
menu to adjust the sharpness manually.
• Out-of-focus reduction does not take effect on
blur caused by shaking of the camera.
• Depending on the image, red-eye
phenomenon may not be corrected. In this
case, use Red-eye correction to make red-eye
adjustments manually (page 16).
The automatic red-eye
correction of this printer uses
the technology of FotoNation
Inc. in the U.S.A.