1-13 (E)
HDVF-C950W
BTP2.6 x 6
B2.6 x 5
SW-1298 board
CN1
Bezel assembly
SW bracket
RE knob
Hexagon nut
Splash-proof cushion
Splash-proof rubber
Harness
SW-1298 board,
SW bracket
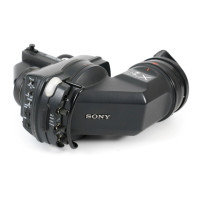
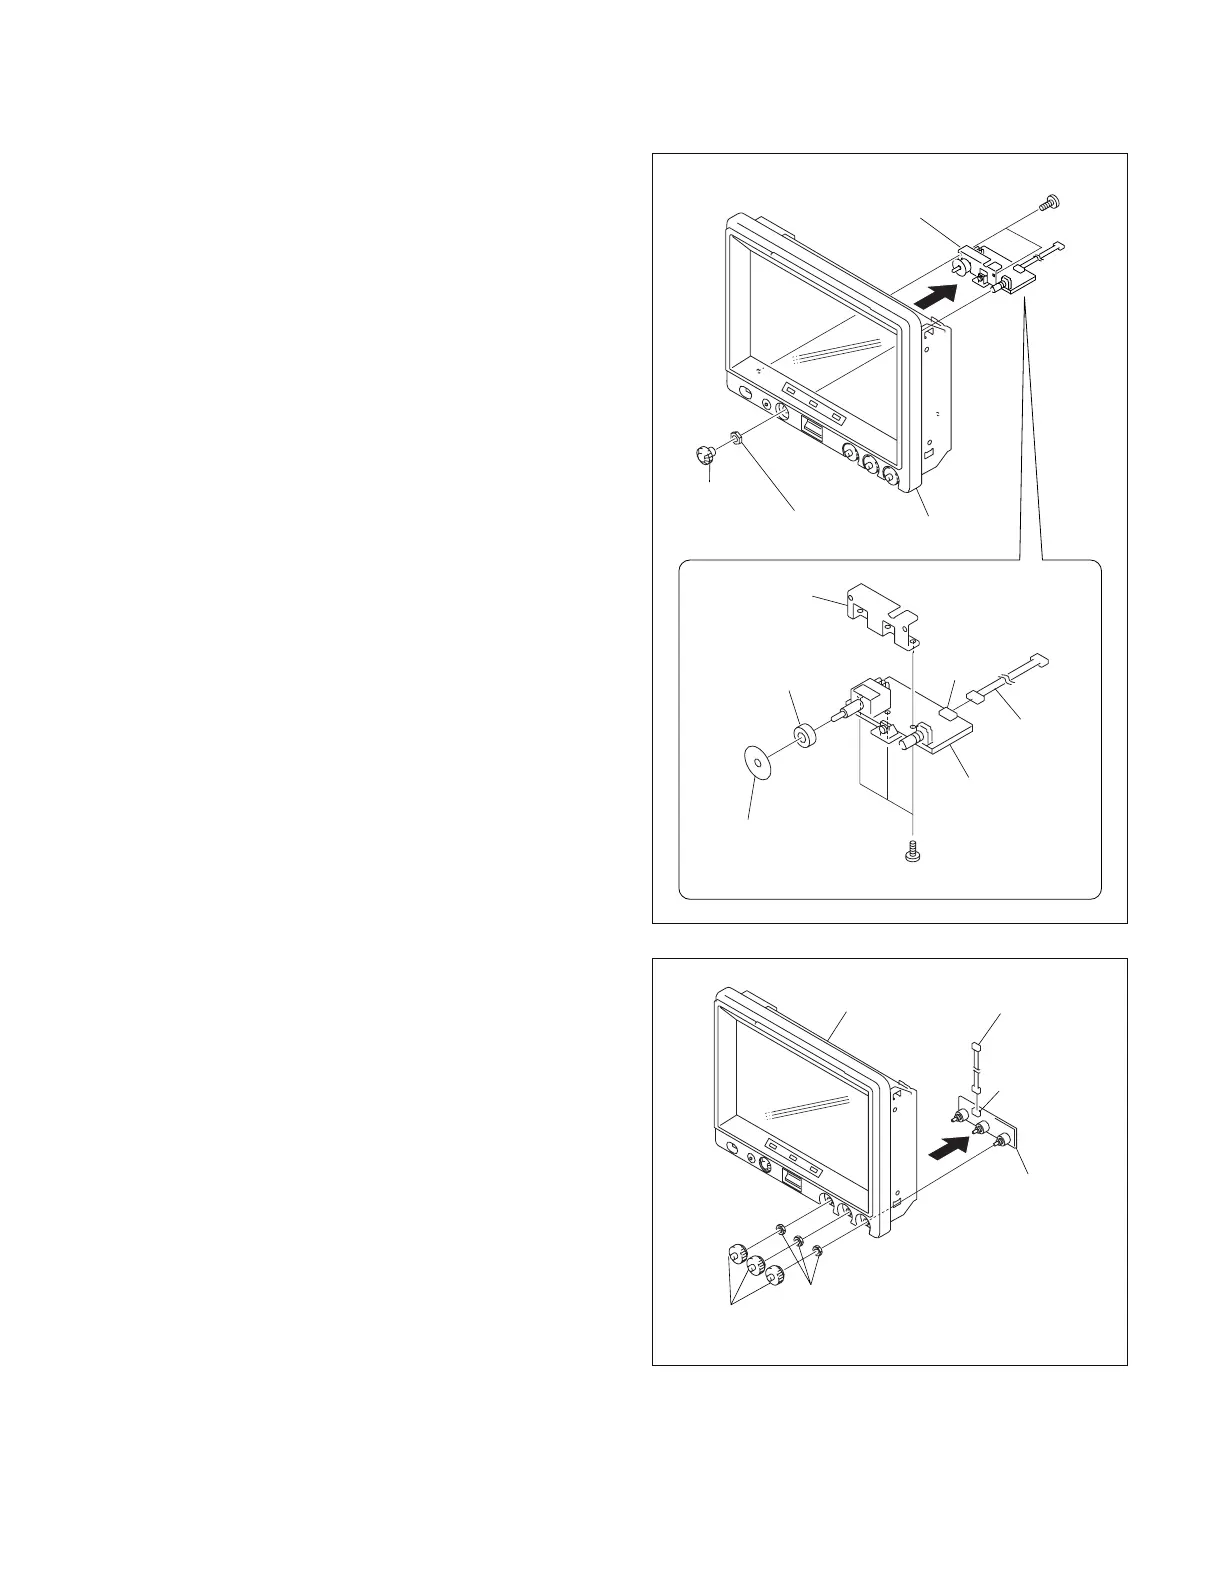
1-7-7. Removing the SW-1298 Board
1. Remove the rear cover assembly.
(Refer to Section 1-7-1 step 1.)
2. Remove the bezel assembly.
(Refer to Section 1-7-1 steps 2 to 5.)
3. Remove the RE knob and the hexagon nut from the
bezel assembly.
n
Do not scar the front panel.
4. Remove the two screws (BTP2.6 x 6), and remove the
SW bracket and the SW-1298 board.
5. Remove the three screws (B2.6 x 5), and remove the
splash-proof rubber, the splash-proof cushion and the
SW bracket from the SW-1298 board.
6. Disconnect the harness from the connector (CN1) of
the SW-1298 board
7. Reinstall it by reversing the steps 1 to 6 of disassem-
bling.
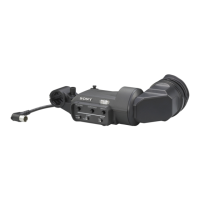
1-7-8. Removing the VR-315 Board
1. Remove the rear cover assembly.
(Refer to Section 1-7-1 step 1.)
2. Remove the bezel assembly.
(Refer to Section 1-7-1 steps 2 to 5.)
3. Remove the three VR control knobs from the bezel
assembly.
4. Remove the three VR nuts M6 and remove the VR-
315 board.
n
Do not scar the front panel.
5. Disconnect the harness from the connector (CN1) of
the VR-315 board.
6. Reinstall it by reversing the steps 1 to 5 of disassem-
bling.
VR nut M6
VR control knob
VR-315 board
Harness (VR)
CN1
Bezel assembly
 Loading...