1-14 (E)
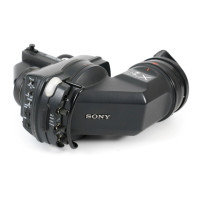
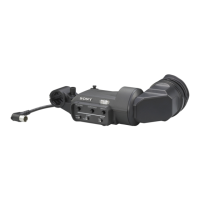
HDVF-C950W
1-7-9. Removing the Harness (VF)
1. Remove the rear cover assembly.
(Refer to Section 1-7-1 step 1.)
2. Remove the bezel assembly.
(Refer to Section 1-7-1 steps 2 to 5.)
3. Remove the screw and remove the GND terminal.
(Refer to Section 1-7-3 step 4.)
4. Disconnect the harness from the connector (CN1) of
the PR-292 board. (Refer to Section 1-7-3 step 5.)
5. Disconnect the harness from the connector (CN2) of
the PR-292 board and remove it toward the front of the
machine through the CN box bracket A hole.
(Refer to Section 1-7-3 step 6.)
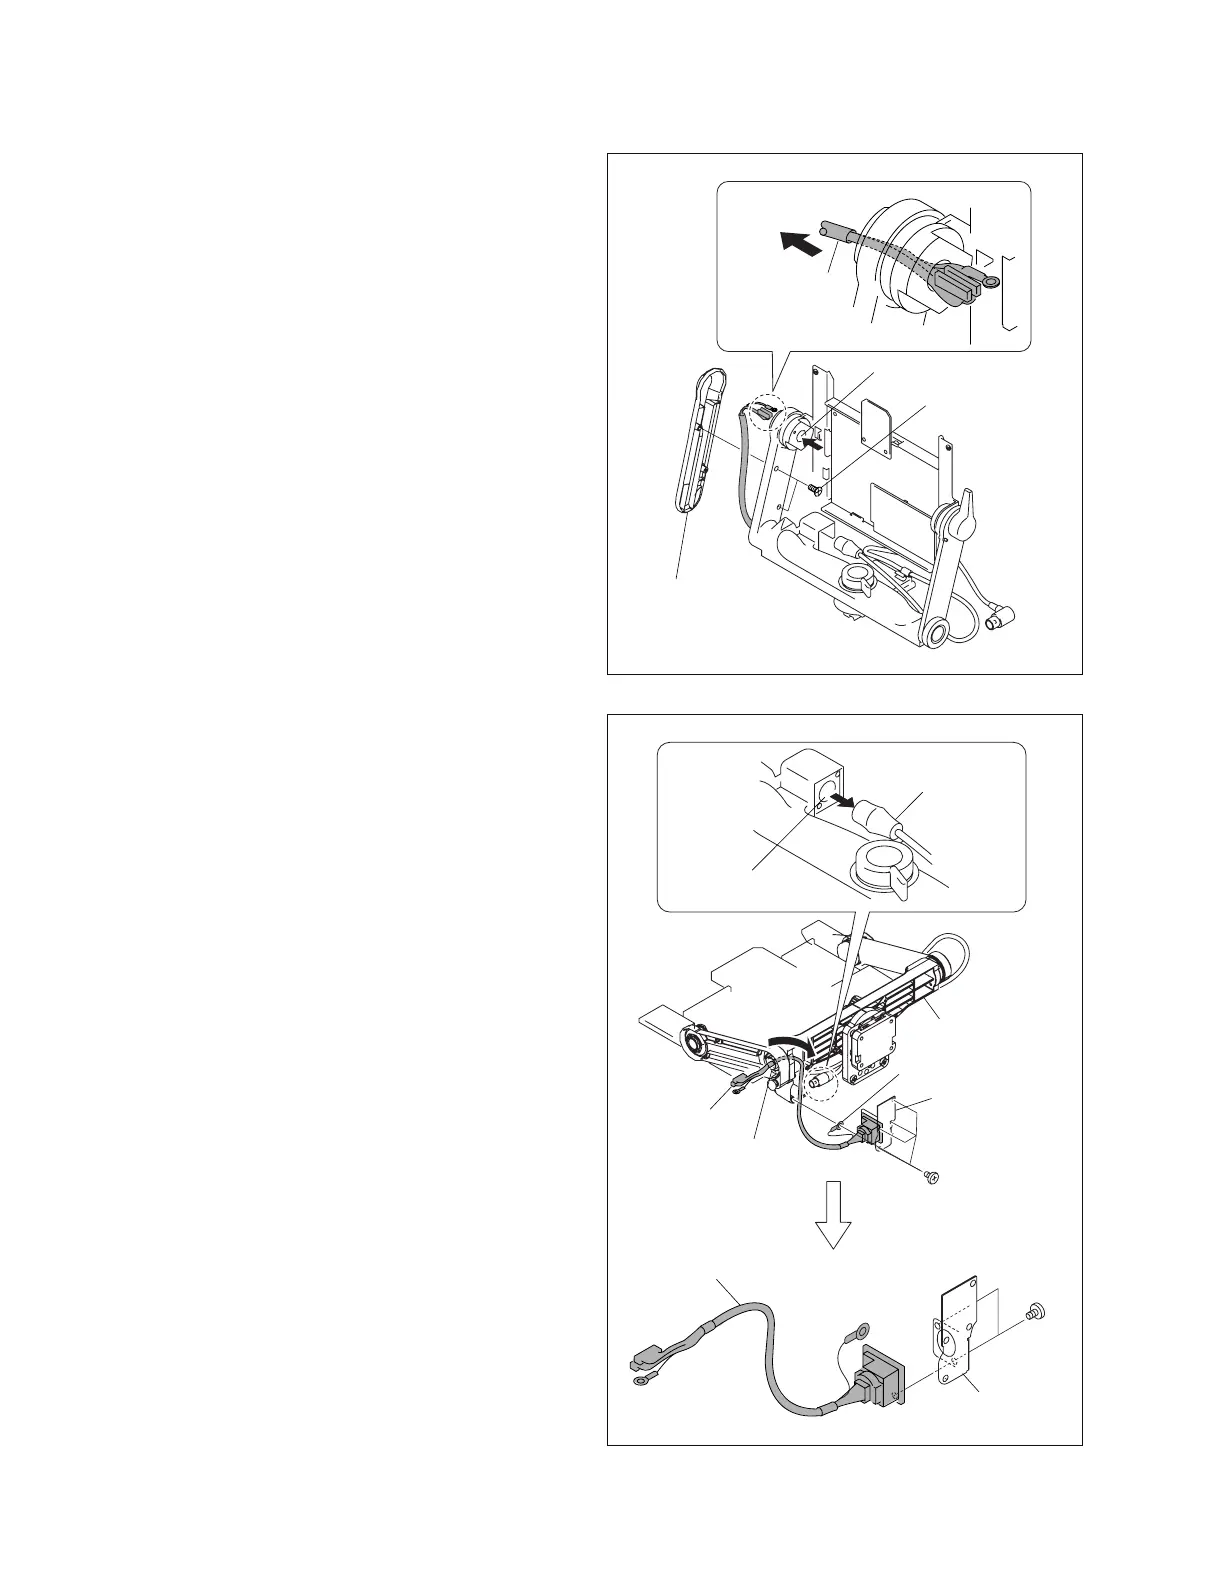
6. Remove the two screws and remove the arm cover (L).
7. Disconnect the harness through the tilt shaft (L) hole
in the direction of arrow.
n
Be careful not damage the harness (VF).
8. Disconnect the VF connection cable from the harness.
9. Remove the four screws (P2.6 x 5), and remove the
GND terminal, the bottom plate and harness from the
pan arm.
10. Remove the harness from the arm lift shaft in the
direction of arrow.
n
Be careful not damage the harness (VF).
11. Remove the two screws (M2 x 5) and remove the
harness (VF) from the bottom plate.
12. Reinstall it by reversing the steps 1 to 11 of disassem-
bling.
BTTP2.6 x 8
Tilt shaft (L) hole
Arm cover (L)
Harness (VF)
Bottom plate,
harness (VF)
VF connection cable
Harness (VF)
P2.6 x 5
Bottom plate
GND terminal
Arm lift shaft
Pan arm
Harness (VF)
Harness (VF)
M2 x 5
 Loading...