56
Operating the Tape Deck Using OSD
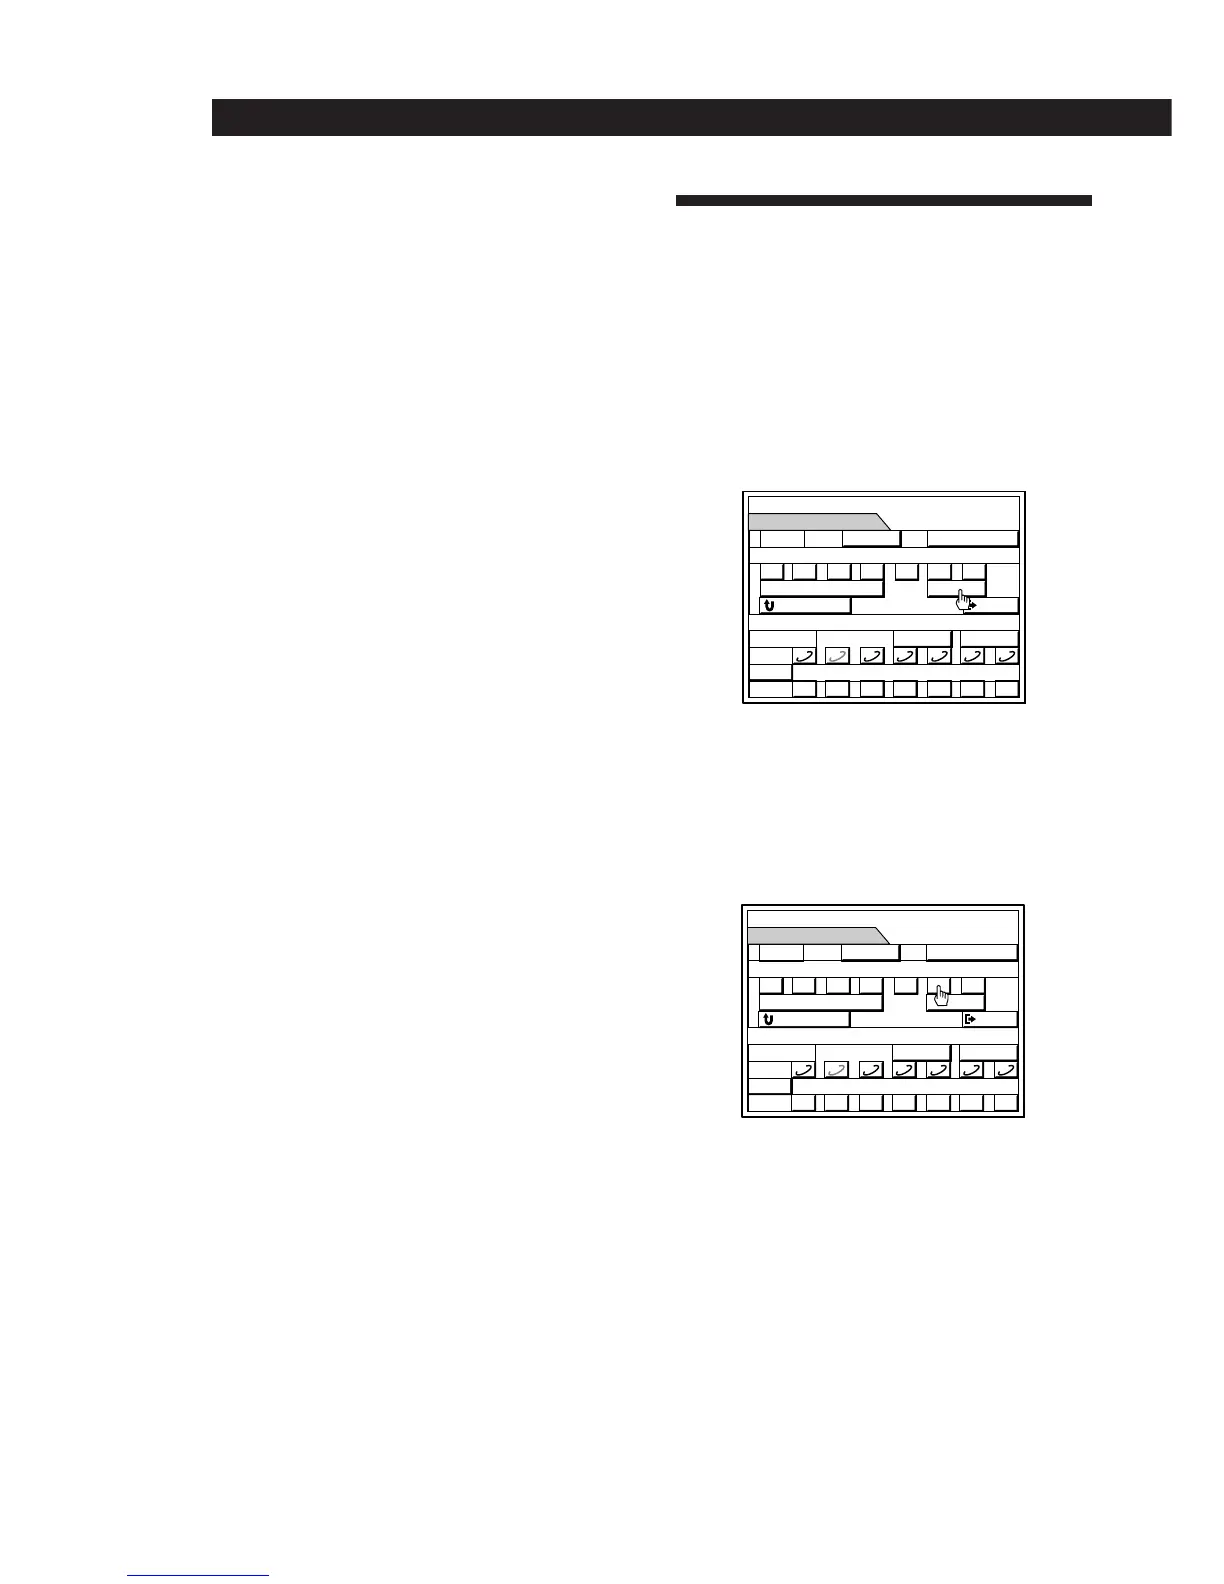
6 Press REC.
The r (REC) and P (pause) indicators light up
and the deck stands by for recording.
The direction indicators (9 or () light to
indicate which sides of the cassette you can use to
record.
(For a full explanation of the 9 and (
indicators, see “What the 9 and ( indicators
indicate” on page 50.)
If you want to record on the reverse side only
Press 9 so the 9 indicator lights steadily.
7 Press P, to release the record pause and start
recording.
8 Start playing the program source. See the
operating instructions supplied with the
respective equipment for details.
To stop recording
Press STOP p.
To insert a blank space
See “Inserting a blank space during recording using the
controls on the speaker” on page 57.
Note
Adjusting the volume will not effect the recording level.
But this will change the sound levels you hear through the
speakers or headphones.
Inserting a Blank Space During
Recording (rec mute)
You can insert a blank space of four seconds between each
track. The blank spaces between tracks let you locate the
track easily with the AMS function (see pages 21 and 46).
You can also use this function to eliminate any unwanted
portions on the tape.
1 While recording, click REC at the position where
you want to insert the blank space.
“REC” flashes and the tape runs without
recording. After about four seconds, “REC”, “(”
and “P” appear and the deck switches to
recording pause mode.
2 Click P to resume recording.
To make a blank of more than four seconds
See the following section “Inserting a blank space during
recording using the controls on the speaker”.
To make a blank less than four seconds long.
Click P while “REC” is flashing.
MEMO
TIME
2–3
SUB
0
DISC
() p P= +
REC EDIT
EXIT
1 2 3 4 5 6 7
09() pP§
REC
RESET
0753
DOLBY NR
§
RETURN
REC
(
7.51
(
DOLBY
NR:
B
MEMO
TIME
2–3
SUB
0
DISC
() p P= +
REC EDIT
EXIT
1 2 3 4 5 6 7
09() pP§
REC
RESET
0758
DOLBY NR
§
RETURN
REC
(P
7.59
(
DOLBY
NR:
B

 Loading...