101
nN
Upgrading your VAIO computer
Removing and installing a memory module (VGN-S series)
To change or add a memory module, proceed as follows:
1 Shut down your computer and disconnect all peripheral devices.
2 Unplug the computer and remove the battery pack.
3 Wait until the computer cools down.
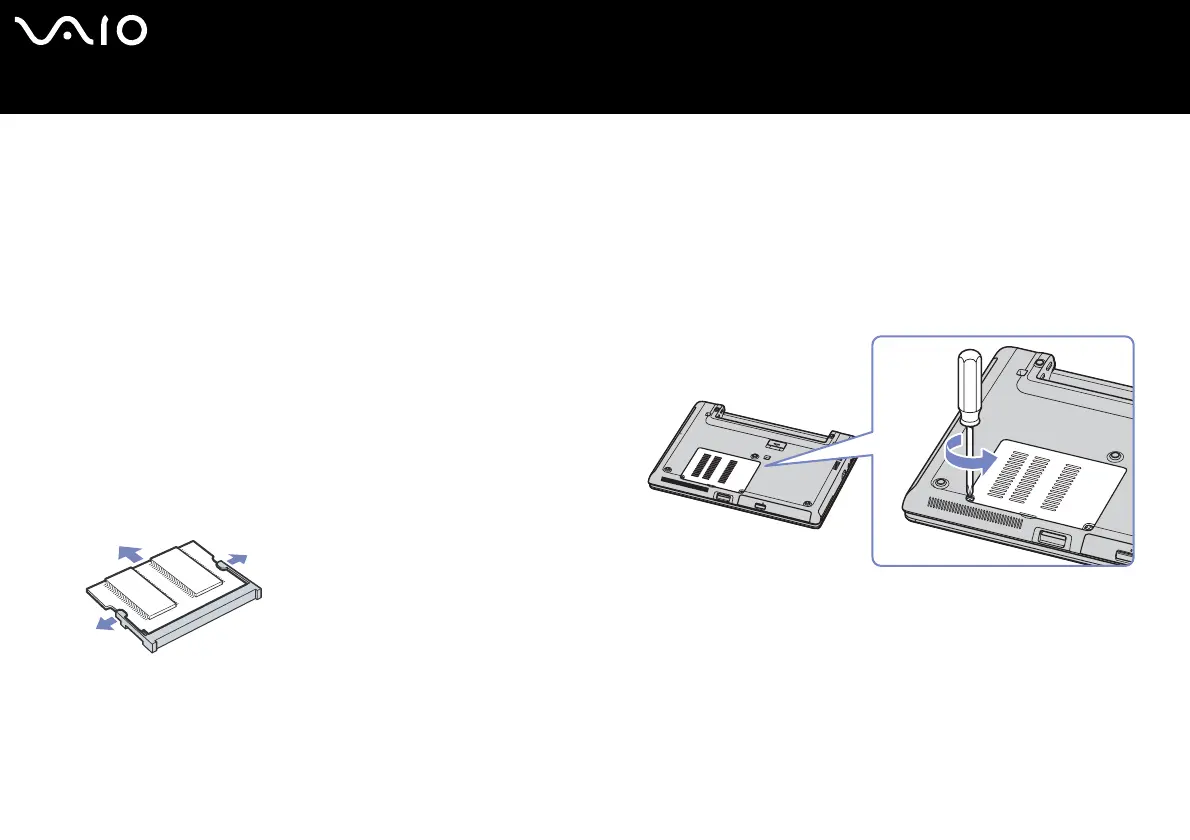
4 Unscrew the 2 screws at the bottom of your computer.
5 Touch a metal object (such as the connector panel on the back
of your computer) to discharge static electricity.
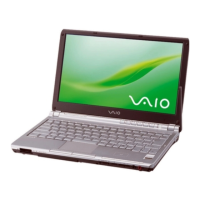
6 Remove the memory module:
❑ Pull the tabs in the direction of the arrows.
The memory module is released.
❑ Pull the memory module in the direction of the arrow.
7 Remove the new memory module from its packaging.
8 Install the memory module. Be careful not to touch the other components on the motherboard.
❑ Slide the memory module into the slot.
❑ Snap the connectors into place when the board is correctly seated.
❑ Attach the memory module to the connector.