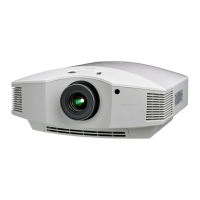
1-10
VPL-HS60/HS51A
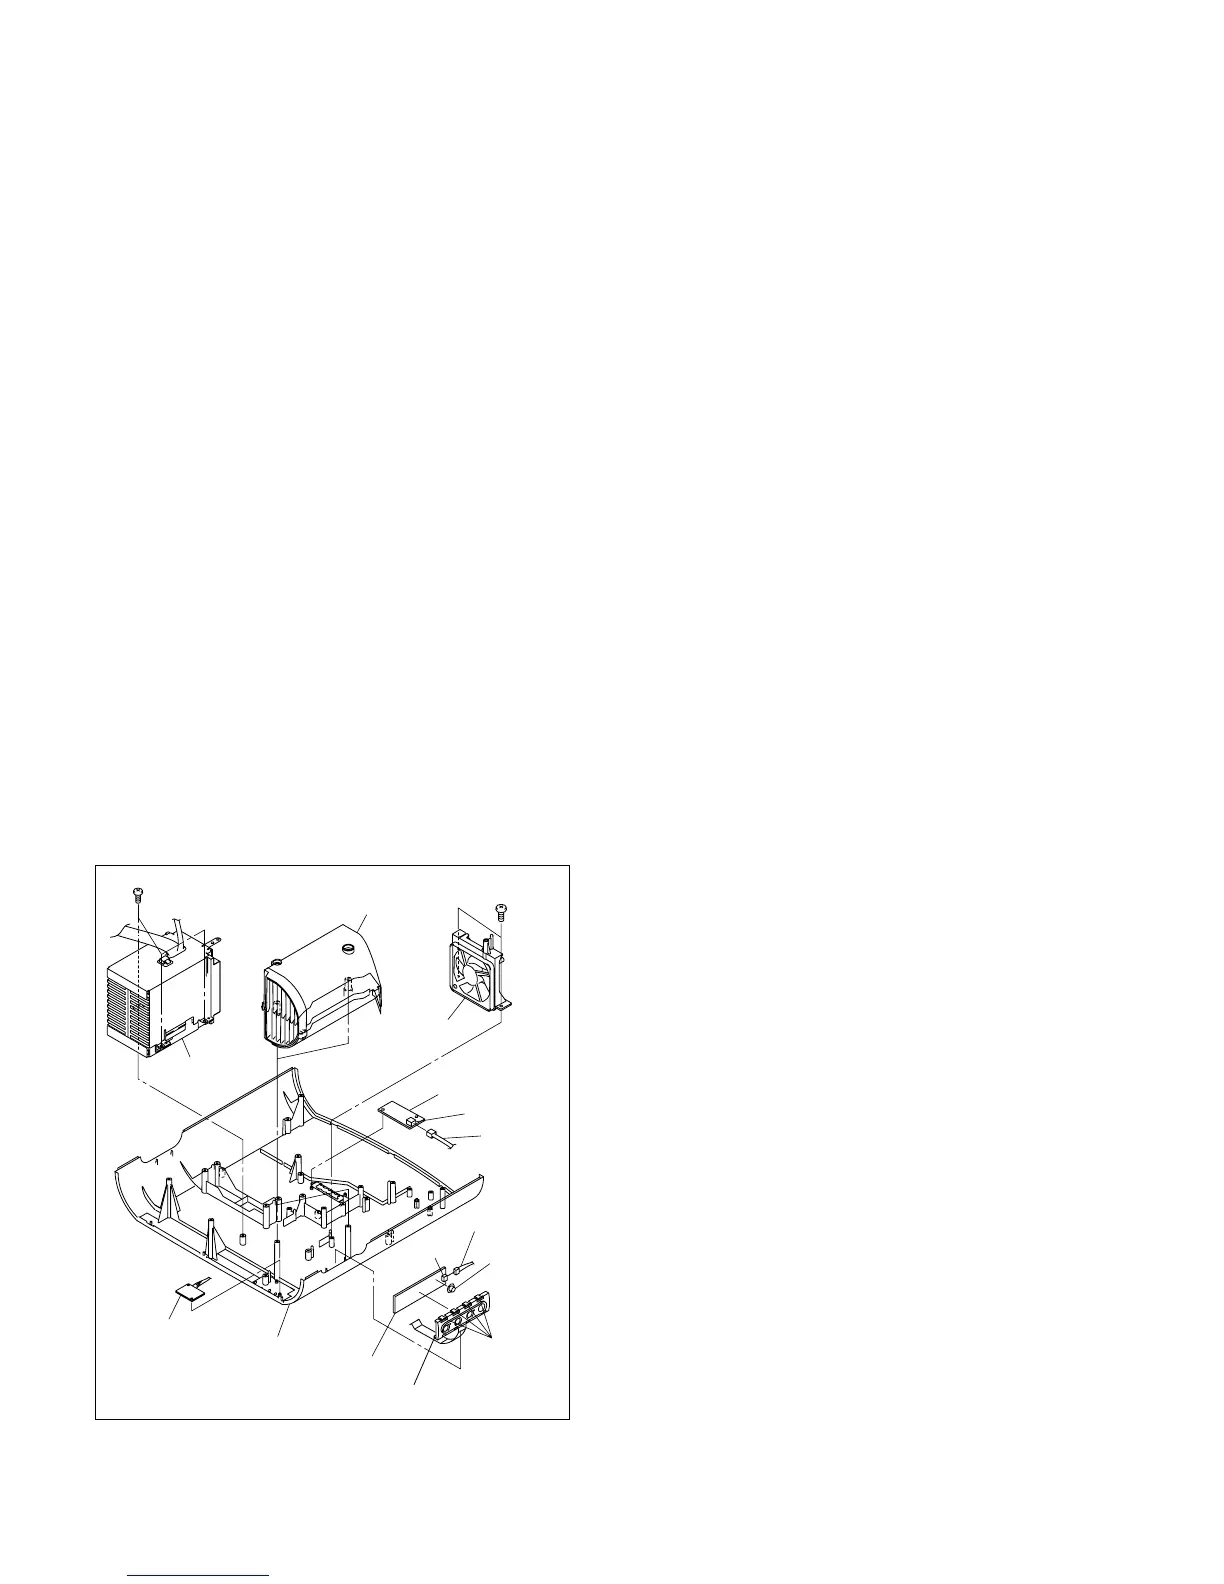
1-4-8. HA Board/HB Board/L Board
Removal
1. Remove the cabinet. (Refer to Section 1-3.)
2. Remove the C board.
(Refer to steps 3 to 7 of Section 1-4-1.)
3. Remove the lamp assembly.
(Refer to steps 2 and 3 of Section 1-5-2.)
4. Remove the optical block assembly.
(Refer to step 5 of Section 1-5-3.)
5. Remove the lamp house.
(Refer to step 5 of Section 1-4-6.)
6. Remove the duct lamp assembly.
7. Remove the three screws, then remove the GA/GB unit.
8. Remove the two screws, then remove the fan holder (G).
9. Remove the HA board.
10. Remove the escutcheon (H) from the top panel
assembly.
11. Remove the four hooks, then remove the HB board.
12. Disconnect the harness from the connector (CN80) on
the HB board.
13. Remove the button (P) from the HB board.
14. Remove the L board.
15. Disconnect the harness from the connector (CN001)
on the L board.
HA board
Button (P)
HB board
L board
Duct lamp assembly
CN80
CN001
Top panel assembly
Escutcheon
Hooks
Harness
Harness
BTP
3 x 12
Fan holder (G)
BTP
3 x 12 (BLK)
GA/GB unit
Installation
16. Install the HA board, HB board and L board in the
reverse order of steps 6 to 15.
17. Assemble this unit in the reverse order of steps 1 to 5.