1-12
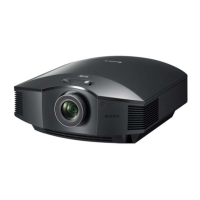
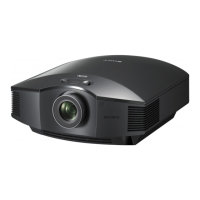
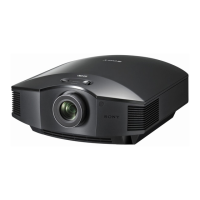
VPL-HS60/HS51A
1-5-2. Lamp Assembly
Removal
1. Loosen the screw [A], then remove the lamp cover
assembly.
2. Loosen the three screws [B].
3. Hold the lamp handle, then lift the lamp assembly
slowly.
Installation
4. Attach the lamp assembly in the reverse order of steps
1 to 3.
n
When attaching the lamp assembly, be sure to securely
insert the connector [A] of the lamp assembly into the
connector [B] of the lamp house.
1-5-3. Optical Block Assembly
Removal
1. Remove the cabinet. (Refer to Section 1-3.)
2. Remove the C board.
(Refer to steps 3 to 6 of Section 1-4-1.)
3. Remove the lamp assembly.
(Refer to steps 2 and 3 of Section 1-5-2.)
4. Remove the lamp power supply board.
(Refer to steps 4 to 10 of Section 1-4-6.)
5. Remove the screw and two spacers, then remove the
optical block assembly.
Installation
6. Attach the optical block assembly in the reverse order
of step 5.
7. Assemble this unit in the reverse order of steps 1 to 4.
Lamp cover assembly
Screw [A]
Screw [B]
Screw [B]
Screw [B]
Lamp handle
Lamp assembly
Connector
[A]
Connector [B] of
lamp house
BTP
3 x 12
Optical block
assembly
Spacer