44
Using Network Features
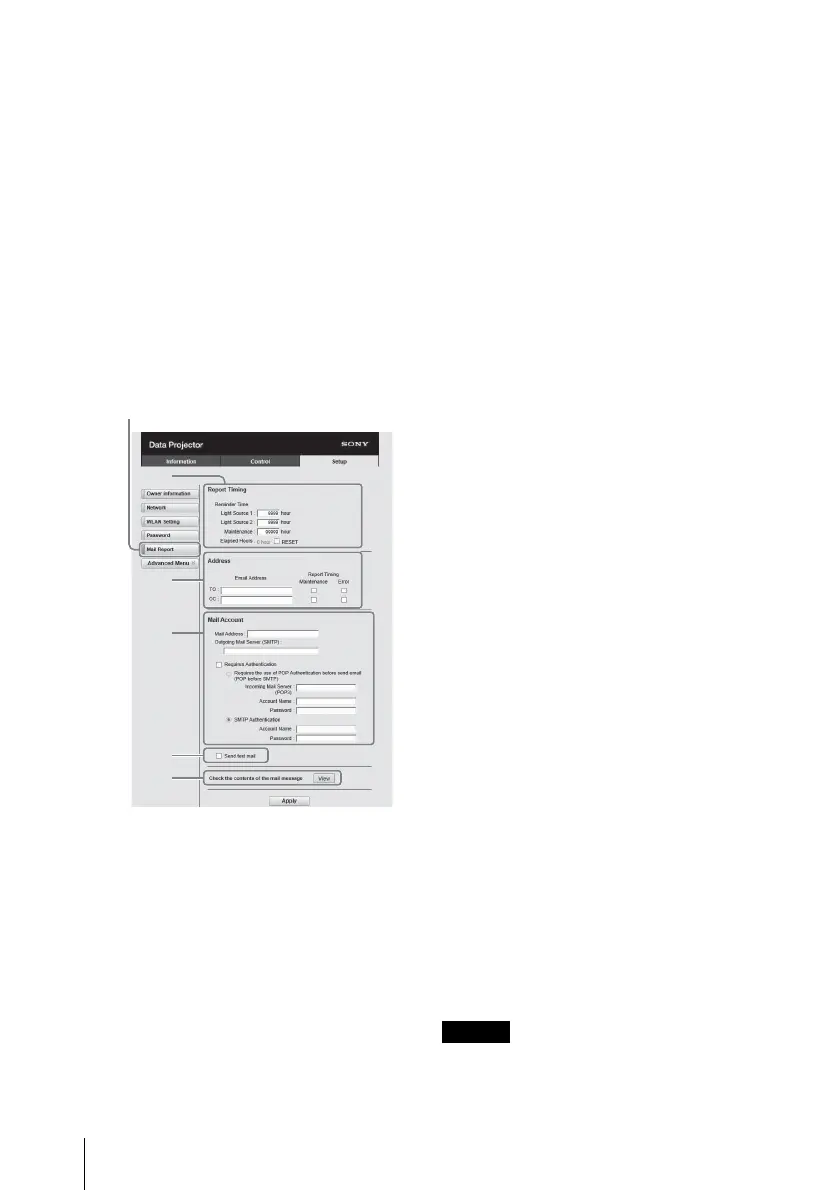
2 Set the timing of the e-mail
report.
Click on [Mail Report] to open the
Mail Report page.
Light Source 1:
Set an arbitrary timing of the
email report for using the light.
Light Source 2:
This unit is not supported.
Maintenance:
Set the timing of the email report
for maintenance. To reset
Maintenance Reminder, check
the RESET check box and then
click on [Apply].
3 Enter the outgoing e-mail
address in the Email Address box
then check the Report Timing
check box of the e-mail report to
be sent.
4 Set the mail account for sending
e-mail reports.
Mail Address:
Enter the e-mail address.
Outgoing Mail Server (SMTP):
Enter the address of outgoing
mail server (SMTP).
Required Authentication:
Check this check box if
authentication is required for
sending e-mail.
Requires the use of POP
Authentication before sending
email (POP before SMTP):
Check this check box to arrange
for POP authentication to be
performed before sending e-
mail.
Incoming Mail Server (POP3):
Enter the address of the
incoming-mail server (POP3) to
be used for POP authentication.
Account Name:
Enter the mail account name.
Password:
Enter the password.
SMTP Authentication:
Check this check box to arrange
for SMTP authentication to be
performed before sending e-
mail.
Account Name:
Enter the mail account name.
Password:
Enter the password.
5 Confirm the contents of the e-
mail report.
When you click on [View], the
contents of the e-mail report are
displayed.
6 Send the test mail.
Check on the Send test mail check
box then click on [Apply] to send
your test mail to the e-mail address
you set.
• The email report function will not
work if the network uses Outbound
 Loading...