45
Using Network Features
Port25 blocking, which prevents
access to the SMTP server.
• You cannot use the following
characters to enter the characters in
th e text b ox: “ ' ”, “ “ ”, “ \ ”, “ & ”, “ < ”,
“>”
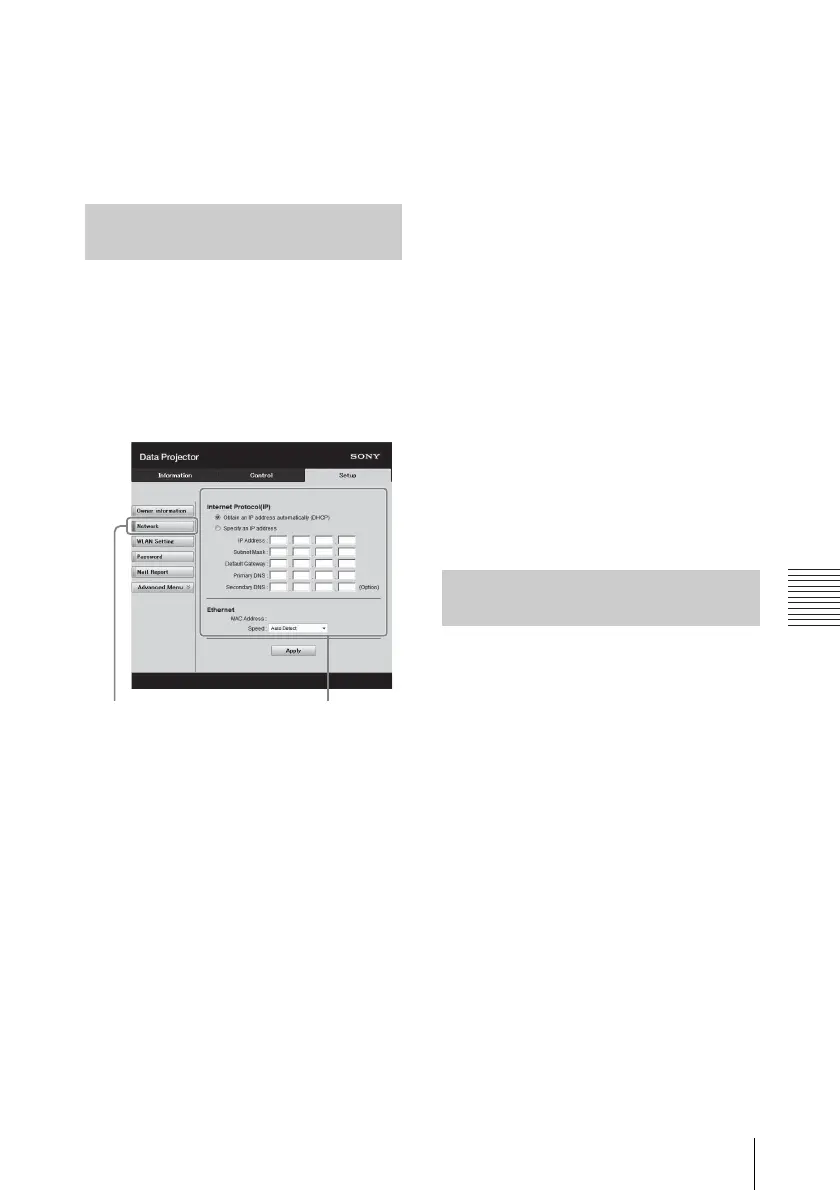
Set the LAN network function on the
Setup page.
Entered values will not be applied
unless you click on [Apply].
1 Click on [Network] to open the
Network page.
2 Set the items for internet
protocol.
Obtain an IP address
automatically:
Automatically provides the
network settings by a DHCP
server function, such as the
router. The IP Address, Subnet
Mask, Default Gateway, Primary
DNS, and Secondary DNS display
the values provided by a DHCP
server.
Specify an IP address:
Set the network manually.
-IP Address:
Input the IP address of the
projector.
-Subnet Mask:
Input the subnet mask of the
projector.
-Default Gateway:
Input the default gateway of the
projector.
-Primary DNS:
Input the primary DNS server of
the projector.
-Secondary DNS:
Input the secondary DNS server
of the projector.
3 Set the items for Ethenet.
MAC Address:
Displays the MAC address of the
projector.
Speed:
Select the network speed of the
projector.
Set the WLAN network function on the
Setup page.
Entered values will not be applied
unless you click on [Apply].
To use the wireless LAN network, a USB
wireless LAN module IFU-WLM3 (not
supplied) is necessary.
Setting the LAN Network of the
projector
Network button
LAN Network
setting area
Setting the WLAN Network of the
projector
 Loading...