55
Using Presentation Function via Network
Presentation Function via Network
1 Close all running applications.
2 Open the downloaded file.
For Windows
Double-click the .exe file. When the
message “User Account Control” is
displayed, click “Allow” or “Yes.”
For Mac
Double-click the .pkg file.
3 Follow the on-screen instructions
to install the software.
1 Connect the projector to a
network.
For a wired connection, connect
the projector by a LAN cable, then
make the network settings. For
details, see “LAN Settings”
(page 34) or “Setting the LAN
Network of the projector”
(page 45).
For a wireless connection, see “LAN
terminal” (page 11) or “USB
terminal (Type A) ( )” (page 11).
Also check “WLAN Settings”
(page 34).
2 Turn on the projector.
Select “Network” as the input
source (page 17).
3 Start Projector Station for
Network Presentation.
For Windows
Select [Start]-[All Programs]-
[Projector Station for Network
Presentation] on the computer.
For Mac
Double-click [Projector Station for
Network Presentation] in
Applications folder.
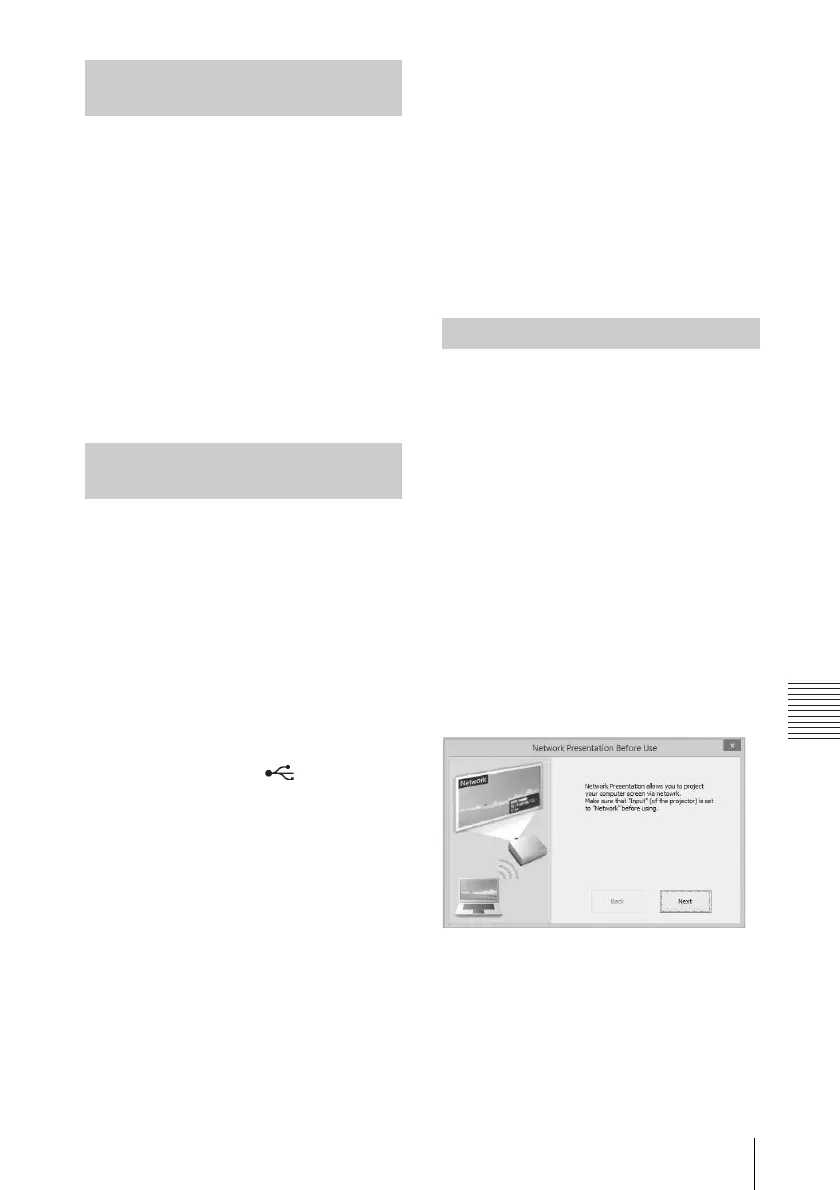
When you start Projector Station for
Network Presentation for the first time
after installing to your computer, the
connection guidance window will be
displayed. This window gives you the
information for the necessary settings
for connection. Be sure to read it
thoroughly. When starting the
application after the first time, the
connection method selection window
will be displayed first. You can check
the connection guidance window
anytime from the connection method
selection window.
For Windows
1 Select the connection method.
Refer to the network information
on the projected screen of the
projector and select “LAN Mode” or
“AP Mode.”
Installing Projector Station for
Network Presentation
Starting Projector Station for
Network Presentation
Projecting an Image
Connection guidance window