APV_CU4 AS-i_UK-5_072018.indd
UK
Control Unit
CU4 AS-interface
Instruction manual: UK - rev. 5
APV
30
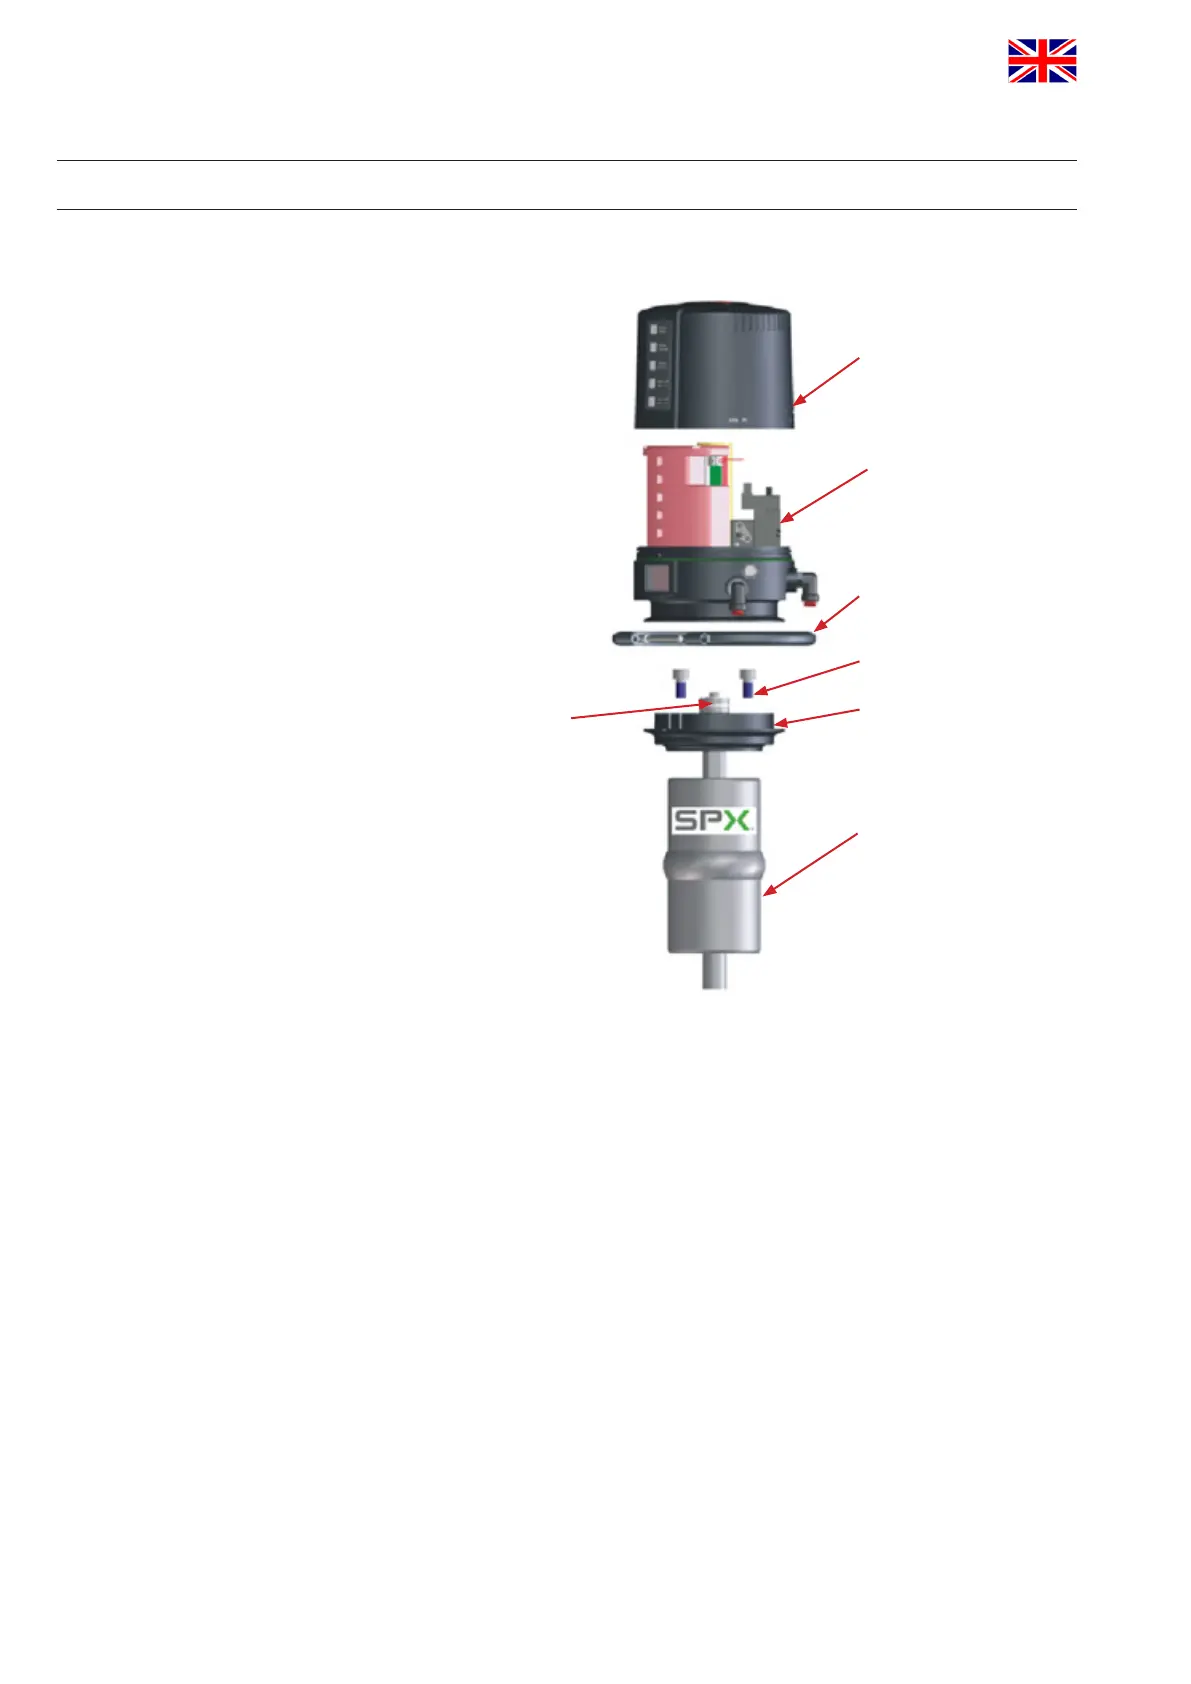
8. CU Assembly and Startup
8.2. Single seat valves
CU cover
CU base with
electronic module,
sensor tower and
solenoid valves
clamp ring
fastening screws
adapter
actuator
operating cam with
permanent magnet
Caution!
The permanent magnet is made of fragile material and must be
protected against mechanical load. – Risk of fracture! The magnetic
eldscandamageordeletedatacarrierorinuenceelectronicand
mechanic components.
Assemblyofthecontrolunitonthevalve
1. Assembly of the adapter on the single seat valve. Fasten with 4
screws.
2. Secure operating cam with Loctite semi-solid and fasten it.
3. Place the control unit via the operating cam onto the adapter.
Observe alignment.
4. Attach the clamp rings and fasten them with the screws.
 Loading...