12
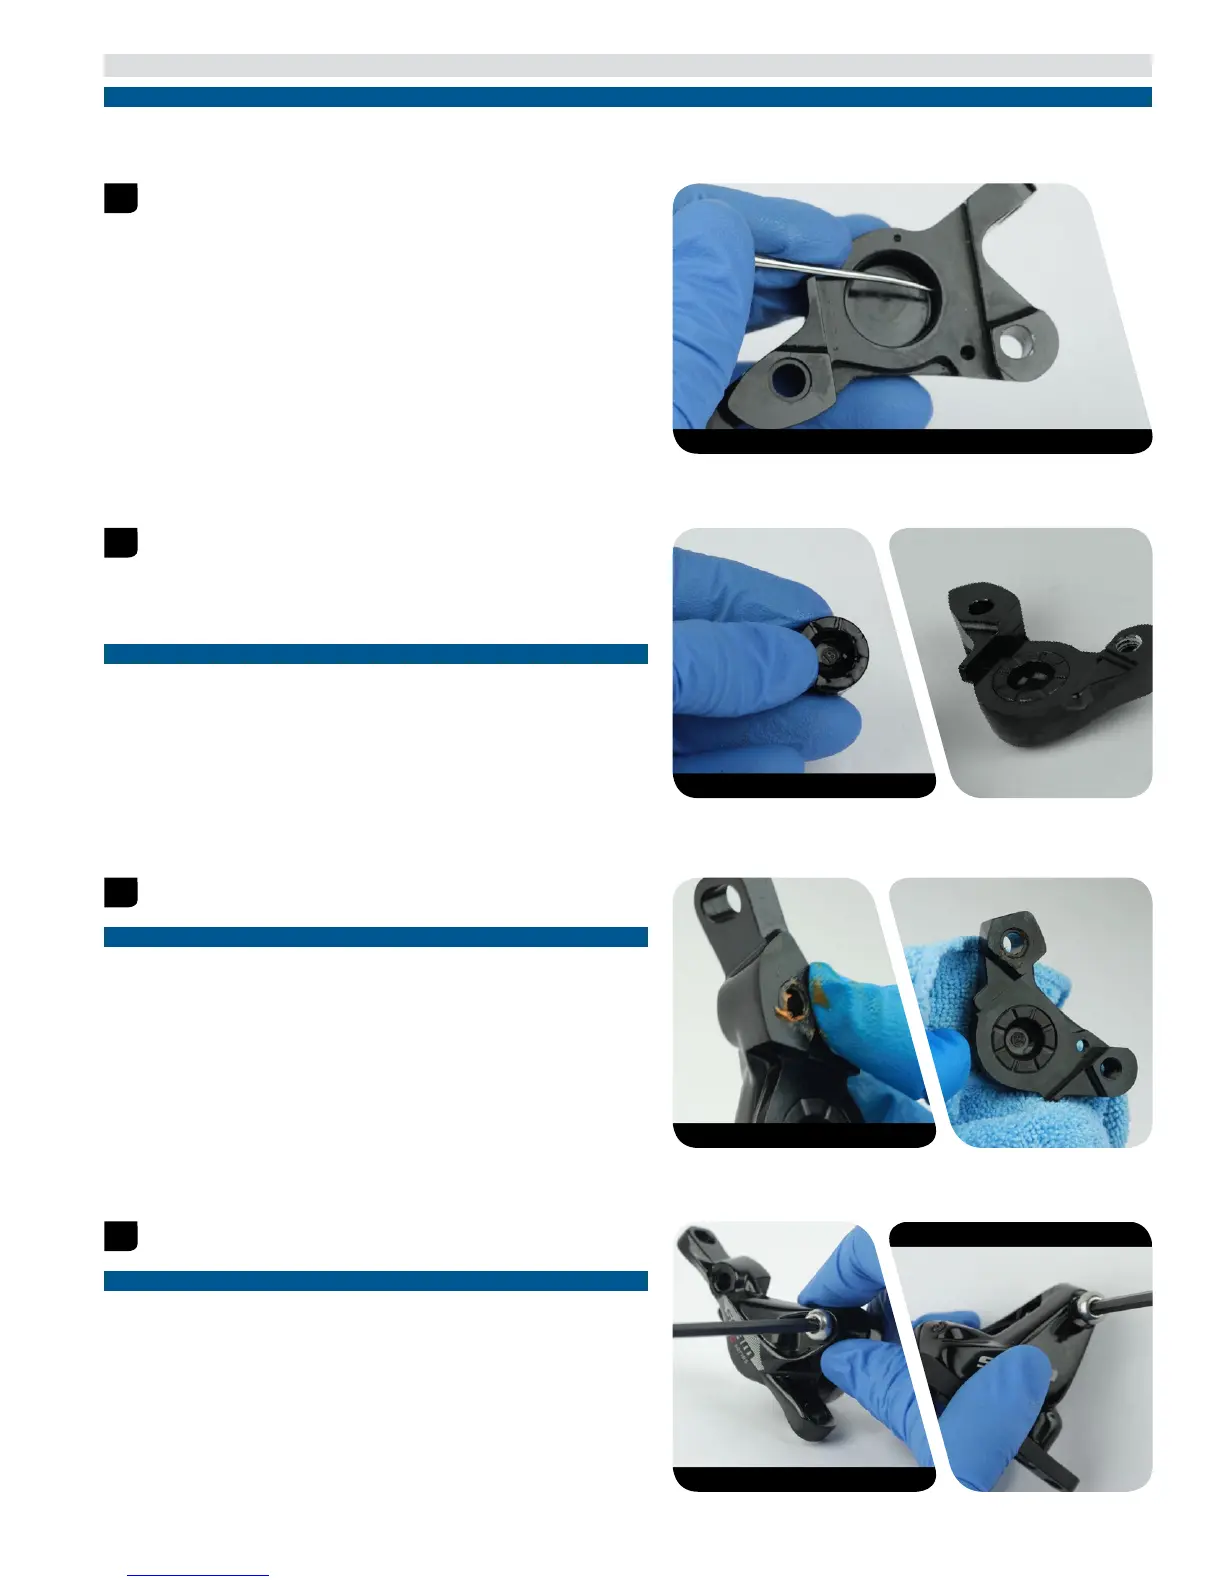
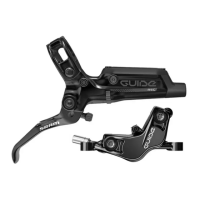
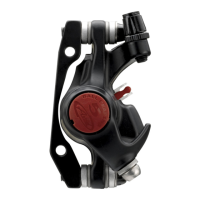
Caliper Piston Installation
Caliper Piston Installation
NOTICE
DOT fluid will damage painted surfaces. If any fluid comes in contact with a painted surface (e.g. your frame) or printing on the brakes, wipe it off
immediately and clean it with isopropyl alcohol or water. Damage to painted and/or printed surfaces by DOT fluid is not covered under warranty.
Apply a small amount of SRAM® 5.1 DOT fluid to a new piston seal and
install a seal into the piston bore on each caliper body half.
Inspect the caliper pistons for damage and replace the pistons if
necessary.
Apply a small amount of SRAM 5.1 DOT fluid to the circumference of
each piston. Install a caliper piston into the piston bore on each caliper
body halve.
NOTICE
For the best braking performance, use only SRAM High-Performance
5.1 DOT fluid. If SRAM fluid is not available, use only DOT 5.1 or 4 fluid.
Do not use grease. Grease will prevent the pistons from fully retracting
into the caliper bores which will reduce braking performance.
Apply grease to the new o-ring and install it onto the outboard
caliper half.
NOTICE
The o-ring must be fully seated in the groove to prevent pinching the
o-ring during assembly. A pinched o-ring may cause a leak.
Align the caliper body halves. Install the body bolt into the caliper two
full turns.
NOTICE
Visually inspect the banjo bolt hole to confirm the o-ring is not pinched
or protruding. If the o-ring is visible, then remove the bolt and repeat
steps 3 and 4. Pinched o-rings may cause leaks.