37
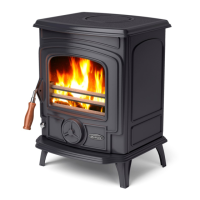
c) Finally, two screws Din 7981 4.2x9.5 should be used to fix the casings to the top of the equipment (8).
Figure 21 - Assembly of the casings K1200
d) Put the top back on the stove. To ensure that the top is properly positioned, it has four pins (1) at the bottom which must fit
into the springs on the frame.
Important Note: A small amount of force may be required to properly engage the pins in the frame.
Figure 22 - Assembly of the casings K1200
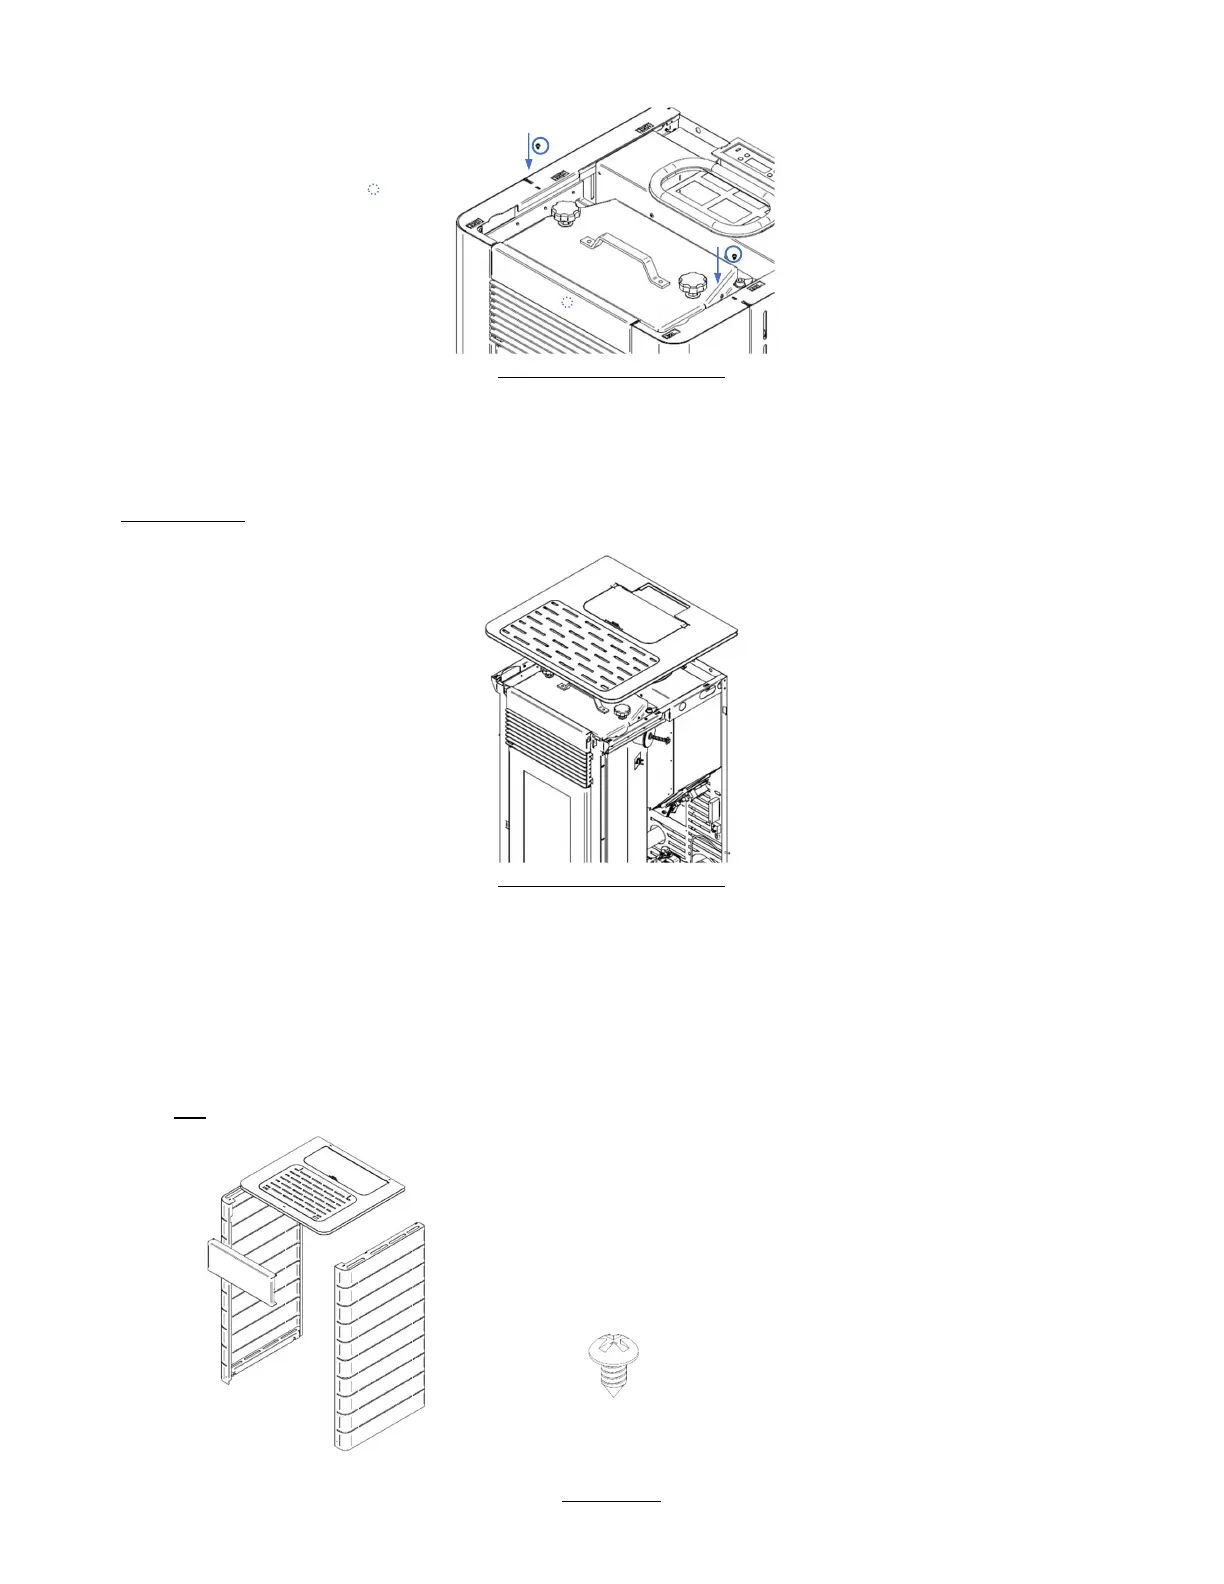
13.2. Installation of the casings K1700 and K2300
In the K1700 equipment, it is possible to install two configurations of casings, curved and flat. In order to assemble the casings,
the installer must have a star screwdriver (PH2 screw) available. To assemble these models, it is necessary that each of the kits
contain the following parts:
• Flat
Set of casings – chosen colour 10 Screws Din 7981 4,2x9,5
(CO0704132501019)
Figure 23 - Kit Flat
8
 Loading...