Stellar
®
Heavy-Duty Telescopic Crane Owner’s Manual | Page 3
Step 4: Position the stabilizers.
Step 3: Turn on power to the crane.
Extend the stabilizers using the control levers or switches marked ‘stabilizer’ or ‘outrigger’.
These may be located in the compartment under the crane or on the rear bumper.
1. Locate the street side stabilizer control handle (labeled
“SS”). Push the lever down to lower the stabilizer leg on the
street side of the truck. While looking under the rear of the
truck, you will see the street side stabilizer leg lowering to the
ground. When the stabilizer makes solid contact with the
ground, release the control lever.
2. Locate the extension stabilizer lever. Push the extension
lever down to fully extend the curb side stabilizer.
3. Locate the curb side stabilizer control handle (labeled
“CS”). Push the CS lever down to lower the stabilizer to the ground. Release the lever
when the stabilizer has made solid contact with the ground.
Keep clear of stabilizer legs during operation. Moving stabilizers can
cause serious crushing injuries. Make certain that all personnel are clear of the stabilizer
and the ground contact point before operating.
Do not raise the rear tires of the truck off the ground with the stabilizers.
Conrm that the stabilizers are positioned on stable, at ground and that the truck is as
level as possible both front to rear and side to side. Use stabilizer pads to ensure the proper
distribution of weight.
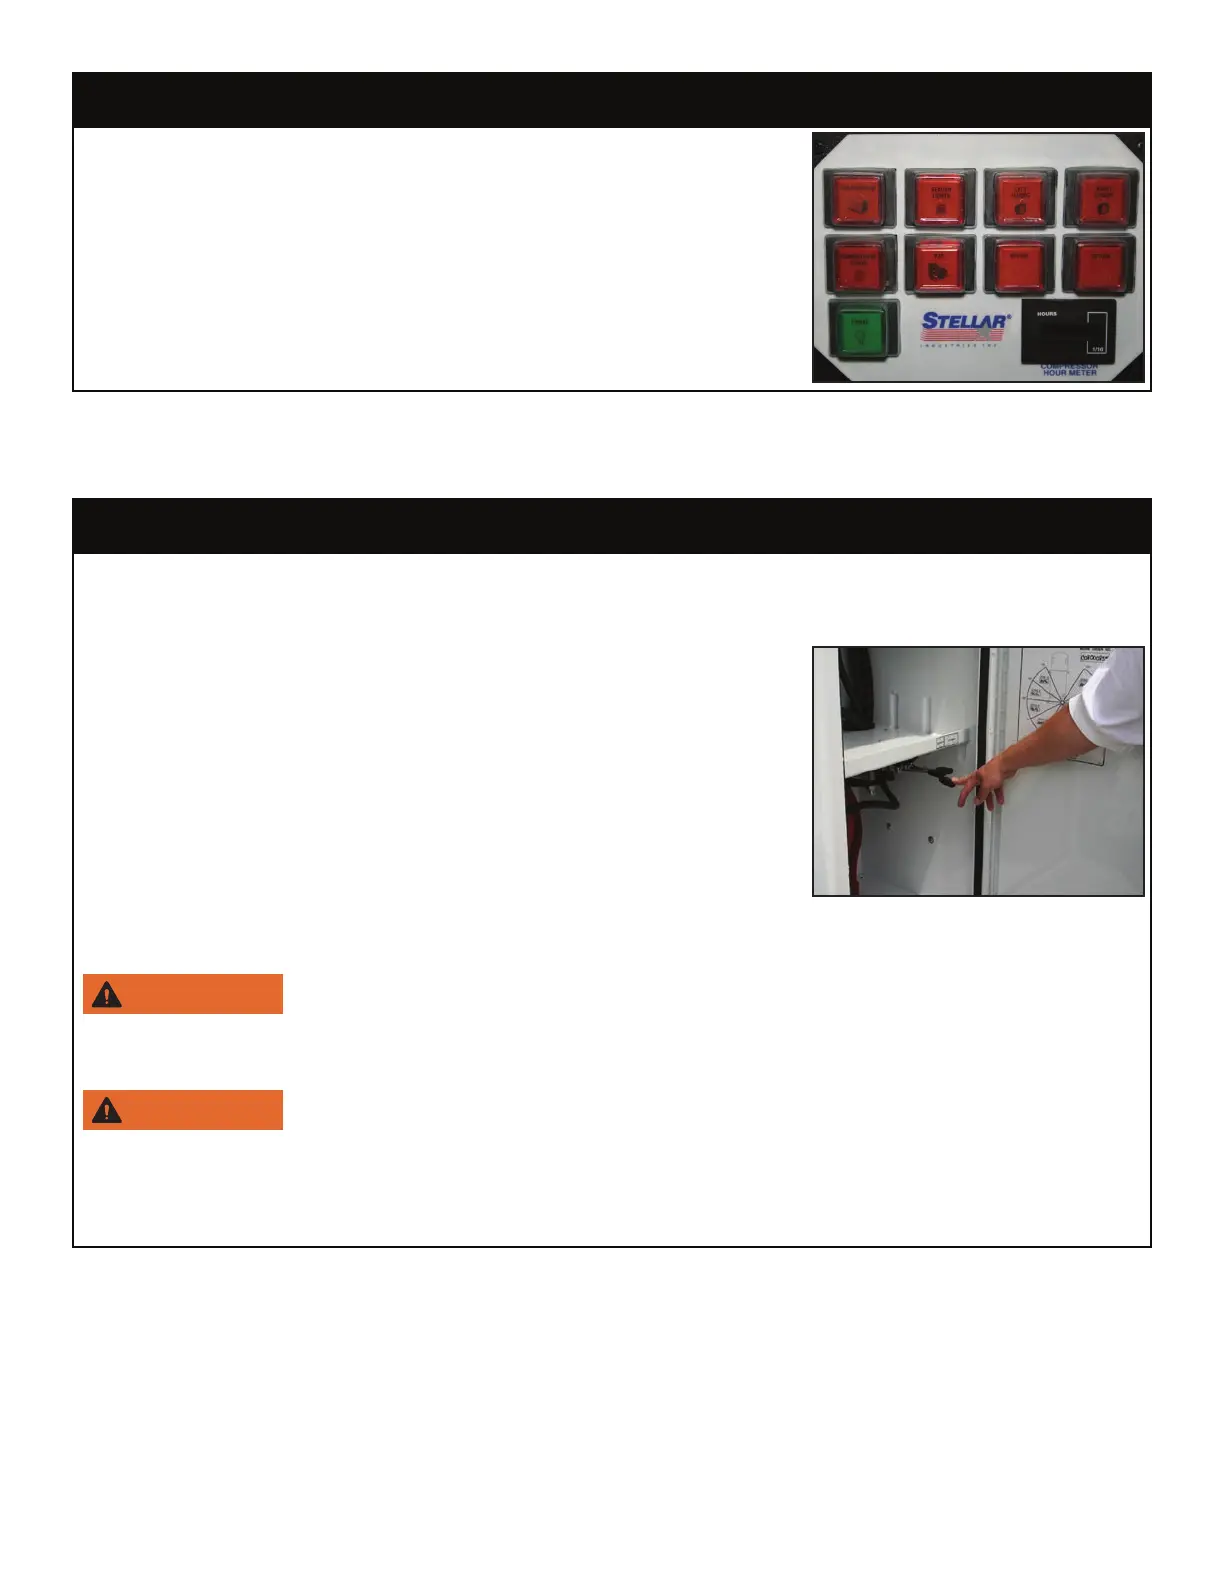
To initiate electrical power to the crane, activate the button
labeled ‘Main Power’ on the VEC control panel. The VEC
control panel is commonly mounted on the oor in the middle
of the vehicle cab. Feel free to activate any other button
functions needed for the job.
Note: For non-VEC control panels, consult the manufacturers’
documentation of operation.