2.3 Connect Other Intercom Stations
Connect all other IP intercom stations to the network. Note that all other
IP intercom stations have to be on the same LAN (IP subnet) as the
Pulse Server.
Wait for the stations to boot up (approximately 60 seconds) before
proceeding to the next step.
2.4 CongureDirectory(Phonebook)
Log into the Pulse Server station with the new IP address (e.g.
169.254.1.99) that you have just set under Station Main > Main
Settings. After login, a new tab called Server Management will become
available.
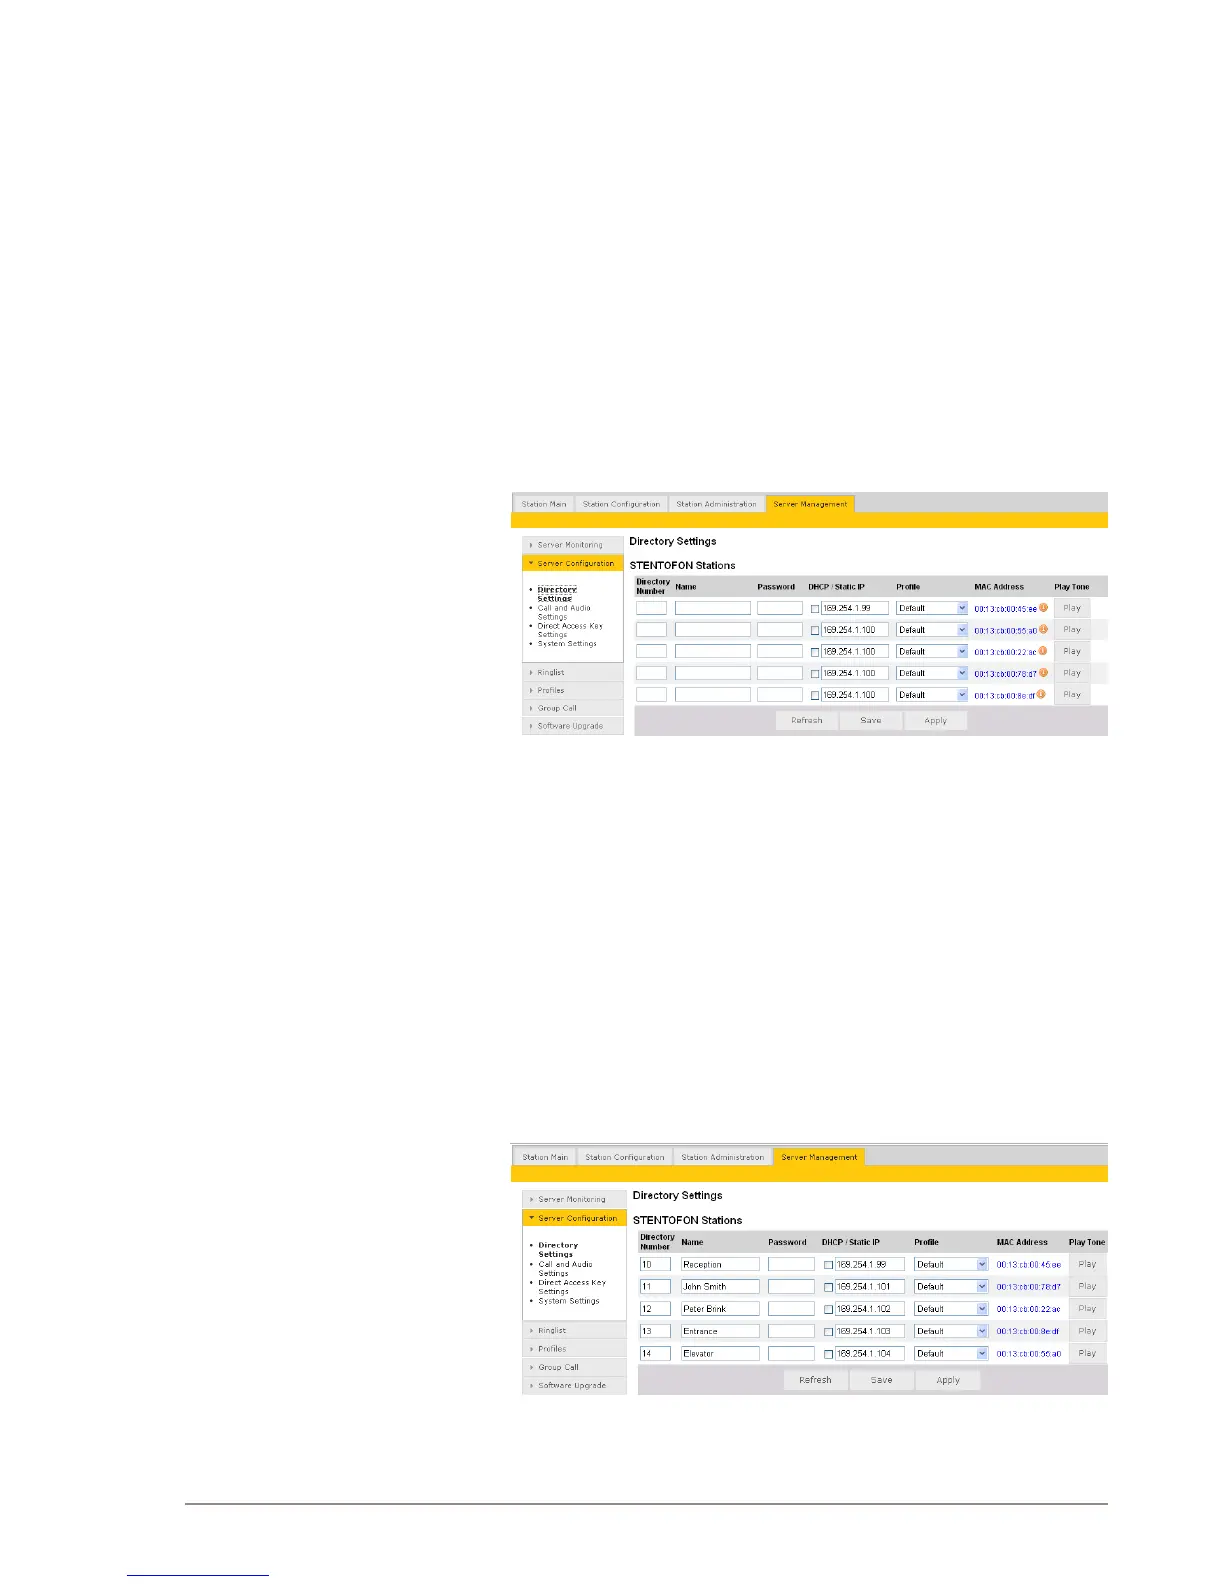
● Under the Server Management tab, select ServerConguration >
Directory Settings
The Pulse Server station will auto-discover all the other stations on the
LAN.
To identify the individual stations on the LAN:
● Click Play
- You should now hear a tone from the station you selected.
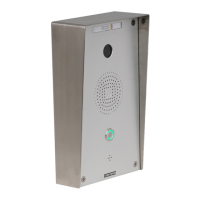
You can now set directory numbers, names, IP addresses,proles,
etc. for all the stations in the network. In our example, the Pulse Server
station is designated as Reception with directory number 10, while the
two desktop stations are John Smith and Peter Brink with directory
numbers 11 and 12 respectively. The two substations are the Entrance
and Elevator with directory numbers 13 and 14 respectively.
● Click Save followed by Apply