stewmac.com
14
Don’t sand the sides at this point. That comes later. Just make
the top and back edges ush with the sides.
Sand until you have a smooth edge all around the uke.
Glue the top on the rim
Now we will t the top and glue it on.
Reinsert your body back in the mold with the freshly glued
on back facing down. Align the centerline with the marks
you placed on your end blocks.
Just like with the back braces, we will need to trim and t
the horizontal transverse braces. Perform the same steps
you did for the back braces - trim them to length, and create
notches in the linings so the top drops in place.
It’s very important during this step that the centerline of the
top remains on center with the rim. Take your time while
notching the braces and gluing up to make sure everything
is in the proper location.
Use the same clamping procedure to install the top. Wait
at least 2 hours and remove it from the mold and trim the
overhang like you did on the back.
Sand the top and back ush with the sides
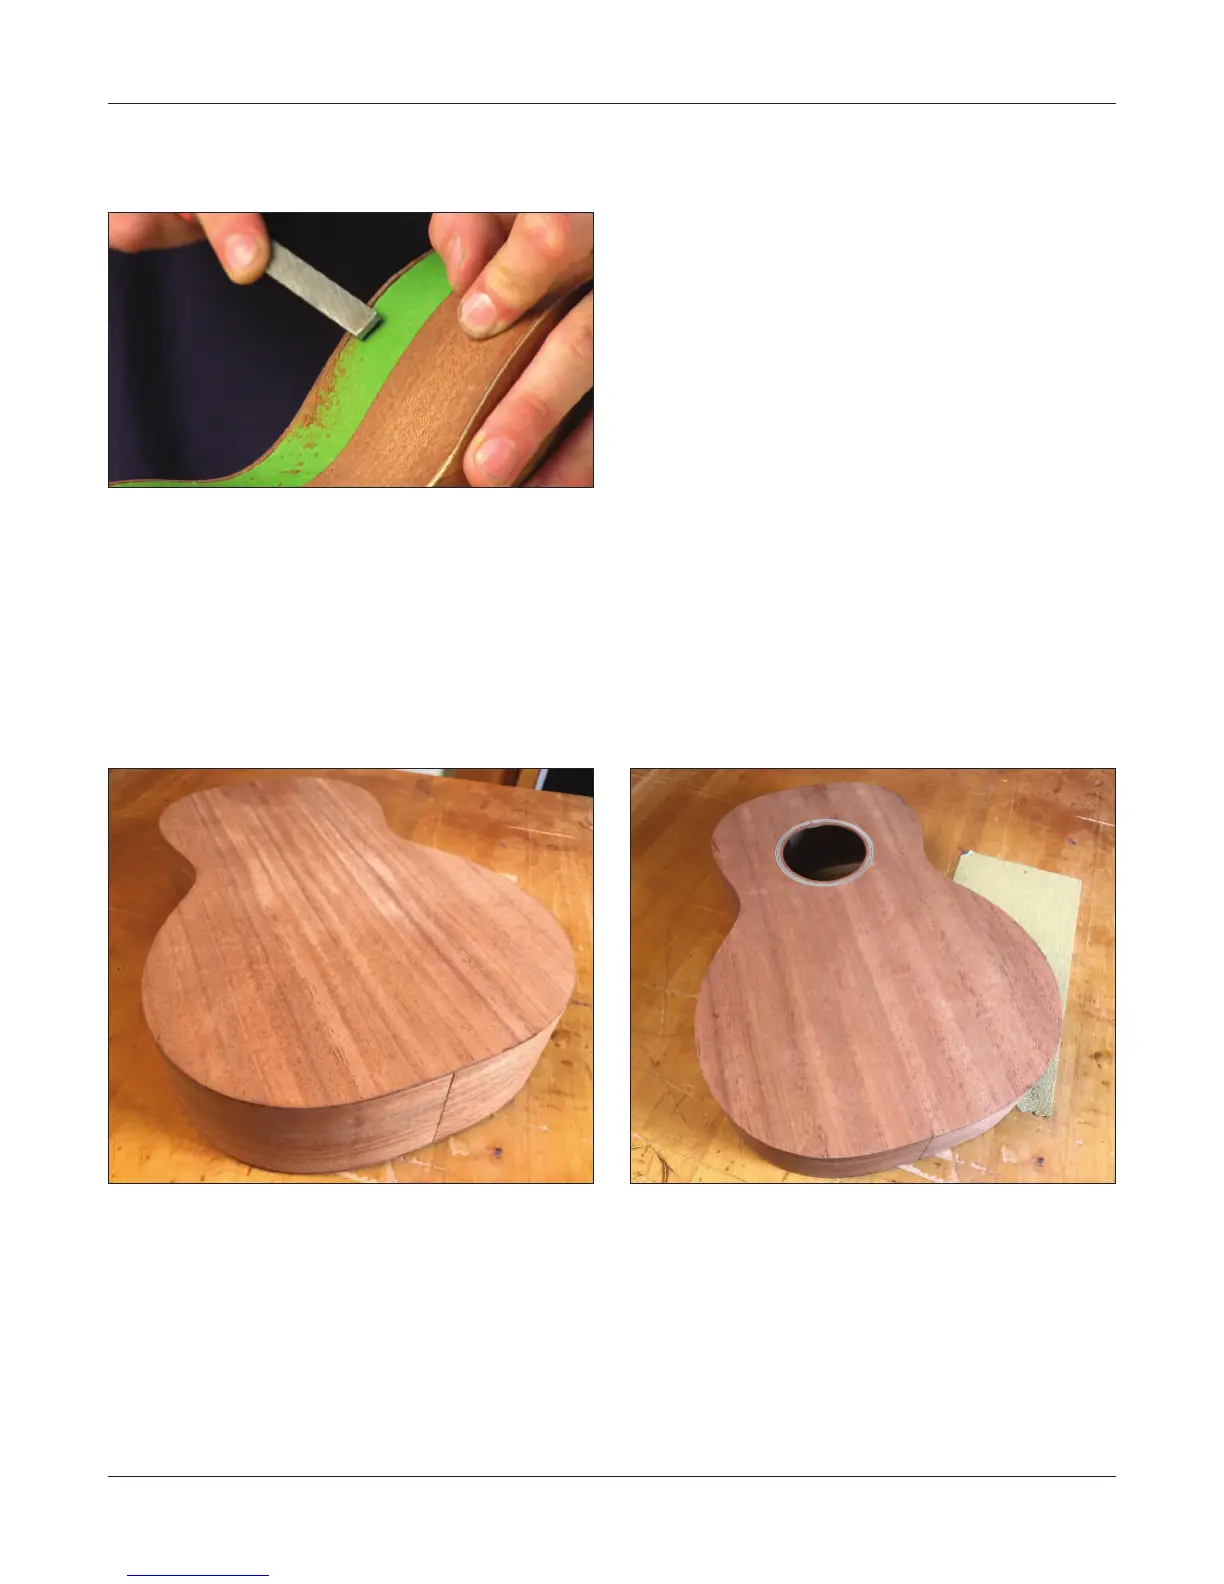
A at le will remove the remaining bit of overhang, followed
by sandpaper to make a smooth, ush edge.
Put masking tape on the sides to protect them from le
marks. Carefully file away the overhang until it’s small
enough that you feel ready to switch to sandpaper. You
might not need the le at all: 120-grit sandpaper may be
all you need.
With a at sanding block, follow the outer curves of the body
to ush the edges with the sides. A curved sanding block or
a stout wooden dowel makes a good sanding block for the
inside curves at the waist.