48
08/13424999756
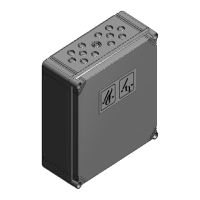
Compact control panel 4A, 4A/M und 8A, 8A/M
Assembly
Note: All listed Compact control paneles
are only suitable for wall mounting.
The batteries are located on the bottom and have to
the case back rest.
Wall mounting Compact control panel 4A, 8A:
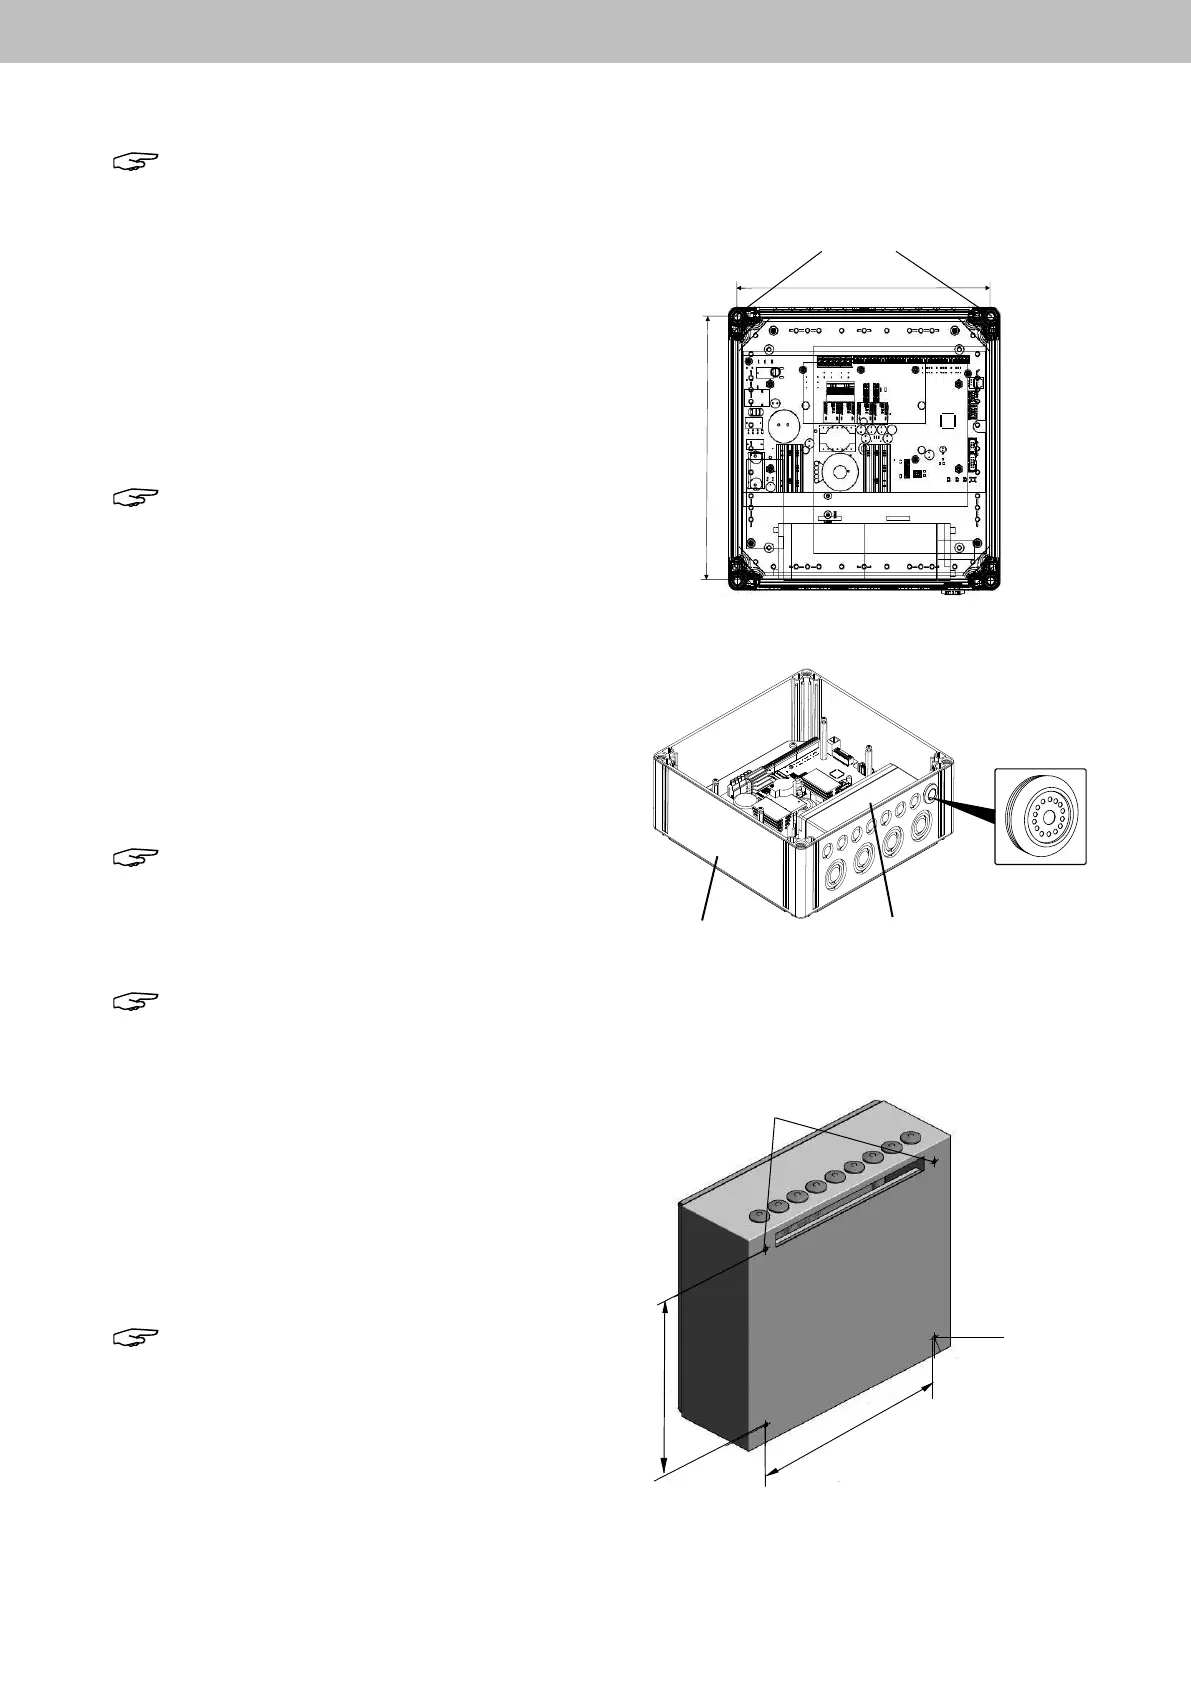
1. First dismantle the baseplate with control electronics.
2. Fix the housing through mounting holes with suitable
plugs and screws to the wall.
3. Fit baseplate back on.
Note: Thecontrolsystemmustbettedinadryarea
at a place that is easily visible and accessible.
The control system must not be hidden by wall
projections, doors or structures.
Assembly of compact control panel 4A:
Once the housing has been fastened to the wall:
1. Thread velcro tapes for attaching the rechargeable
batteries into the assembly panel.
2. Insert ventilation plug on the underside of the housing.
Note: Operating the control system without the
ventilation plug can lead to malfunction and is not
permitted! Care should always be taken that the
ventilation plug is not covered by the rechargeable
batteries!
Note: The Control panel is also available with a
UP-mounting kit.
Wall mounting Compact control panel 4A/M:
1. First remove the baseplate with control electronics.
2. Fix the housing through mounting holes with suitable
plugs and screws to the wall.
3. Encase the baseplate back.
Note: Thecontrolsystemmustbettedina
dry area at a place that is easily visible and
accessible.
No overhhead installation or rotated by 180°
mounting.
The control system must not be hidden by wall
projections, doors or structures.
ventilation plug
Bottom part of housing
Rechargeable batteries
mounting hole
280
280
mounting hole
 Loading...