-Preparations,see4.4.
•
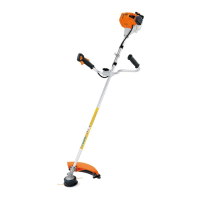
Unscrewcylinderbasescrews.
Note:Thetwoscrewsattheback
arenotvisible.
-Drawcylinderoffpiston.
-Examinecylinderandreplaceif
necessary.
-Thematchingpistonmustal-
waysbefittedwheninstallinga
newcylinder.Newcylindersare
thereforeonlysuppliedwith
piston.
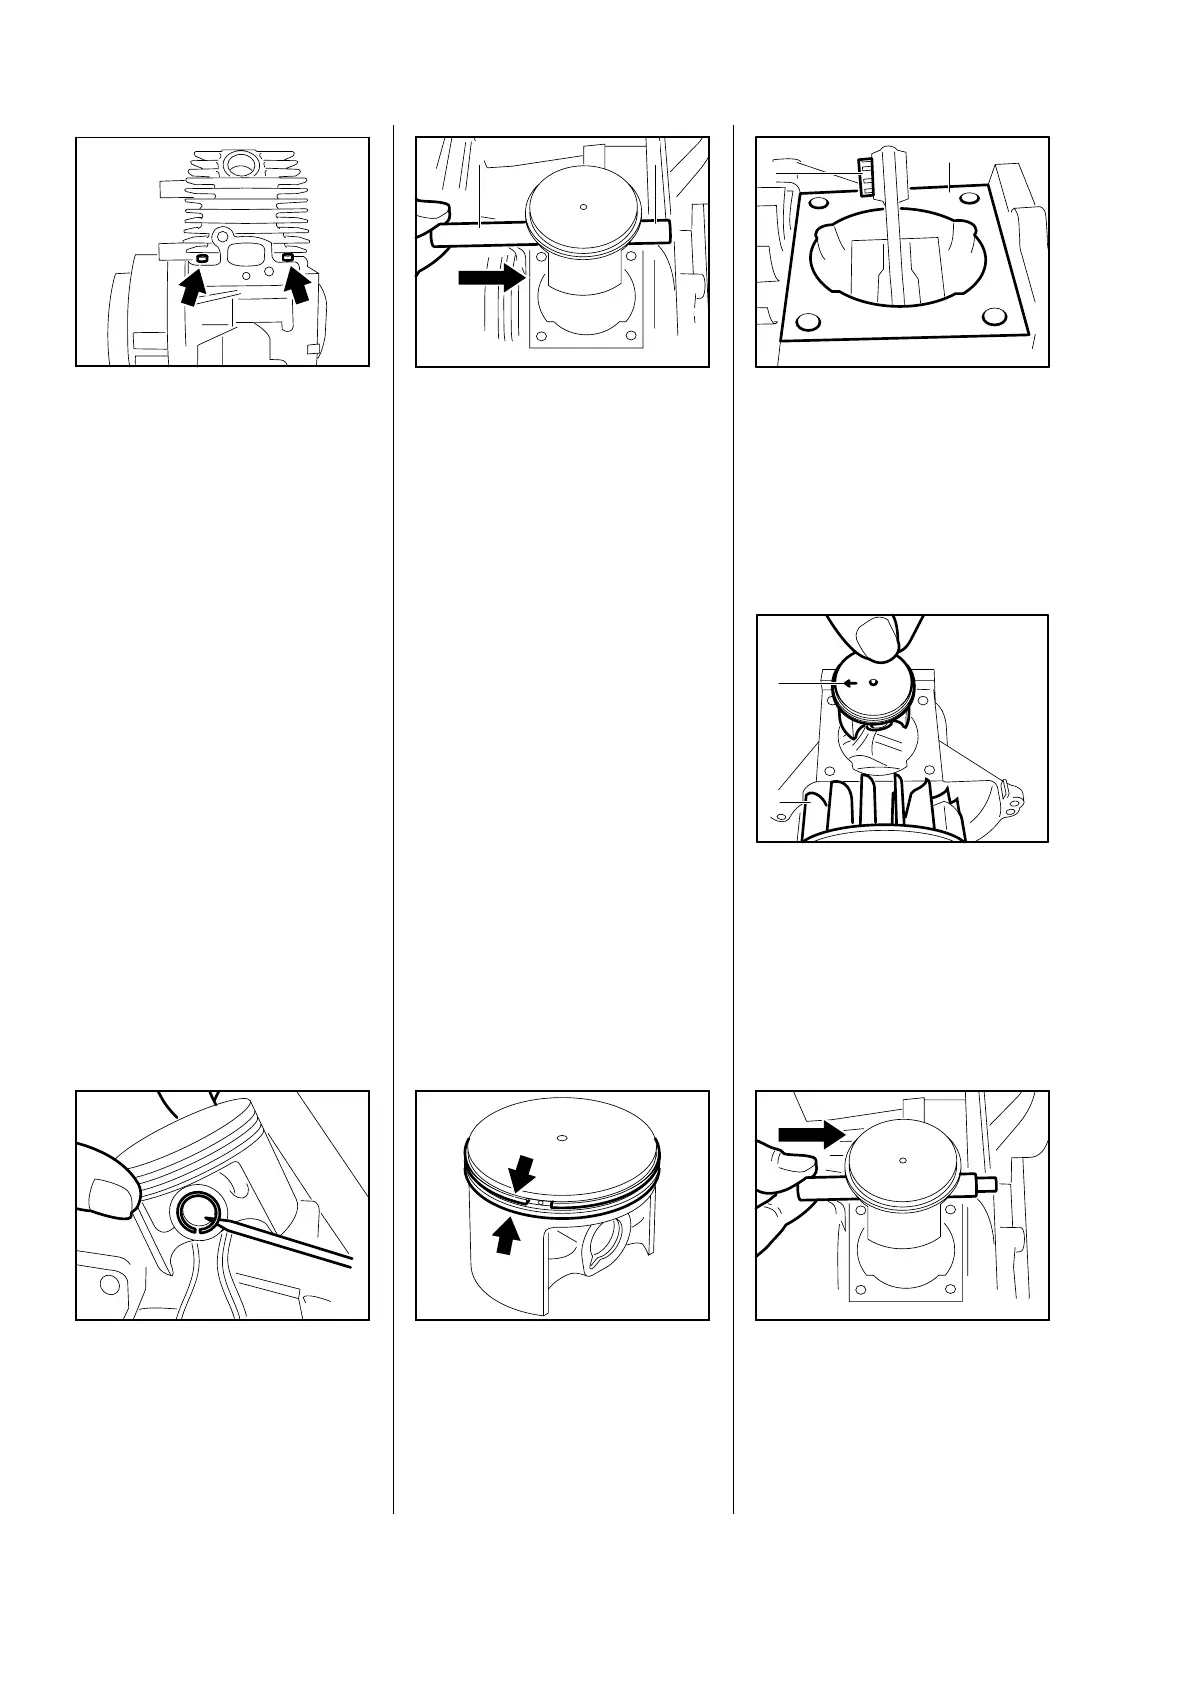
-Beforeremovingthepiston,de-
cidewhetherthecrankshaftmust
alsoberemoved.Thecrank-
shaftmustbeblockedbysliding
thewoodenassemblyblockbe-
tweenthepistonandcrankcase
inordertoremovetheclutchand
startercarrier.
-Removecylindergasket.
•
Prisethehooklesssnaprings
outoftheannulargrooves.
•
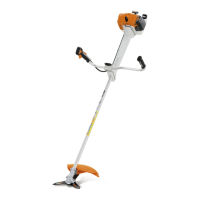
Pushpistonpin(1)outofthe
pistonwithassemblydrift(2)
11148934700.
Note:Ifthepistonpinisstuck,it
canbeloosenedbylightlytap-
pingtheassemblydriftwithaham-
mer.Thepistonmustbeheld
steadyduringthisprocesstoen-
surethatnojoltsaretransmittedto
theconrod.
-Removepistonfromconrodand
drawneedlecageoutofsmall
end.
•
Checkpistonringsandreplaceif
necessary,see4.6.
•
Thoroughlycleansealingarea
(1).
•
Wetneedlecage(2)withoiland
fititinthesmallend.
•
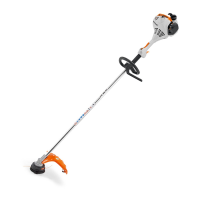
Lightlyheatpistontofacilitatein-
stallationandslipitoverthecon-
rod.
•
Noteinstalledpositionofpiston:
1=Marking
2=Flywheel
•
Pushassemblydriftthrough
pistonandsmallend(needle
cage)withthesmalldiameter
firstandlineupthepiston.
392RA033
VA
366RA066
VA
12
366RA068
1
2
VA
392RA034
1
2
VA
145RA080 VA
366RA067 VA
366RA070 VA
4.5 Cylinderandpiston
4.5.1 Removal 4.5.2 Installation
16