FR 460 TC-M
English
26
Cable" or have the machine serviced by
your dealer. STIHL recommends an
authorized STIHL servicing dealer.
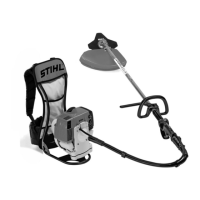
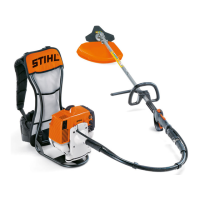
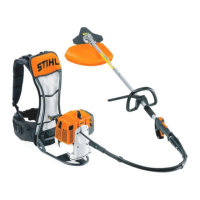
N Put the machine on your back.
N Machine is ready for use.
Stopping the engine
N Operate the stop switch.
Other Hints on Starting
Starting for first time
N Depress the throttle trigger – do not
press down the throttle trigger
lockout.
If engine speed increases or the cutting
attachment rotates:
N Go to section "Stopping the
Engine".
N Go to "Adjusting the Throttle Cable".
If the engine speed does not increase,
your machine is ready for operation.
STIHL electric starter does not operate
N Electric starter deactivated at
temperatures below 0°C – see
“Starting the Engine - without
electric starter”.
N Electric starter’s battery flat – see
“Starting the Engine - without
electric starter”.
At very low outside temperatures
N Electric starter deactivated at
temperatures below 0°C – see
“Starting the Engine - without
electric starter”.
N Set the engine to winter operation if
necessary, see "Winter Operation".
N If the machine is very cold (frost on
machine), allow the engine to warm
up in the start position } after
starting until normal operating
temperature is reached. Warning:
The cutting attachment runs.
Engine does not start
N Check that all settings are correct.
N Check that there is fuel in the tank
and refuel if necessary.
N Check that the spark plug boot is
properly connected.
N Start the engine.
Engine is flooded
N Turn the choke lever to F and
continue cranking until the engine
runs.
Adjusting the throttle cable
N Check adjustment of throttle cable –
see chapter on "Adjusting the
Throttle Cable".
Fuel tank run until completely dry
N After refueling, press the manual
fuel pump bulb at least five times –
even if the bulb is filled with fuel.
N Now start the engine.
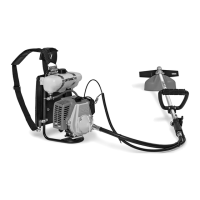
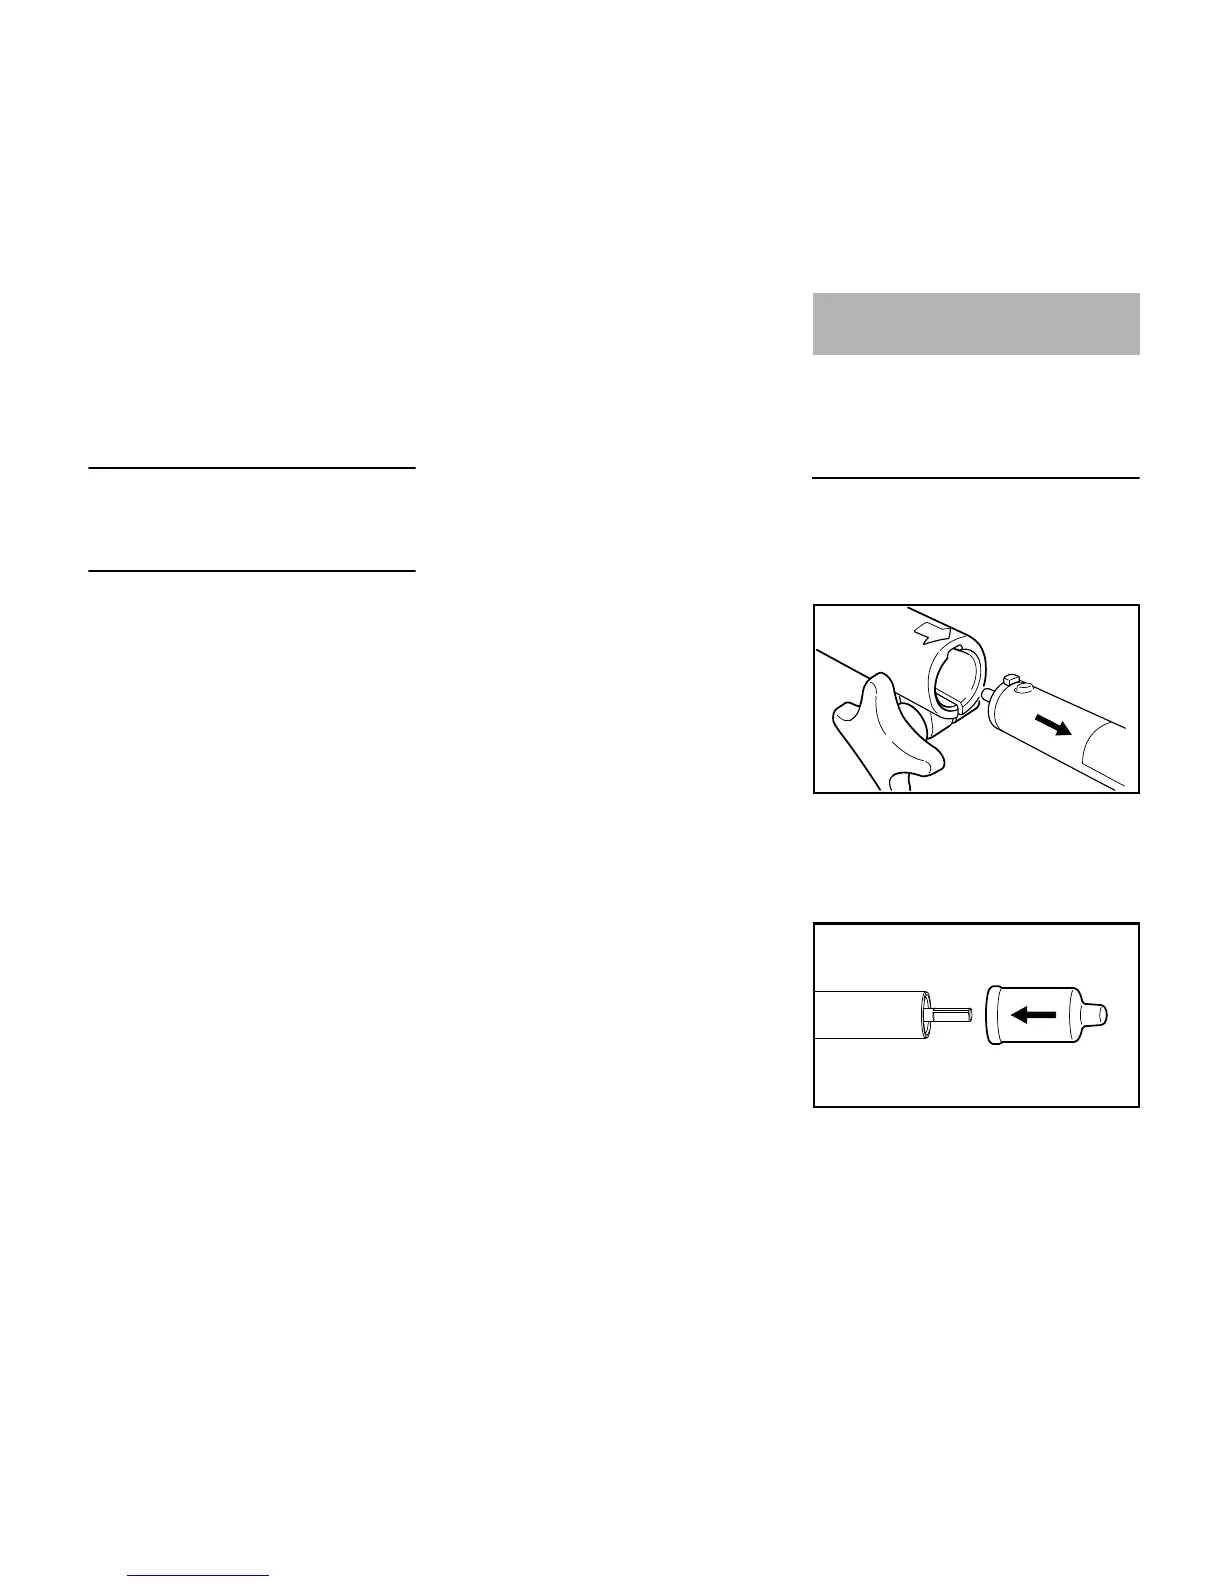
STIHL brushcutter models with the letter
T in their designations have a split drive
shaft for compact transportation.
Disconnecting the Drive Tube
N Put the unit on the ground. Make
sure it is secure.
N Place the drive tube on the ground.
N Loosen the star knob (1) – do not
remove it.
N Pull the drive tube (2) out of the
coupling sleeve (3).
N Fit the cap (4) on the end of the
drive tube.
Transporting the Unit

 Loading...