Return To Table of Contents
www.stryker.com 1089-009-002 REV B 19
Service Information
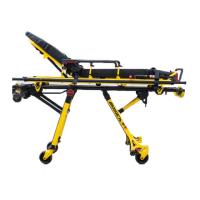
BRAKE TIMING LINK REPLACEMENT, HEAD END OR FOOT END
Tools Required:
• 1/2” Socket
• 3/8” Drive Ratchet
• Needle Nose Pliers
• Bungee Cords
• 3/8” Drive Torque Wrench (ft-lb)
Procedure:
1. Pump the stretcher all the way up.
2. Raise both siderails to the up and latched position.
3. Using bungee cords, support the raised base hood.
4. Put the base brake/steer pedal in the neutral position.
5. Using a 1/2” socket, remove the two flange nuts (one on each side) that secure the timing link assembly to the
casters.
6. Using needle nose pliers, remove the rue clip and then clevis pin from the brake rod activator.
7. Apply the brakes by moving the brake/steer pedal to the brake position.
8. Remove the brake timing link assembly by equally pulling outward on the timing link assembly. Discard the brake
timing link.
9. Reverse steps to reinstall. Torque the two flange nuts that secure the timing link assembly to the casters to 80 ±
20 ft-lb.
Note: When installing the new brake timing link assembly be sure to reinstall the bushing which may have fallen off
during the removal of the old brake timing link assembly.
10. Verify proper operation of the unit before returning it to service.