Return To Table of Contents
24 1089-009-002 REV B www.stryker.com
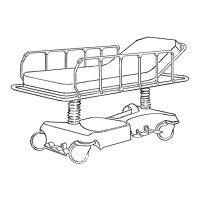
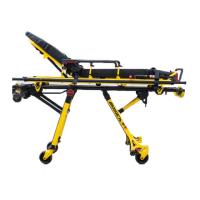
JACK REPLACEMENT, HEAD END
Tools Required:
• 1/2” Socket with Extension
• 3/8” Drive Ratchet
• 3/8” Drive Torque Wrench (ft-lb)
Procedure:
1. Remove the litter from the stretcher. See “Litter Removal” on page 27.
2. Using a 1/2” socket with extension and a 3/8” drive ratchet, remove the two hex head screws that hold the jack
base to the stretcher base frame. When reinstalling, torque the screws to 11 ± 5 ft-lb.
3. Remove the two hex head screws that hold the jack reservoir clamp to the base frame and remove the clamps.
4. Lift straight up on the pump connecting rod and disconnect the pump piston from the connecting rod. When
reinstalling, torque the screws to 13 ± 2 ft-lb.
5. Disconnect the pump pedal swivel from the release pedal mounting plate.
6. Remove the head end release rod from the release valve assembly.
7. Using a 1/2” socket with extension, remove the two hex head screws that hold the jack base to the stretcher base
frame. When reinstalling, torque the screws to 13 ± 2 ft-lb.
8. Remove the jack assembly.
9. To reinstall the jack, install the bolts on the jack and reservoir clamp but do not tighten them fully.
10. Reinstall the pump connecting rod and release rod.
11. Depress the pump pedal fully (to the floor). This will properly locate the jack onto the base frame.
12. Tighten the bolts on the jack and reservoir clamp. Torque all bolts to 13 ± 2 ft-lb.
13. With the assistance of another person, reinstall the litter top onto the jack shafts.
14. Torque the hex head screws on the support tube weldments to 11 ± 5 ft-lb.
15. Pump up the litter and apply weight to verify the jacks hold and do not drift.
16. Verify proper operation of the unit before returning it to service.
Note: The jack descent rate is set at the factory and adjustment is not recommended.
Service Information