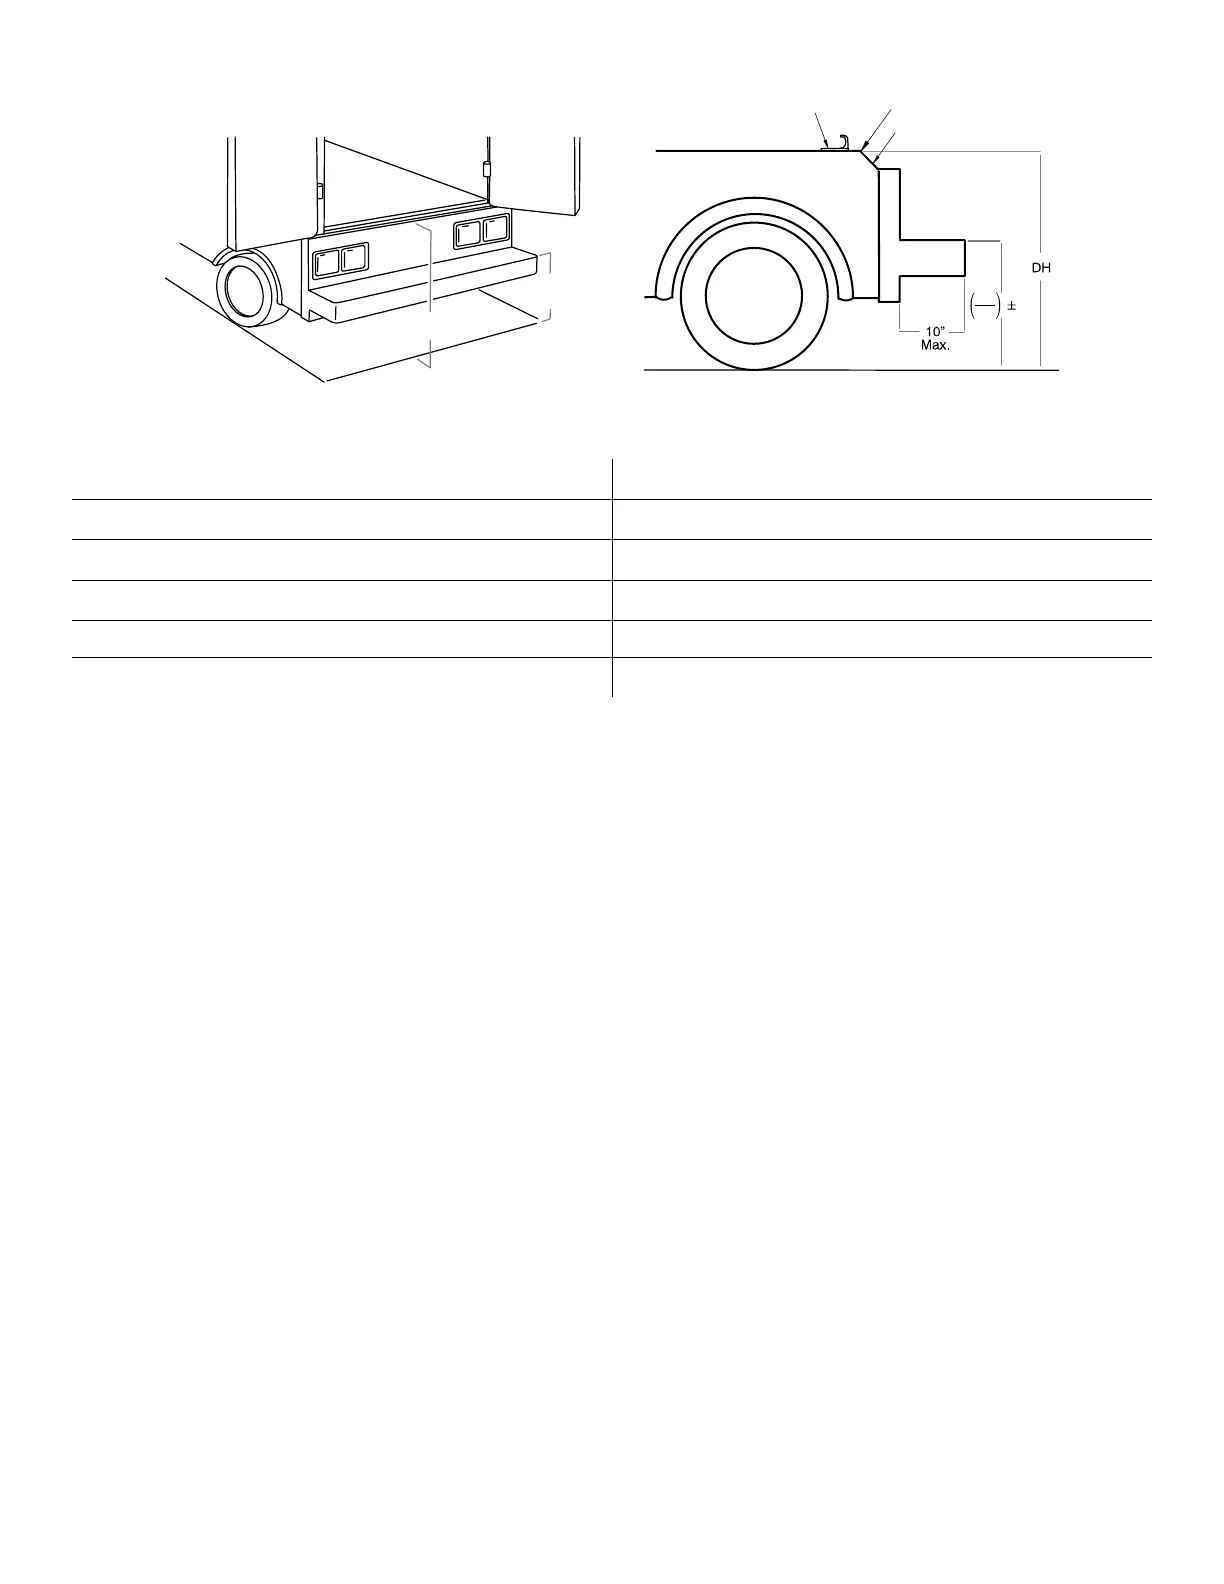
FFiigguurree 33 –– DDeecckk aanndd bbuummppeerr hheeiigghhtt
A Deck height (DH)
B Bumper height
C Vehicle safety hook
D Sill edge
E Sill
F Bumper depth
PPoossiittiioonniinngg ooff tthhee vveehhiiccllee ssaaffeettyy hhooookk,, ffrroonntt ttoo bbaacckk
Before vehicle safety hook installation, check the front to back and side to side positioning when you unload and load the
cot.
To check the front to back positioning:
1. Select the appropriate vehicle safety hook. See
Selecting the vehicle safety hook
(page 9).
2. Position the vehicle safety hook at least 3-3/4 in. from the leading edge of the door sill (A) (Figure 4). The recommended
distance from the face of the safety hook is no less than 3-3/4 in.
3. Check that you can secure the vehicle safety hook to the mount in the back of the vehicle.
4. Check that you have adequate bumper clearance to allow the cot to be loaded and unloaded from the vehicle.
5. Confirm the side to side placement of the vehicle safety hook. See
Positioning of the vehicle safety hook, side to side
(page 12).
6082-209-001 Rev AA.3 11 EN
 Loading...