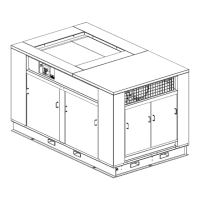
SECTION 6 TS20C USER MANUAL
115
1. Disconnect all piping connected to the sepa-
rator cover to allow removal (return lines,
service lines, etc.)
2. Loosen and remove the twelve (12) ¾” x 2-1/
2” GR5 hex head capscrews from the cover
plate.
3. Lift cover plate from the sump tank.
4. Remove the primary and secondary separa-
tors.
5. Scrape the old gasket material off the cover
and flange on the sump tank, being careful
not to let the scraps fall in the sump tank.
6. Inspect the sump tank for rust, dirt, etc.
7. DO NOT remove the grounding staples from
the gaskets. DO NOT use any type of gasket
eliminator. Re-insert the separator elements
with the gaskets attached into the sump tank
taking care not to dent it against the sump
tank opening.
8. Clean the underside of the sump tank lid and
remove any rust.
9. Replace the cover plate, washers, and cap-
screws. Torque to 200 ft-lbs(272 Nm). Verify
continuity between separator elements and
sump tank.
10. Re-connect all piping making sure return line
tubes extend to the bottom or ¼” above the
bottom of the separators. This will assure
proper fluid return flow to the compressor.
11. Check the return line strainer before re-start-
ing the compressor. If needed, either clean
or replace the strainer.
CAUTION
Relieve all pressure from the Sump/
Receiver tank and all compressor lines.