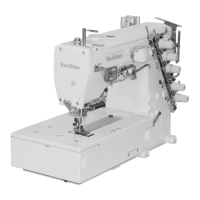
26
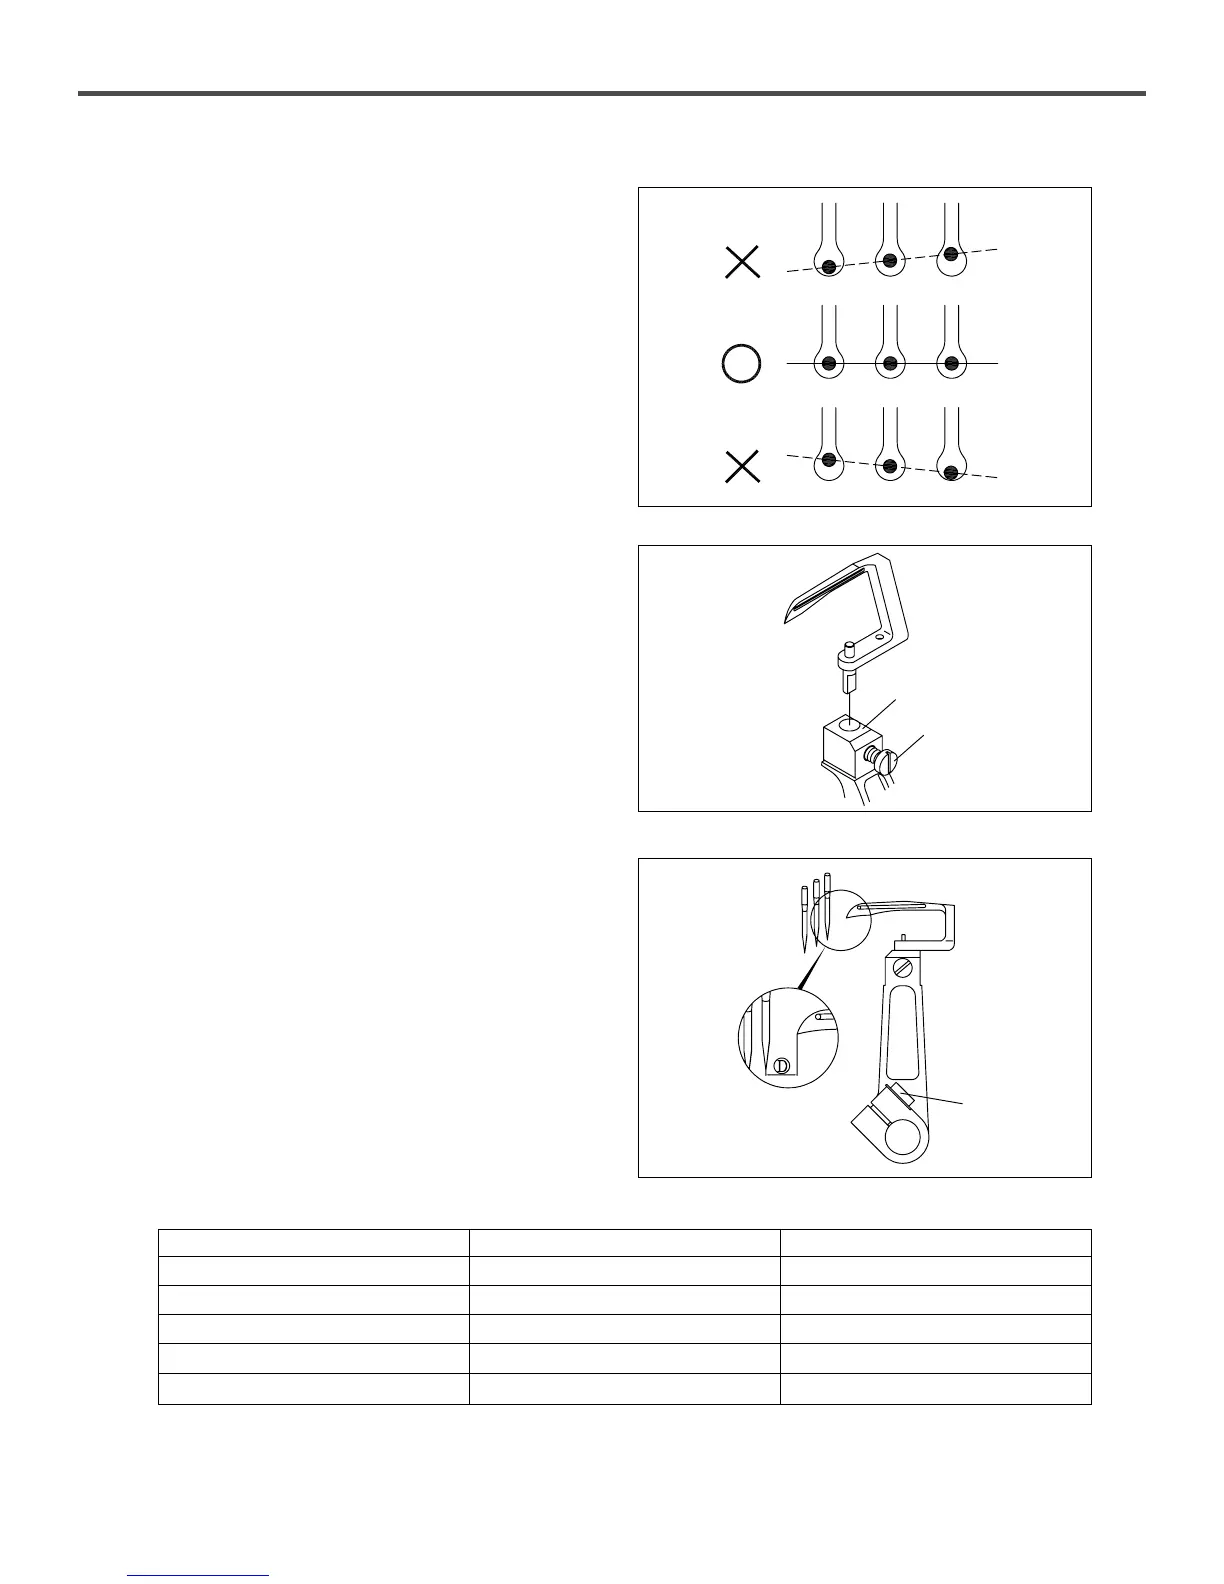
6) Relation between Needle and Needle
Plate
When the adjustment of the needle bar height is completed,
needles should be accurately positioned in line following the
solid line as in the right figure. Make sure that the needles
are not placed following the dotted line.
[ Figure 40 ]
8) Movement of Looper to the Right
When the needle bar is located at the lowest position, the
looper is on the furthest right side.
[The right-side position of the looper (distance between the
tip of the looper and the middle part of the needle) (D)]
depends on the needle distance.
Adjust [the right feed volume of the looper] based on the table below.
Adjustment can be made by loosening [the fixing screw①]
for the looper holder.
※ Without exception, the distance between the center of the
needle bar and the tip of the looper is 6mm regardless of
needle distance.
☆ To make the adjustment of the looper’s right-side feed volume easy, use [the looper timing gauge]. The timing gauge
should be purchased as an extra item. When it is needed, contact the shop where you purchased the product or SunStar
directly.
[ Figure 42 ]
7) Fixing Angle and Height of Looper
Insert the looper into the end of [the looper holder①] and
fasten [the looper fixing screw②]. Then the height and the
fixing angle (3°) are determined (See [Fig. 41])
[ Figure 41 ]
①
①
②
Gauge between Needles Gauge mark Right Feed Volume of Looper
3.2mm A 4.4 mm
4.0mm B 4.0 mm
4.8mm C 3.6 mm
5.6mm D 3.2 mm
6.4mm E 2.8 mm
 Loading...

