33
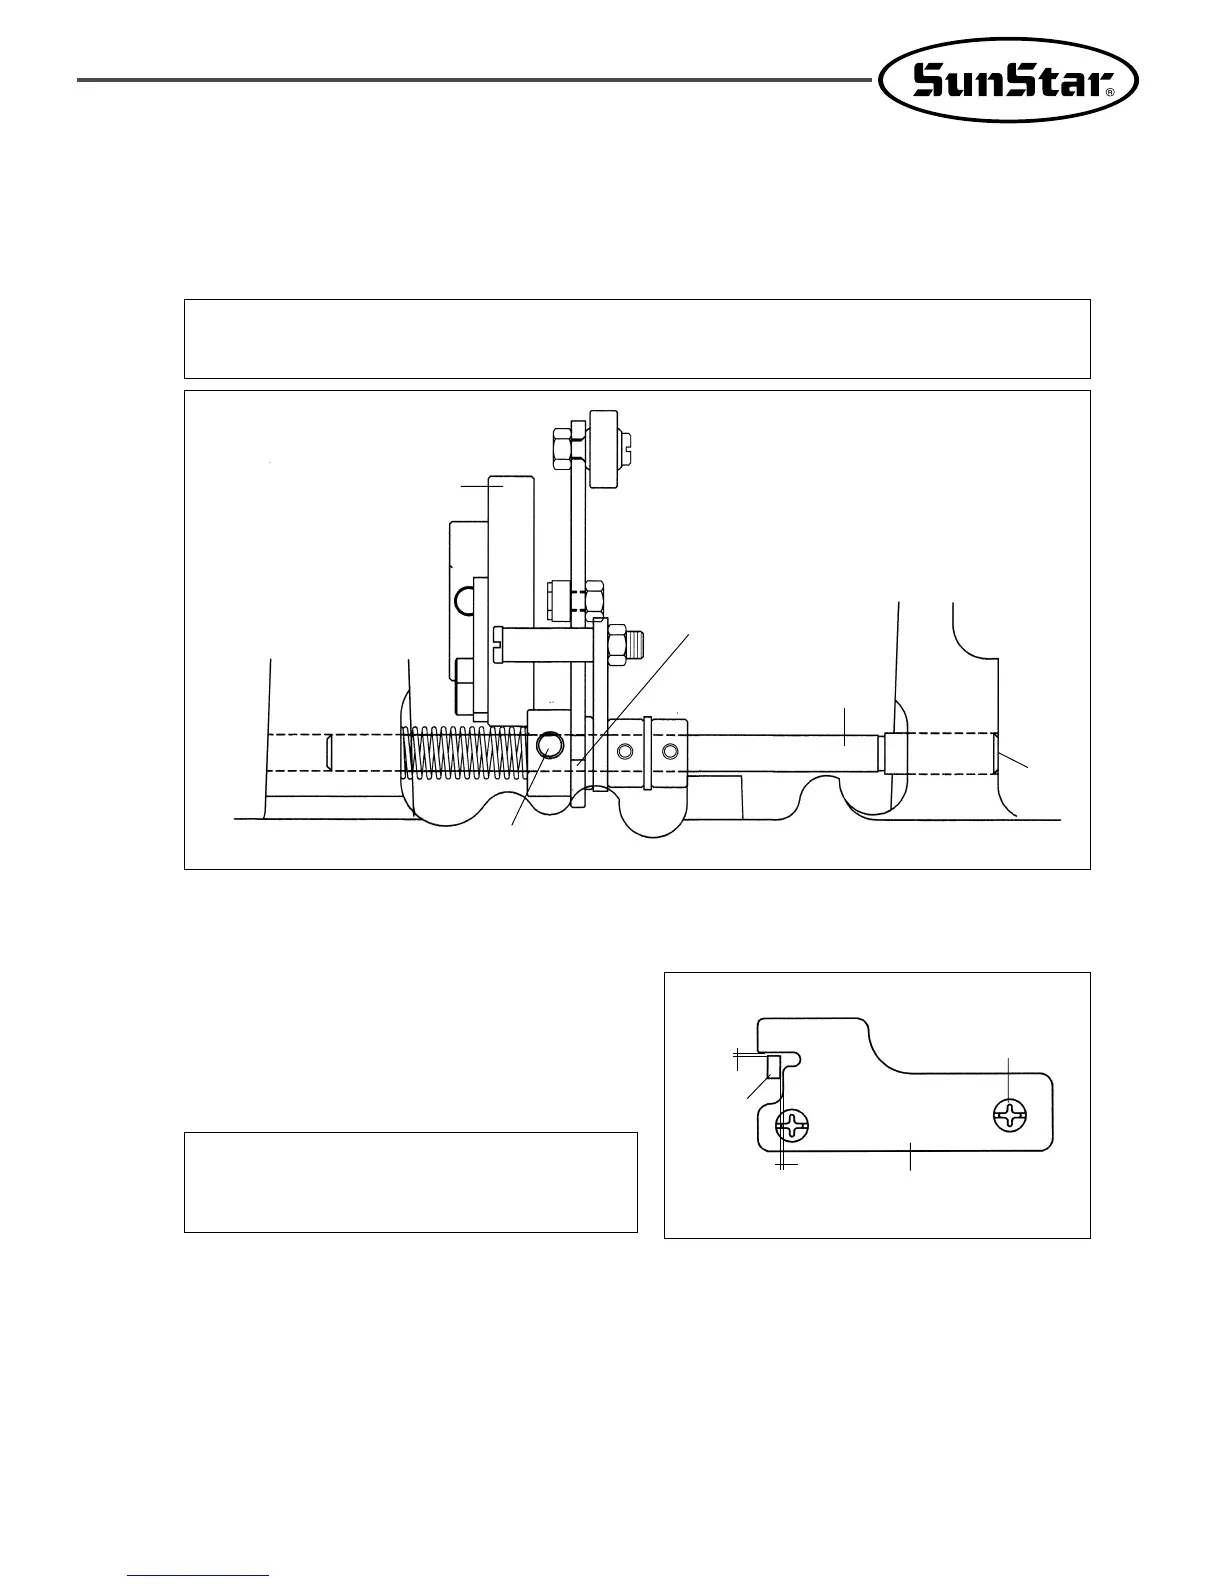
D. Unfasten the link stopper in place
ⓐ Unfasten the trimming drive link stopper screw while
trimming is not operated and have the trimming drive
link and the trimming drive link stopper notch 0.3mm
apart from each other.
ⓑ Tighten the screw.
[ Fig. 45 ]
[ Caution ]
If the link stopper is not set in the right position,
trimming may not be operated correctly and the
machine may be struck.
→
→
0.3mm
Thread
Trimmer
Driving Link
Screw
Thread Trimmer
Driving Link Stopper
→
→
0.3mm
C. Setting the trimming shaft in place
ⓐ Unfasten the trimming drive link screw and the trimming shaft collar screw.
ⓑ Make the trimming shaft tip accord with part of the arm.
ⓒ Tighten the screws.
[ Fig. 44 ]
[ Caution ]
If the position is not adjusted appropriately, trimming may not be operated correctly or the machine may be
struck.
Thread Trimmer Shaft
Thread Trimmer Cam
Screw
Thread Trimming
Driving Link
 Loading...

