23
Operational States Button
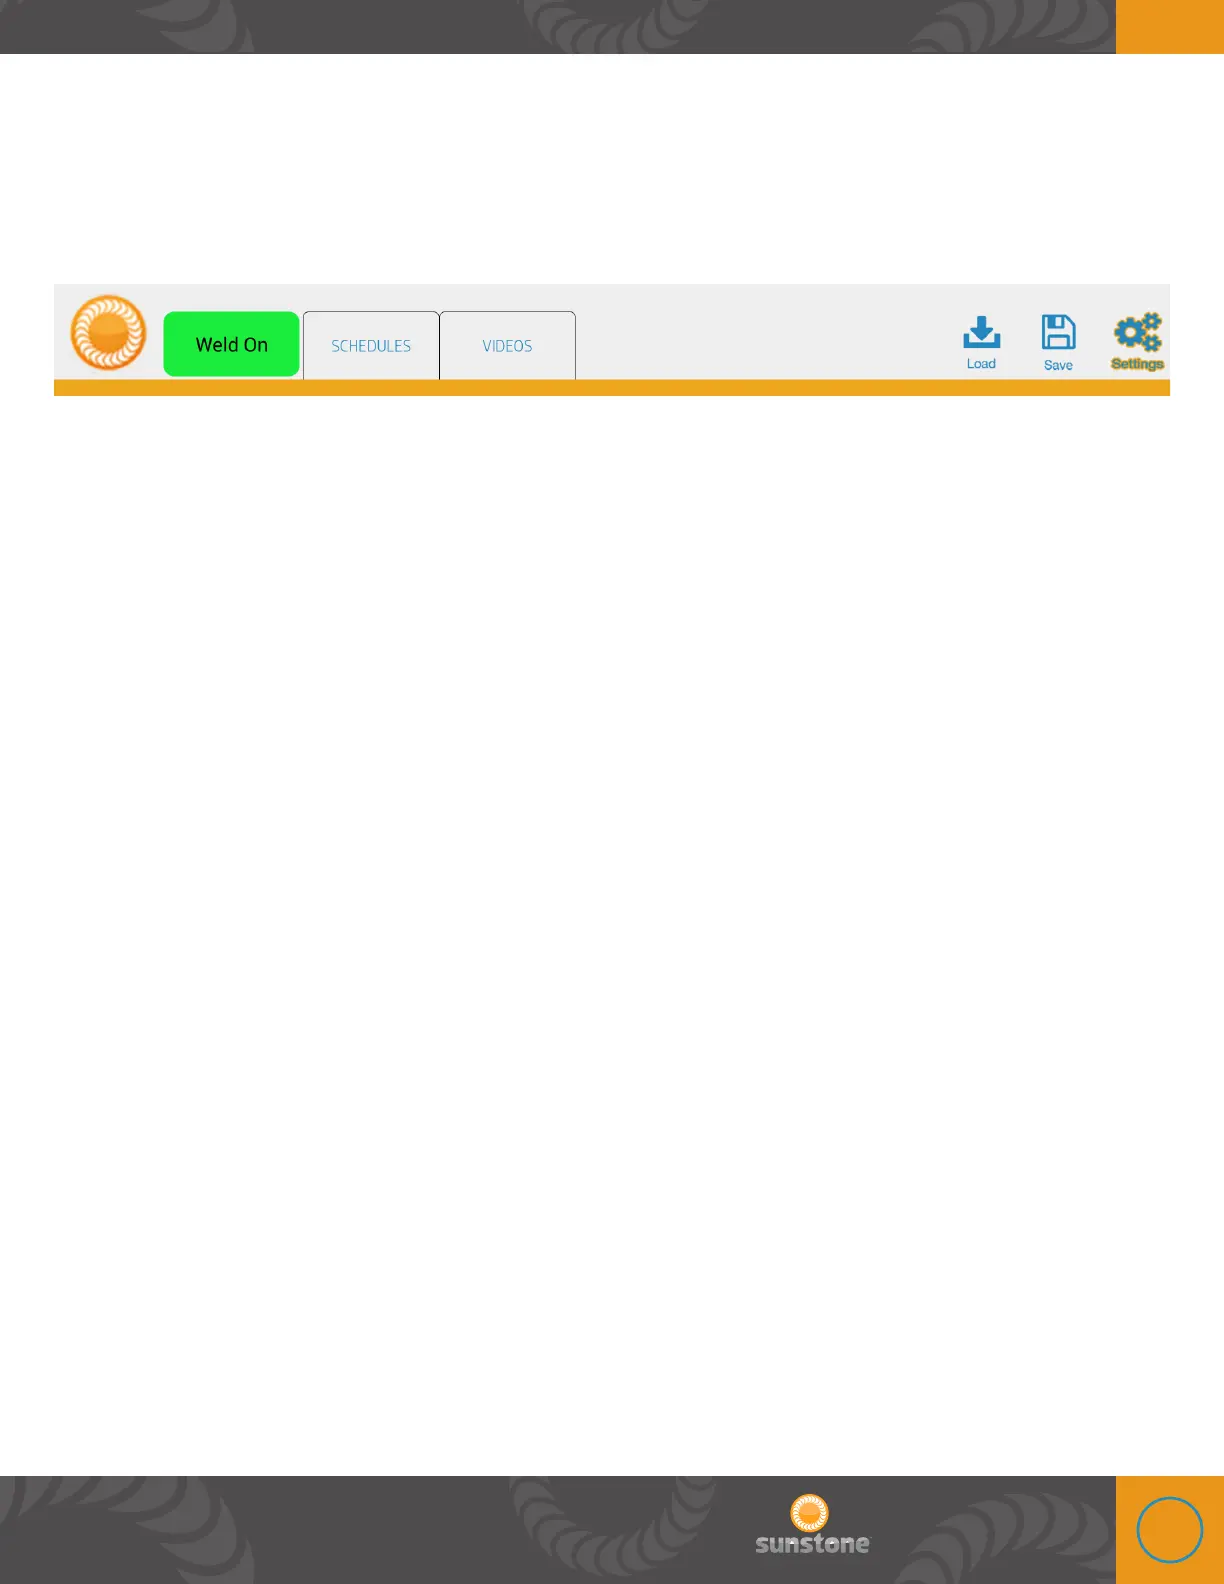
e operational states tab is next to the schedules tab and displays the welders current status.
Below is a description of each status. Remember that some of these flash by so quickly that they
may not be seen, but we will give a description of each. e main purpose and functionality of this
button is to change from “weld on” to “weld off” and vice versa.
STARTUP
After the power button has been pressed to turn the welder on, the welder will be in this state
while the user interface starts up and previous settings are being loaded. e welder automatically
transitions from this state when all startup operations have finished, no user intervention is
needed or accepted during this state.
INITIALIZING
is state indicates that the welder has started up and is building up stored energy for welding. e
welder automatically transitions to this state when stored energy levels are too low and transitions
from this state when sufficient stored energy levels have been reached. Welder and user interface
settings may be adjusted in this state, however no welds will be allowed to occur.
CHARGING
ese states are very short, usually right after a weld has occurred.
NO WELD
is state is an idle state where the no welds can occur. e welder transitions to this state after
the STARTUP and CHARGING states have occurred or if the user touches the “WELD” button on the
user interface. Welder and user interface settings may be adjusted in this state. In order for the
welder to transition from this state the user must touch the “NO WELD” button.
WELD
is is an idle state when the welder has sufficient stored energy to weld, the weld settings have
been or are being set correctly and the user has pressed the “NO WELD” button. Welder and
interface settings may be adjusted in this state, however, it is recommended that all settings be
adjust and the welder be idle before a weld trigger signal is sent to the welder. e welder will leave