28
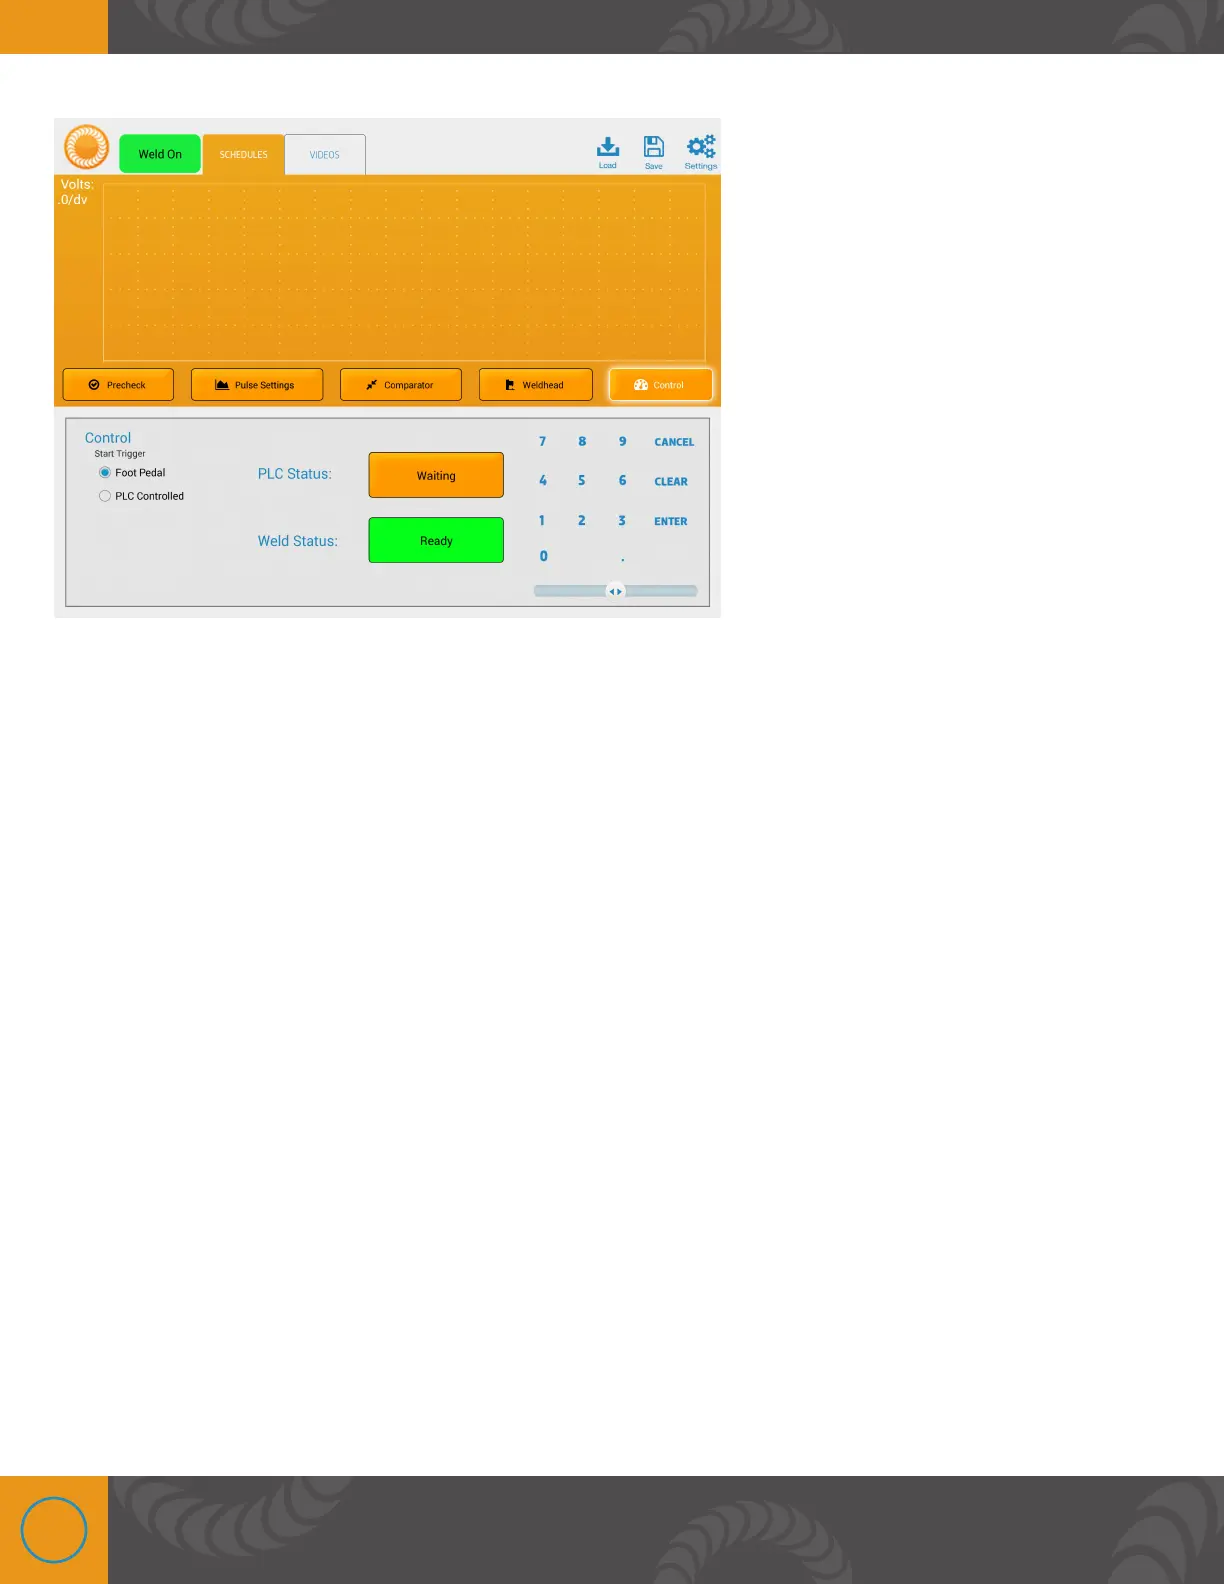
CONTROL
Perform a Weld
BASIC WELDING STEPS
1. Ensure that the weld head or welding attachment cables are connected correctly and tightly
to the (-) and (+) terminals.
2. Power on the welder and set weld parameters accordingly (weld pulses, voltage, length,
agitation, etc.). If this is the first time welding the part, start with the voltage at 1 volts and
weld length around 10ms. These settings will likely not produce a quality weld; but they will
serve as a good place to start.
3. With the Linear DC in a “no weld” state, check the part height. Check for obstructions or
anything that could short between (+) and (-) electrodes.
4. Verify that the weld head is actuating (see chapter 1 “Welding Attachments” section and the
weld head or weld attachment user manual for setup instruction)
5. Actuate the weld head with the part in place and verify that the desired stroke is possible
and that pinching of the part actually takes place.
6. Set the spring force on the weld head if equipped (half of max force is often a good starting
point).
7. Press the “Weld: On” button to activate the welder.
8. Initiate the weld (lower the weld head or hand attachment electrodes).