41
Chapter 3: Maintenance and Component Installation
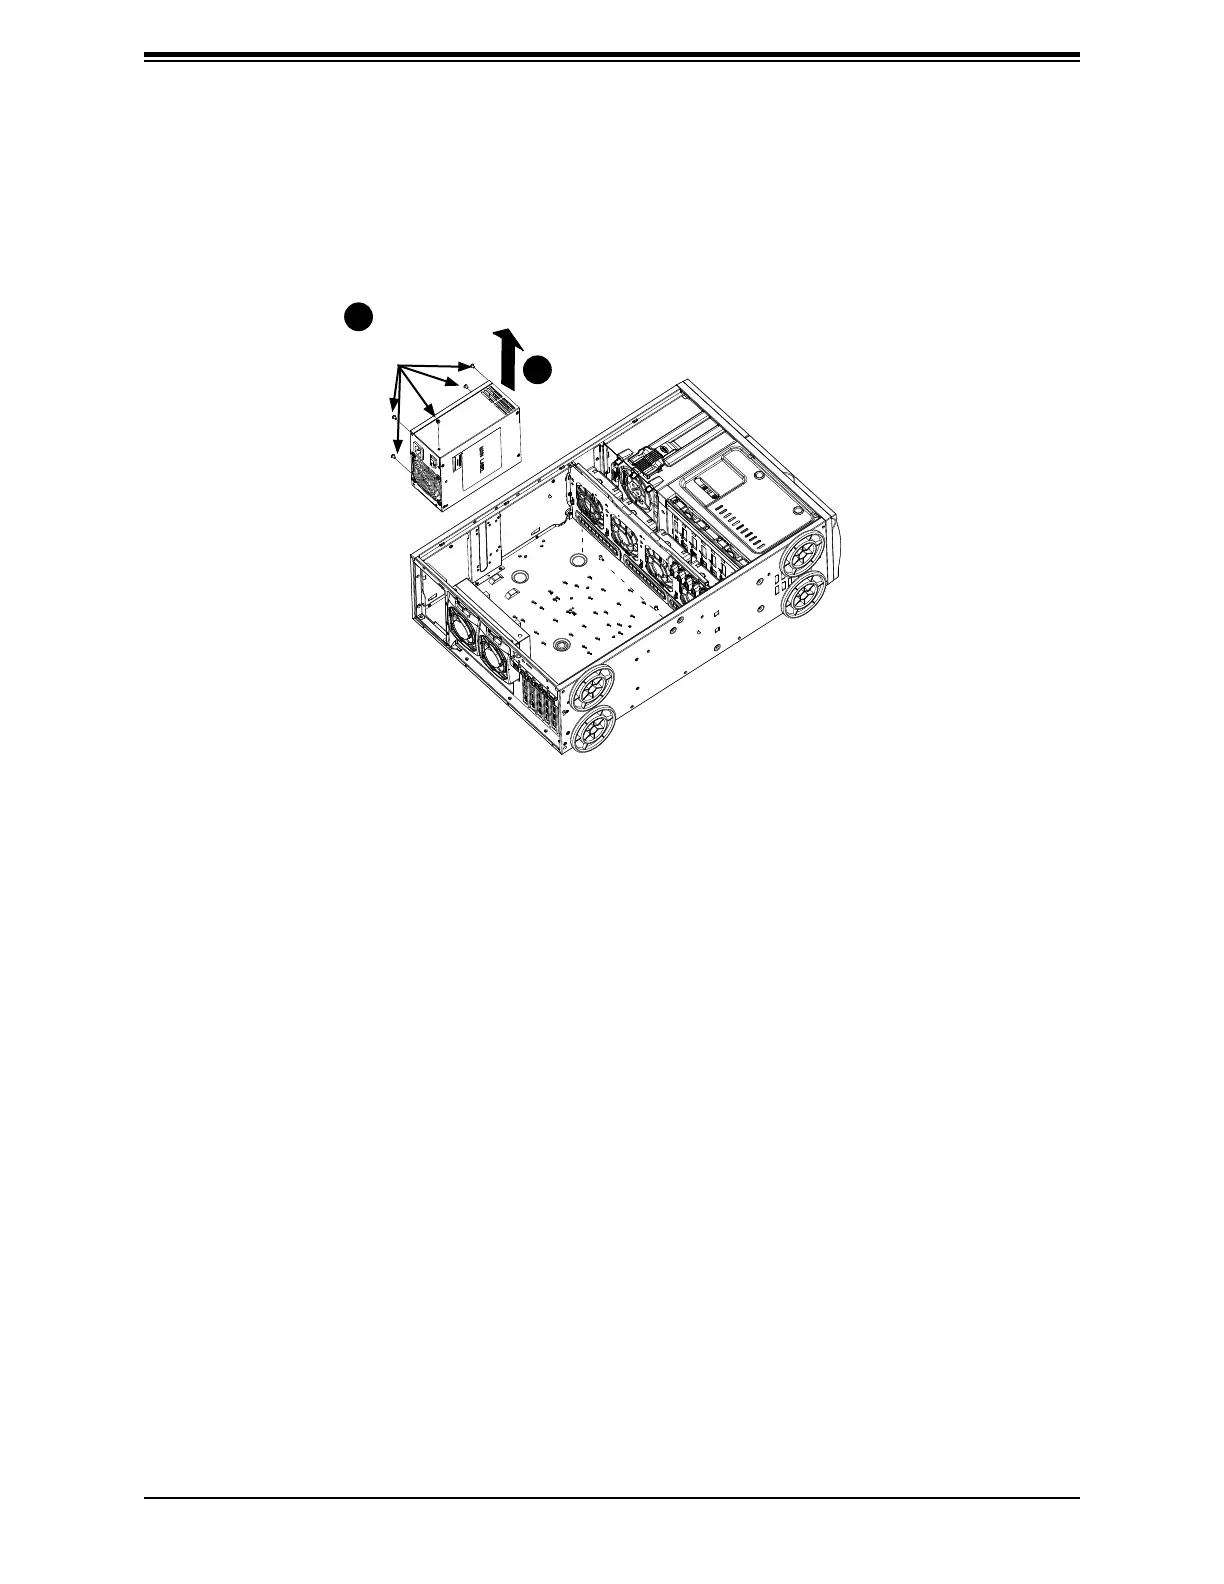
3. Using a Phillips head screwdriver, remove the ve screws securing the power supply to
the chassis as shown above, and set them aside for later use.
4. Carefully lift the power supply up and out of the chassis.
Figure 3-17. Removing the Interior Chassis Screws on the Power Supply
1
3
1
4
Remove
Screws
5. Install the replacement power supply in the chassis.
6. Replace the screws which were set aside previously.
7. Replace any other components in the chassis that have been removed and replace the
chassis cover before replacing the power cord and powering up the system.
 Loading...