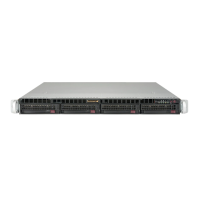
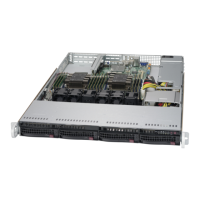
SuperServer 1029P-WTRT User's Manual
23
Chapter 3
Maintenance and Component Installation
This chapter provides instructions on installing and replacing main system components. To
numbers given.
system. Please follow the procedures given in each section.
3.1 Removing Power
Use the following procedure to ensure that power has been removed from the system. This
step is necessary when removing or installing non hot-swap components or when replacing
a non-redundant power supply.
1. Use the operating system to power down the system.
2. After the system has completely shut-down, disconnect the AC power cord(s) from the
power strip or outlet. (If your system has more than one power supply, remove the AC
power cords from all power supply modules.)
3. Disconnect the power cord(s) from the power supply module(s).
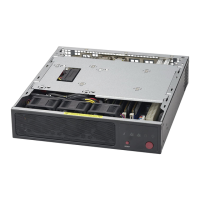
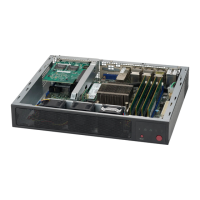
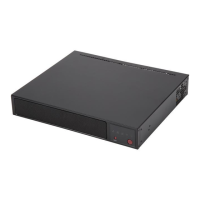
3.2 Accessing the System
The SC116AC2-R706WB features a removable top cover, which allows easy access to the
inside of the chassis.
Removing the Top Cover
1. Begin by removing power from the system as described in Section 3.1.
2. Simultaneously press down on the two release buttons on the chassis cover.
3. Slide the cover toward the rear of the chassis.
4. Lift the cover off the chassis.
Warning: Except for short periods of time, do not operate the server without the cover in place.