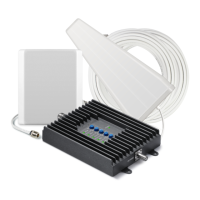
SureCall | 48346 Milmont Drive, Fremont CA 94538 | 1-888-365-6283 | support@surecall.com
7
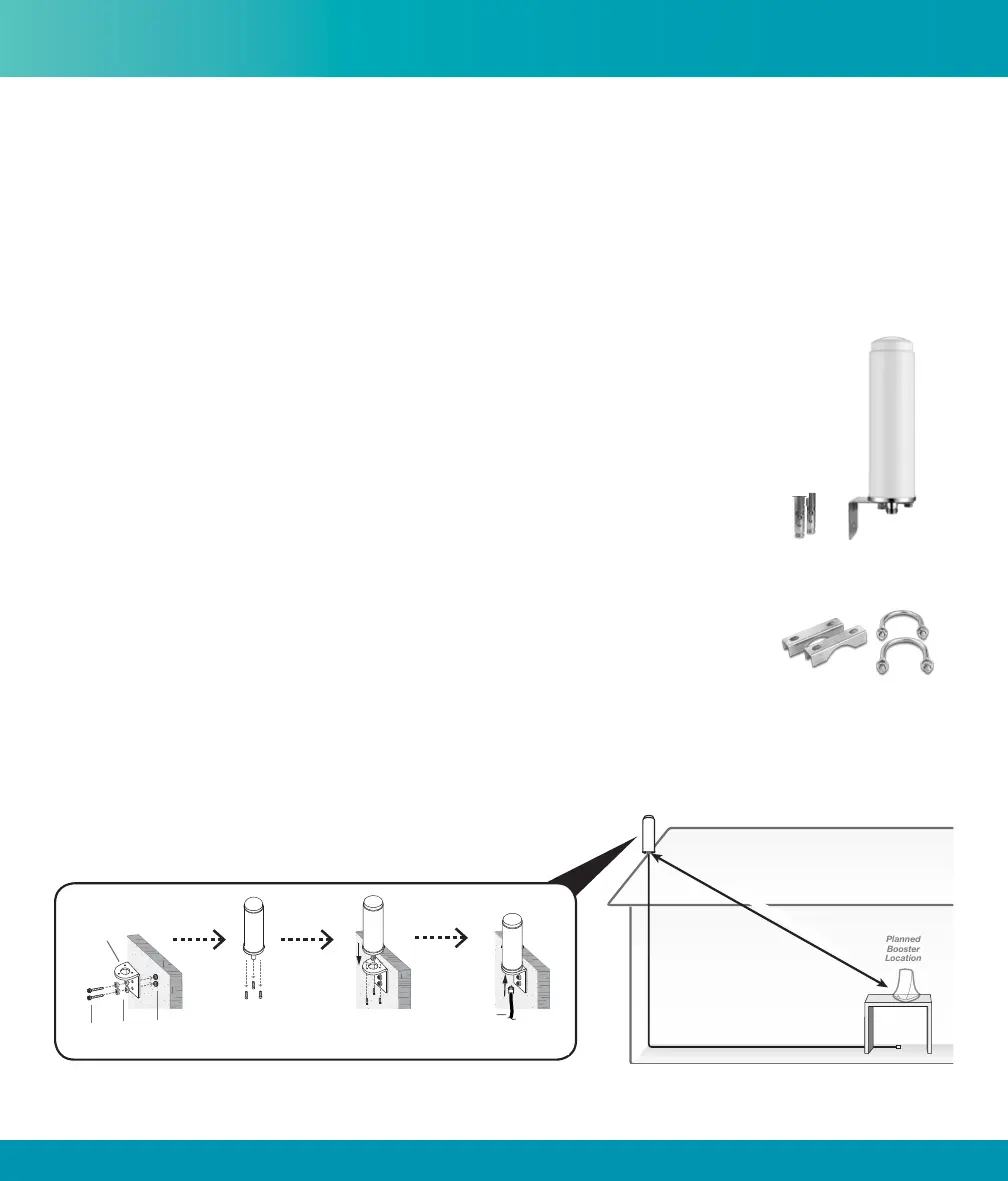
Step 2. Install the Outside Antenna
After identifying the area of strongest signal, choose the surface where you will mount the outside antenna.
Using the provided hardware, mount the outside antenna at the highest possible elevation, allowing a minimum
separation of 25 feet from the planned location of the booster.
Once the outside antenna is secured, connect one end of the provided cable to the outside antenna and tighten the
connection.
Do not collocate antennas or operate the outdoor antenna with any other antenna or signal booster.
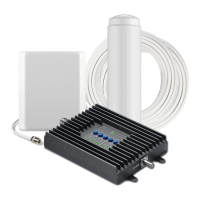
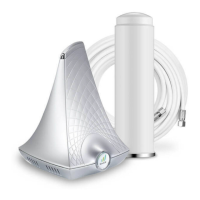
Option A: Omni Antenna
The omni antenna is omni-directional, which receives and sends signals in a 360º radius.
The provided hardware allow for either a surface mount or pole-mount.
Mount antenna to a vertical surface:
1. Using vertical plate of bracket, mark position of desired placement. The omni
antenna should be mounted in an upright position (See “Omni Outside Antenna Install
Illustration” on page 7)
2. Unscrew nut from end of stucco screw and remove it along with lock washer and
regular washer.
3. Place vertical plate into desired location and tap the screws, head rst, along with
sleeve, into stucco 1/2 to 5/8 inches deep into place.
4. In this order, place washer, lock washer and nut on each screw and tighten until
secure. When tightening screw, sleeve will expand to secure plate.
5. Remove screws from antenna base and use to secure antenna onto horizontal plate.
6. Connect antenna to one end of the provided RG6 cable and tighten the connection. Run the cable along route
to planned location of your booster.
Note: Alternate screws may be required for diering surfaces such as wood or concrete.
Installation
Pole-mount hardware
Omni antenna with
surface mount hardware
Cable
Outside
Antenna
min
i
mum
2
5 f
t.
sep
a
rat
i
o
n
Nuts &
Washers
L-Bracket
Cable
Anchors /
Sleeves
Screws
Omni Outside Antenna Install Illustration