11
LOADING:ProductTanks
· Allproducttanksmustbecleanedproperly,sanitizedwithan
approvedsanitizingsolutionaccordingtothemanufacturer’s
specifications,andairdriedbeforetheyareloadedinto
dispensers. Followcleaninginstructionsonpage 22.
· Tanksaretobeloadedintothedispenserwiththepower
switchON.
· Tanksshouldbefilledwithchilledproductbeforetheyare
loadedintothedispenser.FilltotheFULLlevelwith product
chilledto41°F(5°C)orless.
· Seepage12forFillinPlacedispensers.
1. Sanitizeyourhandsorwearcleanglovestoinstallproduct
tan k,tankcover,anddeliverytube.
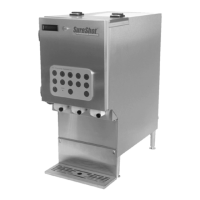
2. Installthedispensingtub eontothetankspout. Tomaintain
sanitation,donotcutthetubeuntilyouarereadytoattachitto
thetank. Removetheplasticfilmcoveringthetube. Cutthe
tubesmoothly,withnojaggededges. Savetheotherhalfof
thetubeforanothertank. Pushthecutendofthetubeonto
theoutletspoutatthebottomfrontoftheproducttank. Push
the tubeallthewaytothetopofthespout.
· Attachanewdispensingtubeeverytimethetankis
cleaned.
3. Opentheproductcompartmentdoor.
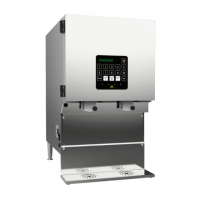
4. Opentheproductdispensingvalvedoorbyturningtheknob
screwcounterclockwise.
5. Placethetankandlidinthedispenser,withtheproduct
deliverytubefacingtothefront. Installtheappropriatetankfor
eachproductvalve.
6. Alignthetubeinthecentralverticalgrooveofthevalveblock.
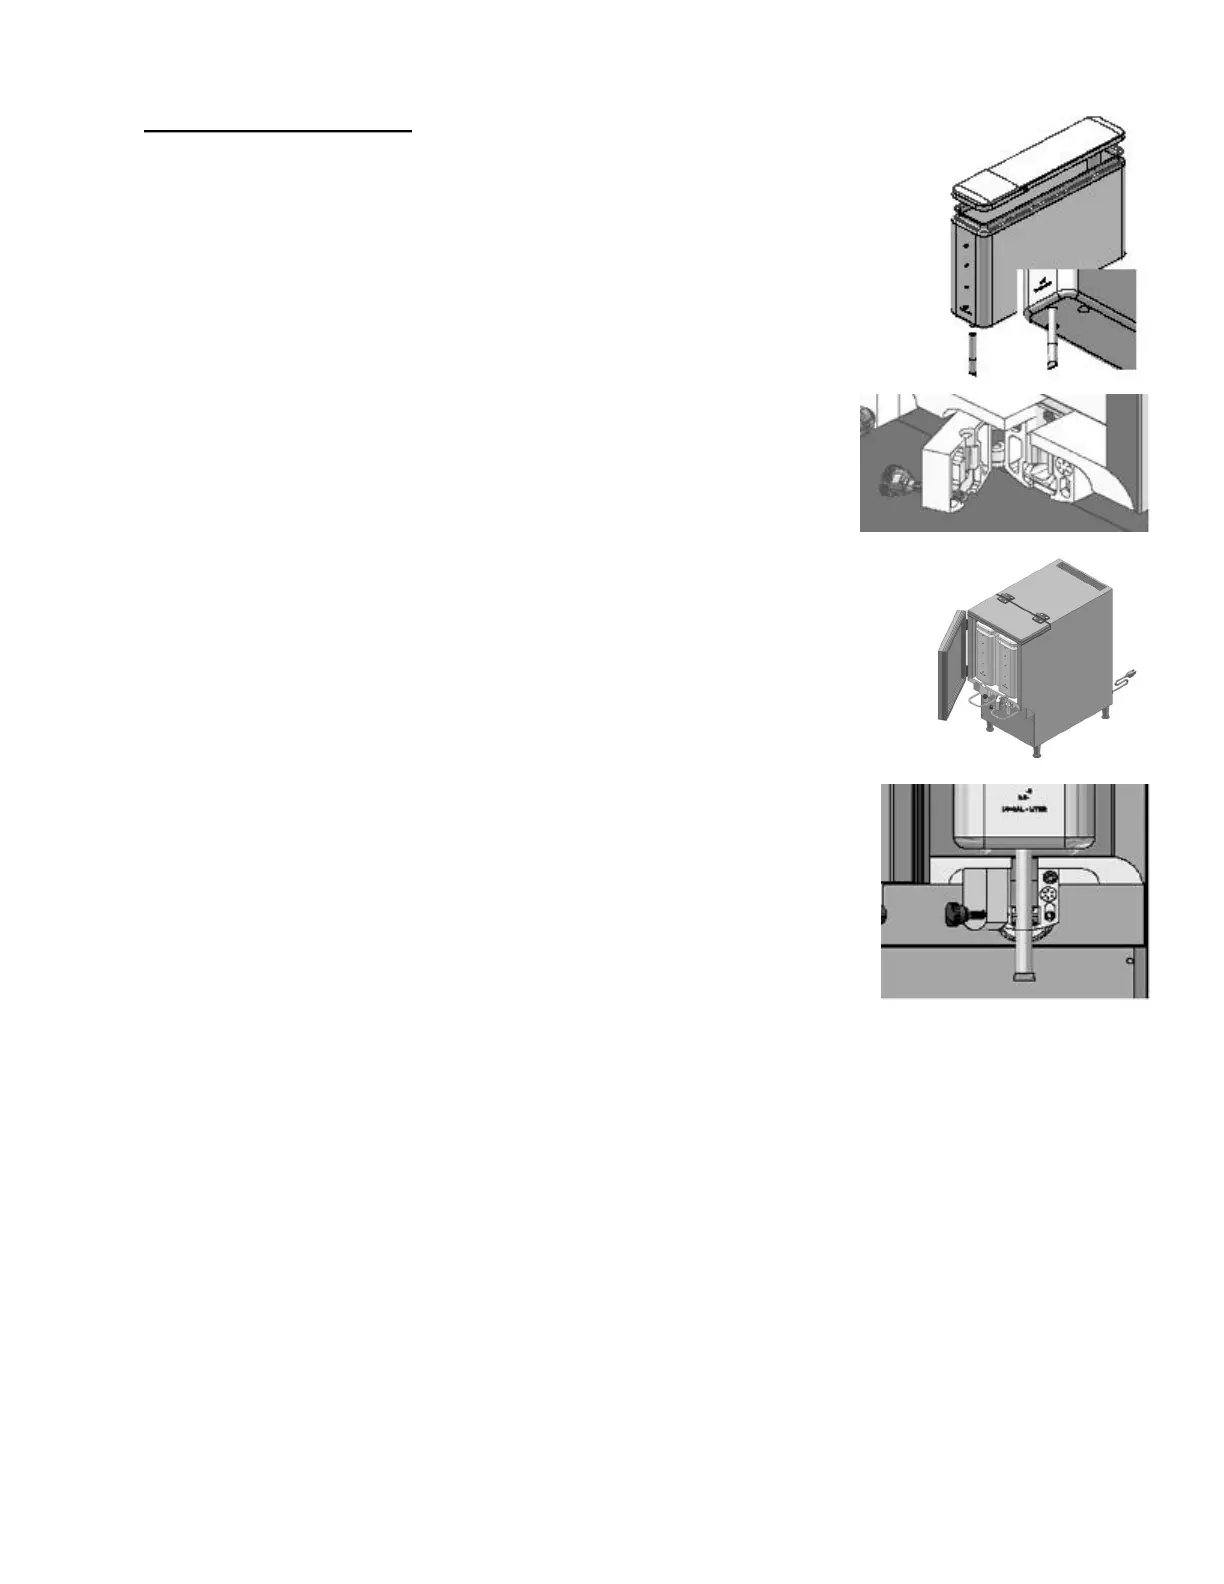
7. Closethedispensingvalvedoor,byturningtheknobscrewin
aclockwisemotionuntilthedoorissnug. Makesurethetube
isintheverticalgrooveandisnottwistedorpinchedduring
installation.Donotovertightenthescrew.
8. Carefullycuttheproductdeliverytubeata45°angleata
maximumlengthof5/8”fromthebottomofthevalveblock.
Discardthecutportionofthetube.
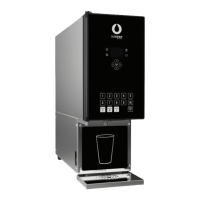
9. Openthefrontdoorofthedispenserandflipop enthetopaccessdoortogainaccessto
thetanklids.
10. Flipupthetanklidforthetanktobefilled.
11. Pourappropriateproductintothattank.FilltotheFULLlevelwithproductchilledto41°F/
5°C.orless.
12. Closetanklids.Closethetopaccessdoor.
Thedispenserisreadyforuse.
 Loading...