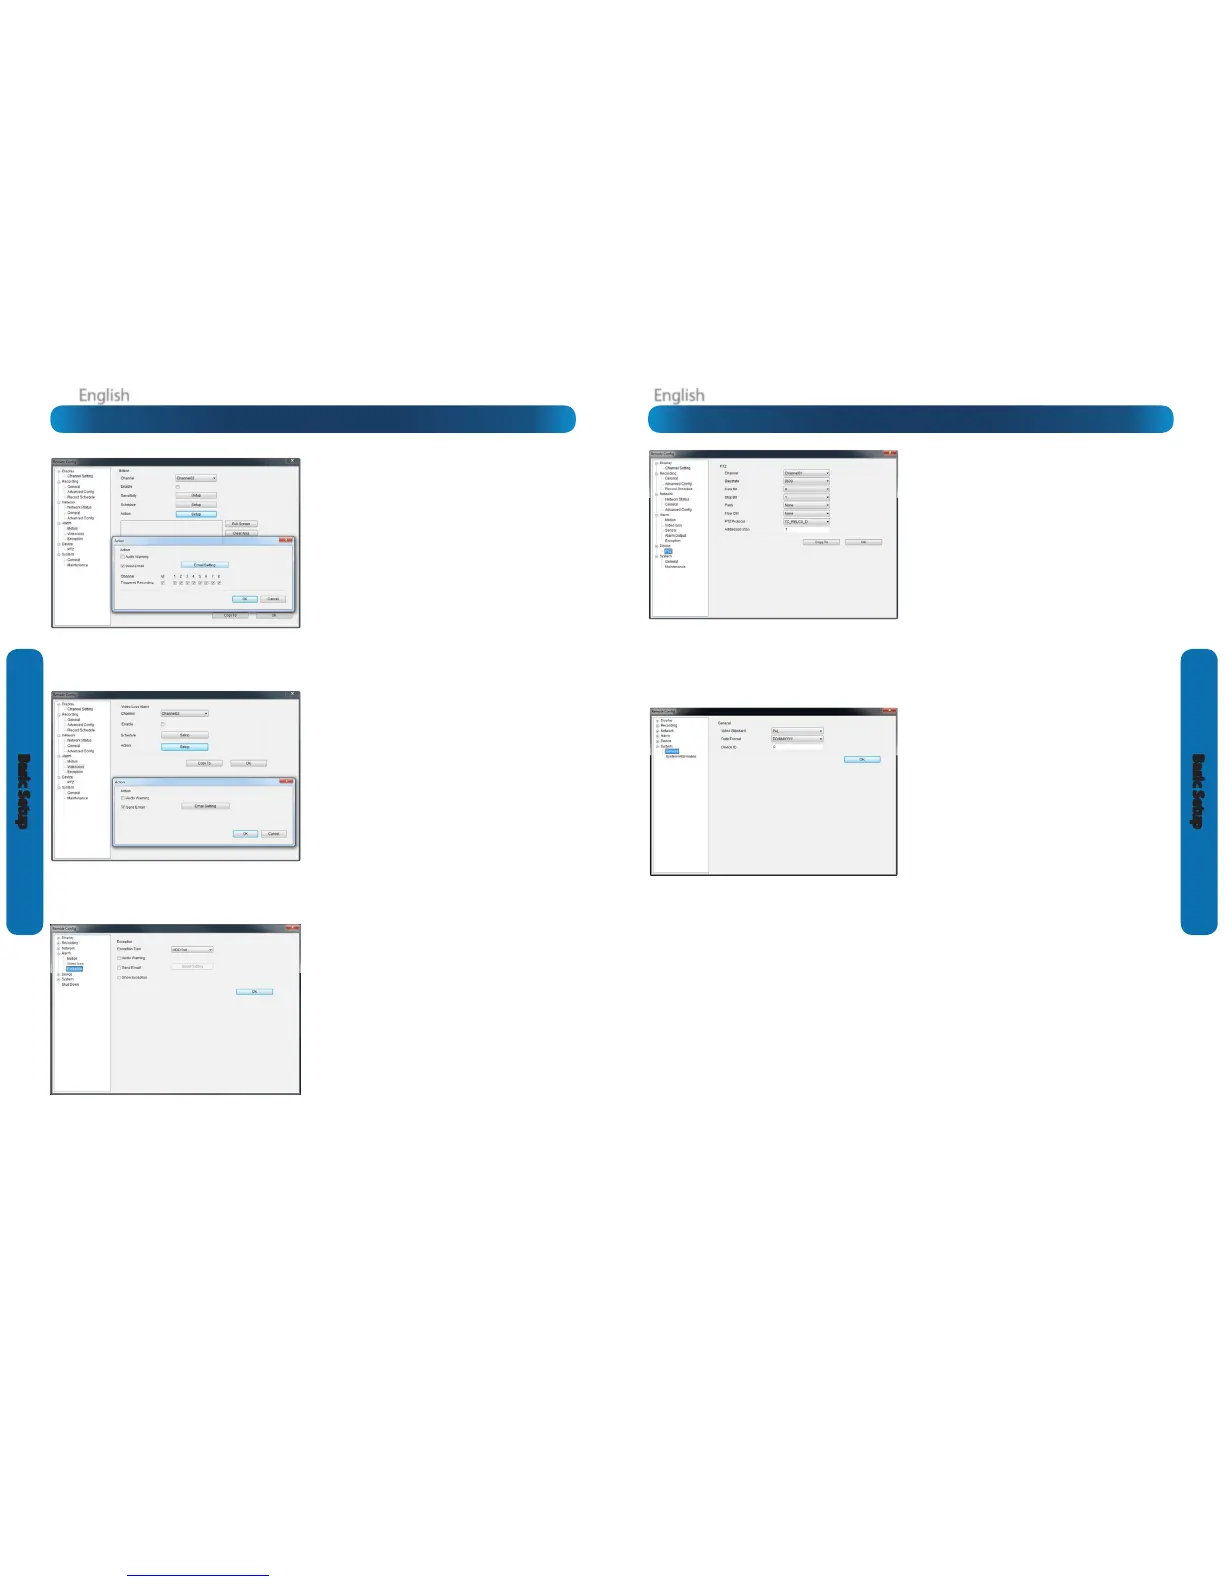
Device: PTZ (see page 48)
Channel: The channel you’d like to congure a PTZ camera for.
Settings: See page 48 for more information about the PTZ
settings you’ll nd here.
You’ll probably need the documentation that came
with your PTZ camera to gure out how to ll out this
conguration page.
System: General (see page 50)
System Standard: Changes between PAL or NTSC standards.
NTSC operates at 30 frames per second, and has an eective
resolution of 704 x 480. It’s used in countries with 60Hz power,
such as the United States, Canada, Japan and so on.
PAL operates at 25 frames per second, and has an eective
resolution of 704 x 576. It’s used in countries with 50Hz power,
such as most of Europe, the United Kingdom and Australia.
If this is not set correctly, images on your DVR may be black
and white, ickering or simply not there at all.
If you change the System Standard, it automatically forces a
reboot of the DVR. This will happen the instant you click OK.
Date Format: How you’d like the date displayed.
Device ID: A code dierentiating this DVR from other DVRs or
DVR-like devices. You can leave this setting - it’s only important
if you’re got multiple DVR’s and you’re planning to use them on
the same network or share PTZ device control.
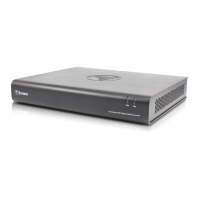
Alarm: Motion Detection (see page 42)
Channel: The channel you’re conguring the motion detection
settings for.
Enable: Whether the motion detection is enabled for the
channel currently selected.
Sensitivity: A sliding scale between 1 and 50. The number refers
to the number of pixels (as a percentage) that have to “change”
between frames - okay, this one is a little more complex than
this summary will allow. Seriously - check out page 42 for a
much more useful explanation of how motion detection works.
Action: What you’d like the DVR to do when it detects motion.
Typically (assuming the schedule is congured to do so) this will
be to record video. It can also be a cue to trigger an email alert,
or to sound the DVR’s internal buzzer.
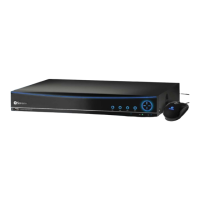
Alarm: Video Loss (see page 45)
Action (Check boxes): Whether you’d like the DVR to send an
email alert or to sound the DVR’s internal buzzer.
Arm Schedule: The times of day/week you’d like the DVR to be
“armed” to detect video loss.
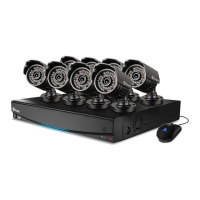
Alarm: Exception (see page 45)
Exception Type: What event type you’d like the DVR to react to.
By conguring the Action for these events, you can create any
combination of audio alerts (see below) or auto-emails to be
sent for dierent event types.
Audio Warning: Sounds the DVR’s internal buzzer.
Send Email: Commands the DVR to send an email alert.
Show Exception: Shows any alerts that occur at the bottom
right corner of the main screen. Double-click on the alert
notication to see details.