Setup
8
SwannEye IP Camera
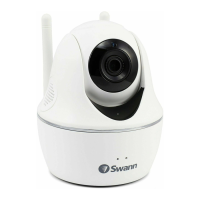
3.3. Bottom View
The reset switch is located on the rear of the camera, right under the antenna.
If you ever need to reset the camera back to factory settings and are unable to do
this from the menu screens, you can use the reset switch.
With the power on, insert a small non-pointed implement (such as a paperclip
or toothpick) into the hole until you can detect the button being depressed and
hold for at least ve seconds.
4. Installation
Before mounting your camera, we recommend you plug it in and congure it to
ensure you it is working the way you want. Even if you plan on using the camera
wirelessly, the initial conguration needs to be done through a wired (LAN)
connection.
1. Screw the antenna into the antenna mount at the rear of the camera
2. Attach an ethernet (LAN) cable to the RJ45/LAN port at the rear of the camera
3. Attach the other end of the cable to either your PC (for a direct connection)
or to your router (to congure it over your local area network (LAN).
4. Plug the power supply into the DC5V socket in the rear of the camera and the
other end into a power outlet.
Power supply: Make sure you use only the power adapter supplied with the
device. Using a non-approved adapter may damage the camera.
Self-Test: When powered on, the camera will perform a self test which will take
about 30 seconds. This may include the head rotating through a range of motions
before coming to rest in the centre as well as the Network Activity LED blinking.
 Loading...