©2018 SwellPro All Rights Reserved
14
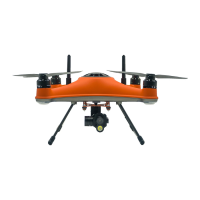
The Spry is supplied with a high-voltage lithium battery (LiHV) and a corresponding charger.
To charge the drone battery: Plug in the charger. After 3 seconds, its four status lights will flash left and right
indicating the charger is ready. Connect the battery to the charger using the supplied adapter cable. The
larger plug on the cable is inserted into the top port of the charger. The plugs are designed to prevent them
being inserted incorrectly.
After the battery is connected, the four battery status indicators show the level of charge: 25%, 50%, 75%,
and 100%. When all 4 lights are solid ON, the battery is fully charged.
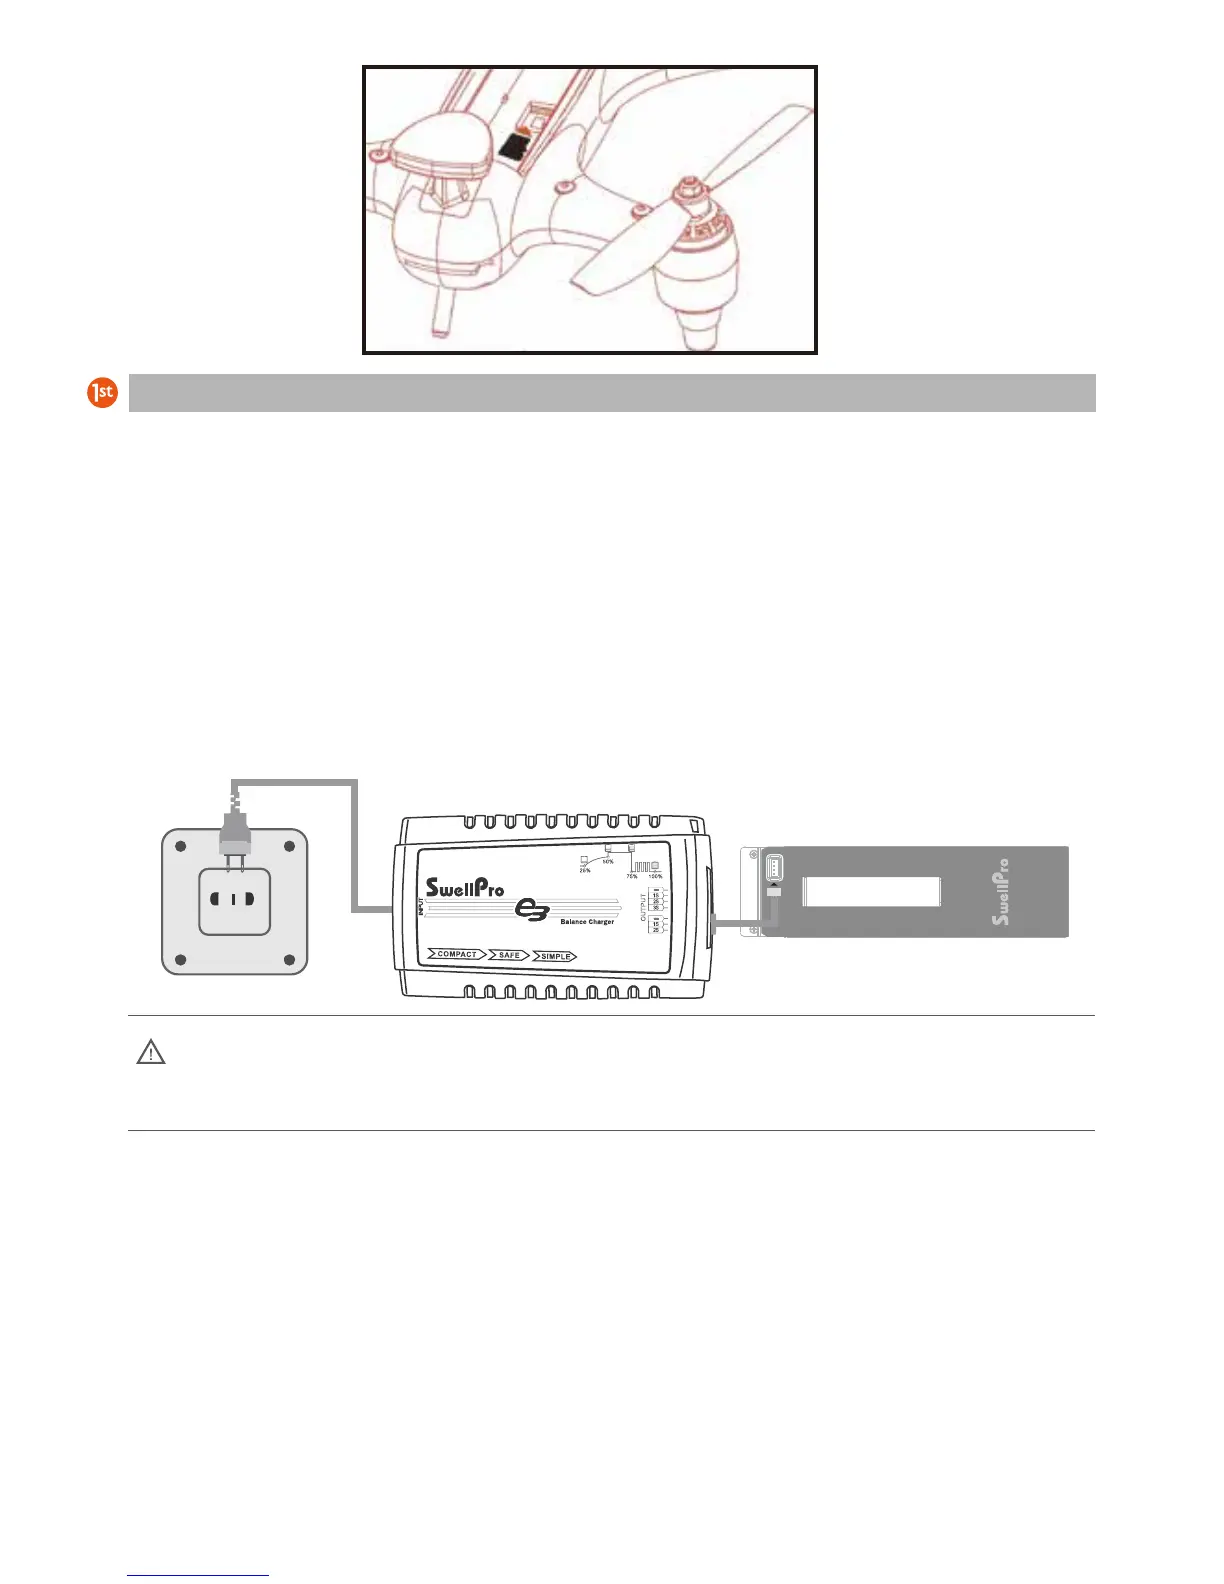
Battery
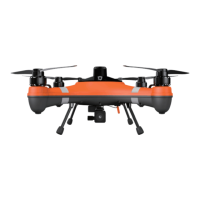
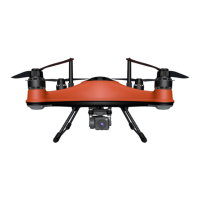
a) Twist open the battery hatch lock. Grasp the forward end of the battery cover with the
provided tool and pull the battery cover up.
b) Insert the battery vertically into the drone with the contacts towards the back of the drone
and press down until it is properly seated.
Battery Installation
Note: If the four indicators flash at the same time, the charger or battery is faulty. Stop
charging and check all connections.