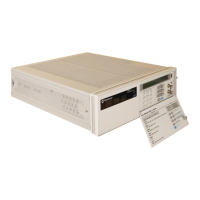
4. Replacing Assemblies - Disassembly and Reassembly
Introduction
160
4. Replacing Assemblies -
Disassembly and Reassembly
Introduction
This chapter contains the instructions for removing major assemblies in
the 5071A. To install an assembly, reverse the removal instructions
(except for A17 CBT).
WARNING
HAZARDOUS VOLTAGES ARE ON THE A16 POWER SUPPLY
MODULE. WAIT AT LEAST THREE MINUTES FOR THE
CAPACITORS ON THE A16 POWER SUPPLY MODULE TO
DISCHARGE BEFORE WORKING ON THIS INSTRUMENT.
CAUTION
Do not replace assemblies with the instrument turned on. Damage
to components can occur.
Figures 2-1, and 5-1 are provided to complement the removal and
replacement procedures. Refer to Chapter 5, “Replaceable Parts,” for the part
number of assemblies and modules.
Tools Required
The following tools are required for the removal and replacement procedures:
Hand TORX 8 screwdriver and bit (T8)
Hand TORX 10 screwdriver and bit (T10)
Hand TORX 15 screwdriver (T15)
Hand TORX 25 screwdriver (T25)
9/16-inch Spintite
7-mm Spintite
1/4-inch open end wrench
7-mm open end wrench
7/16-inch socket and an 8.5 inch-pound torque wrench
6-mm combination wrench
5/16-inch combination wrench
Small Diagonal Side Cutter
Clean linen for dress-surface cleaning
95/100 % Methyl, Ethyl, or Isopropyl alcohol for cleaning

 Loading...