OPERATION
3.3.10 AUTO DAYLIGHT SAVINGS MENU SCREEN
Subsequent pushing of the MENU keyboard switch will display the Auto Daylight Savings
Menu Screen which is shown below and contains this choice:
Column:
Row 1
Row 2
Pushing the “1” keyboard switch will alternately enable or disable the Auto Daylight Savings
Time feature. It can also be programmed to automatically turn on/off for up to ten years using
the RS-232 I/O port. Refer to Chapter Four of this manual.
3.3.11 MUX OUTPUT MENU SCREEN
Subsequent pushing of the MENU keyboard switch will display the Mux Output Menu Screen
which is shown below and contains these choices:
Column:
1 5 10 15 20 25 30 35 40
| | | | | | | | |
AUTO DAYLIGHT SAVING <1> OFF
1 5 10 15 20 25 30 35 40
| | | | | | | | |
MUX OUT <1>CH: 1 <2>OUTPUT:DC CODE
<3,5>KEYLOCK: OFF
Row 1
Row 2
The rear panel BNC connectors (J4 through J9) can be configured to output various timing
signals using the internal jumper pins and the front panel keyboard.
If the MUX input to any output buffer is jumper selected, one of sixteen inputs to that
multiplexer can be selected via the front panel keyboard.
This menu screen allows selection of the outputs on the rear panel BNC connectors J4 through
J9.
Pushing the “1” front panel keyboard switch cycles through the output channels (1-4).
Channel One controls MUX outputs on J4 and J9.
Channel Two controls MUX outputs on J5 and J8.
Channel Three controls MUX outputs on J6.
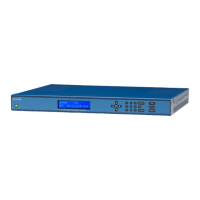
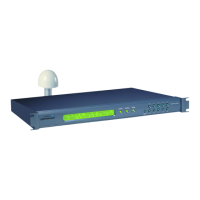
Symmetricom Inc ET6xxx ExacTime GPS TC & FG (Rev C) 3-21
 Loading...