TM8100/TM8200 Installation Guide Installing the Radio 15
© Tait Limited November 2012
1. Plug the control-head loom onto the control-head connector.
2. Place one edge of the control head on either the top or bottom pair
of snap features on the front of the radio body, then rotate to snap the
opposite edge into place.
Removing the
Control Head
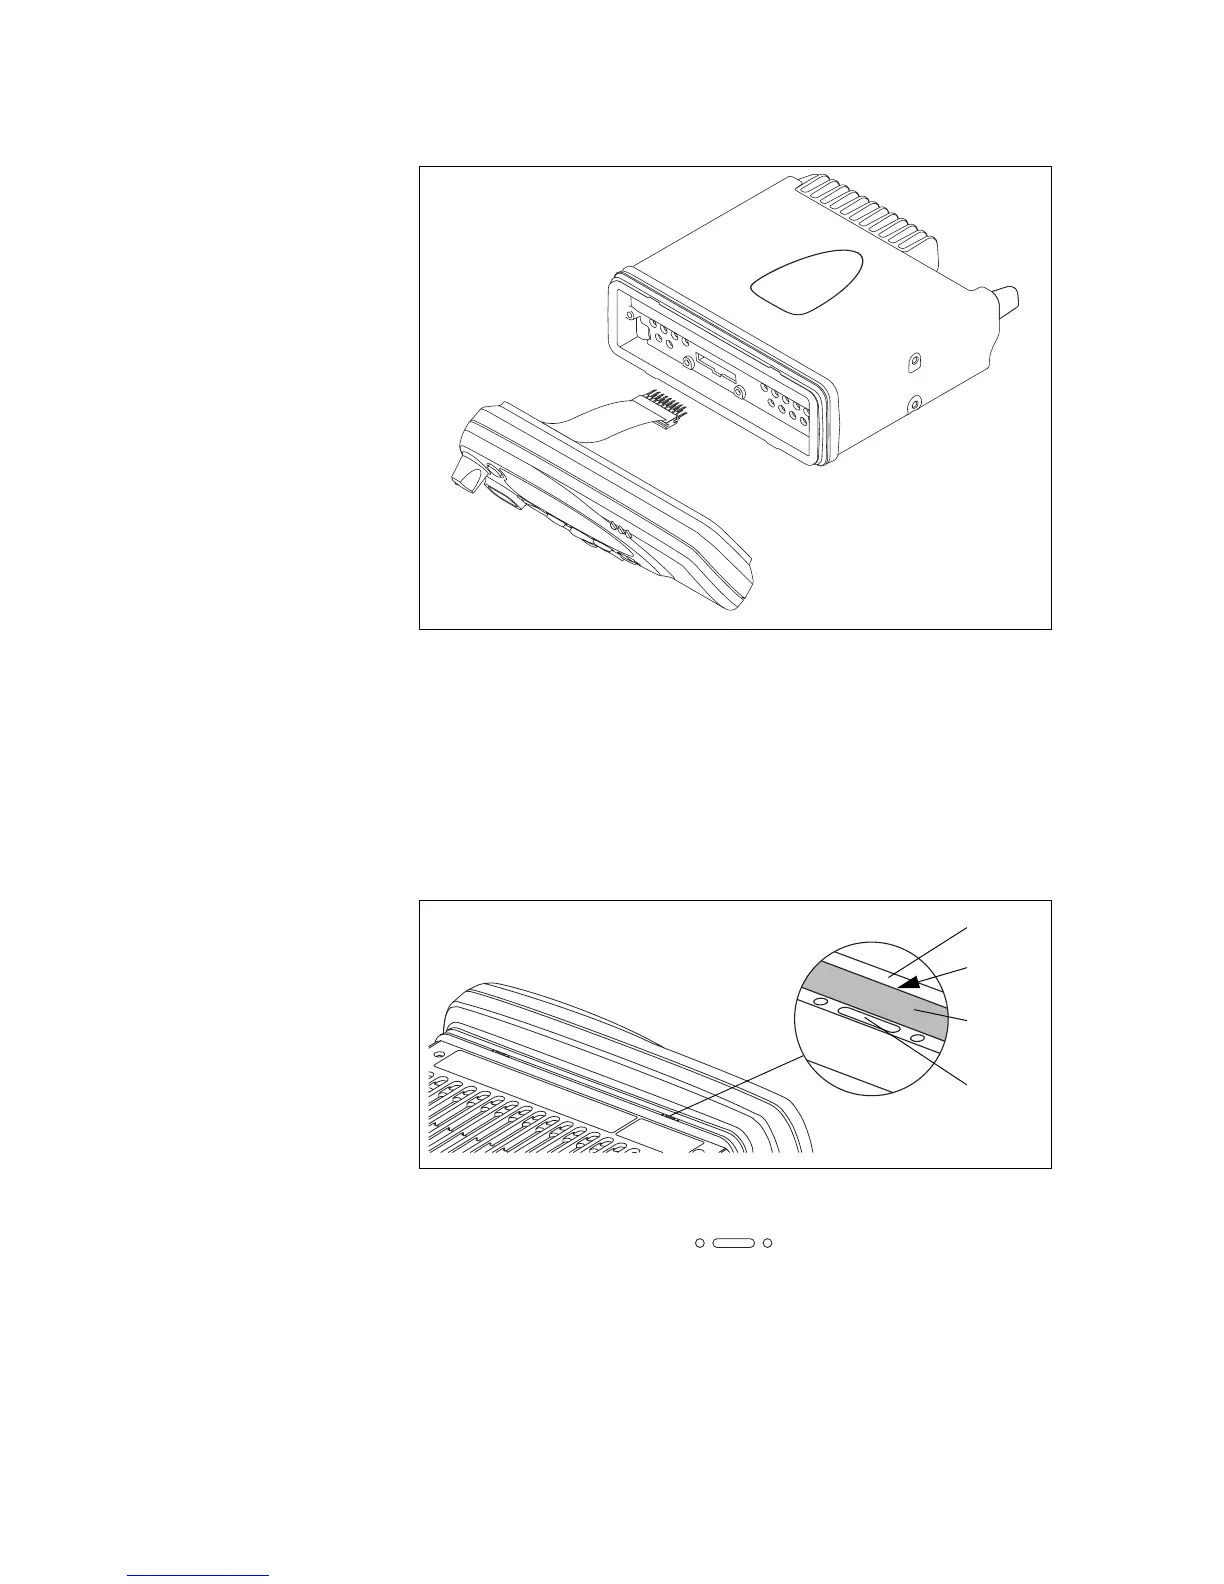
Notice During this procedure, take care that the control-head seal is
not damaged. Damage to this seal reduces environmental protection.
On the underside of the radio, two lever points are indicated on the radio
body by a dot-dash-dot pattern ( ). The lever point is between the
control-head seal and the control head.
1. At either of the lever points, insert a 3/16 inch (5 mm) flat-bladed
screwdriver between the control head and the control-head seal.
2. Use the screwdriver to lift the control head off the snap feature, then
repeat in the other position. The control head can now be removed
from the radio body.
Figure 3.1 Mounting the control head
Figure 3.2 Removing the control head
lever point
indication of
lever point
control-head
seal
control head

 Loading...


