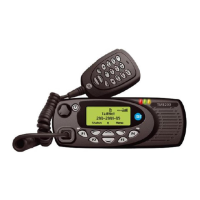
TM8100/TM8200 Installation Guide Installing the Radio 29
© Tait Limited November 2012
3.10 Checking the Installation
Warning Danger of fire! The radio’s protection mechanisms
rely on the correct fuses on both the negative and positive power
supply leads being present. Failure to fit the correct fuses may
result in fire or damage to the radio.
The >25W radios use 20A fuses; the 25W radios use 10A fuses.
For part numbers of the fuses, refer to "Checking the Equip-
ment for Completeness" on page 11.
1. Insert the fuses into the power leads.
2. Switch on the radio to confirm that it is operational, but do not
transmit.
3. Connect an in-line power meter between the radio and the antenna.
4. Transmit and measure the forward and reflected power levels.
Less than 4% of the forward power should be reflected. If this is not
achieved, check the installation, including the antenna length.
5. Start reducing the length of the antenna in steps of 0.1 inches to
0.2 inches (2 to 5 mm). Measure the power levels at each step.
Notice Some antennas are pre-tuned and must not be cut. Check with
the manufacturers’ instructions.
6. Once the reflected power levels are within tolerance, make a call to
another party on the radio.
>25W 25W

 Loading...