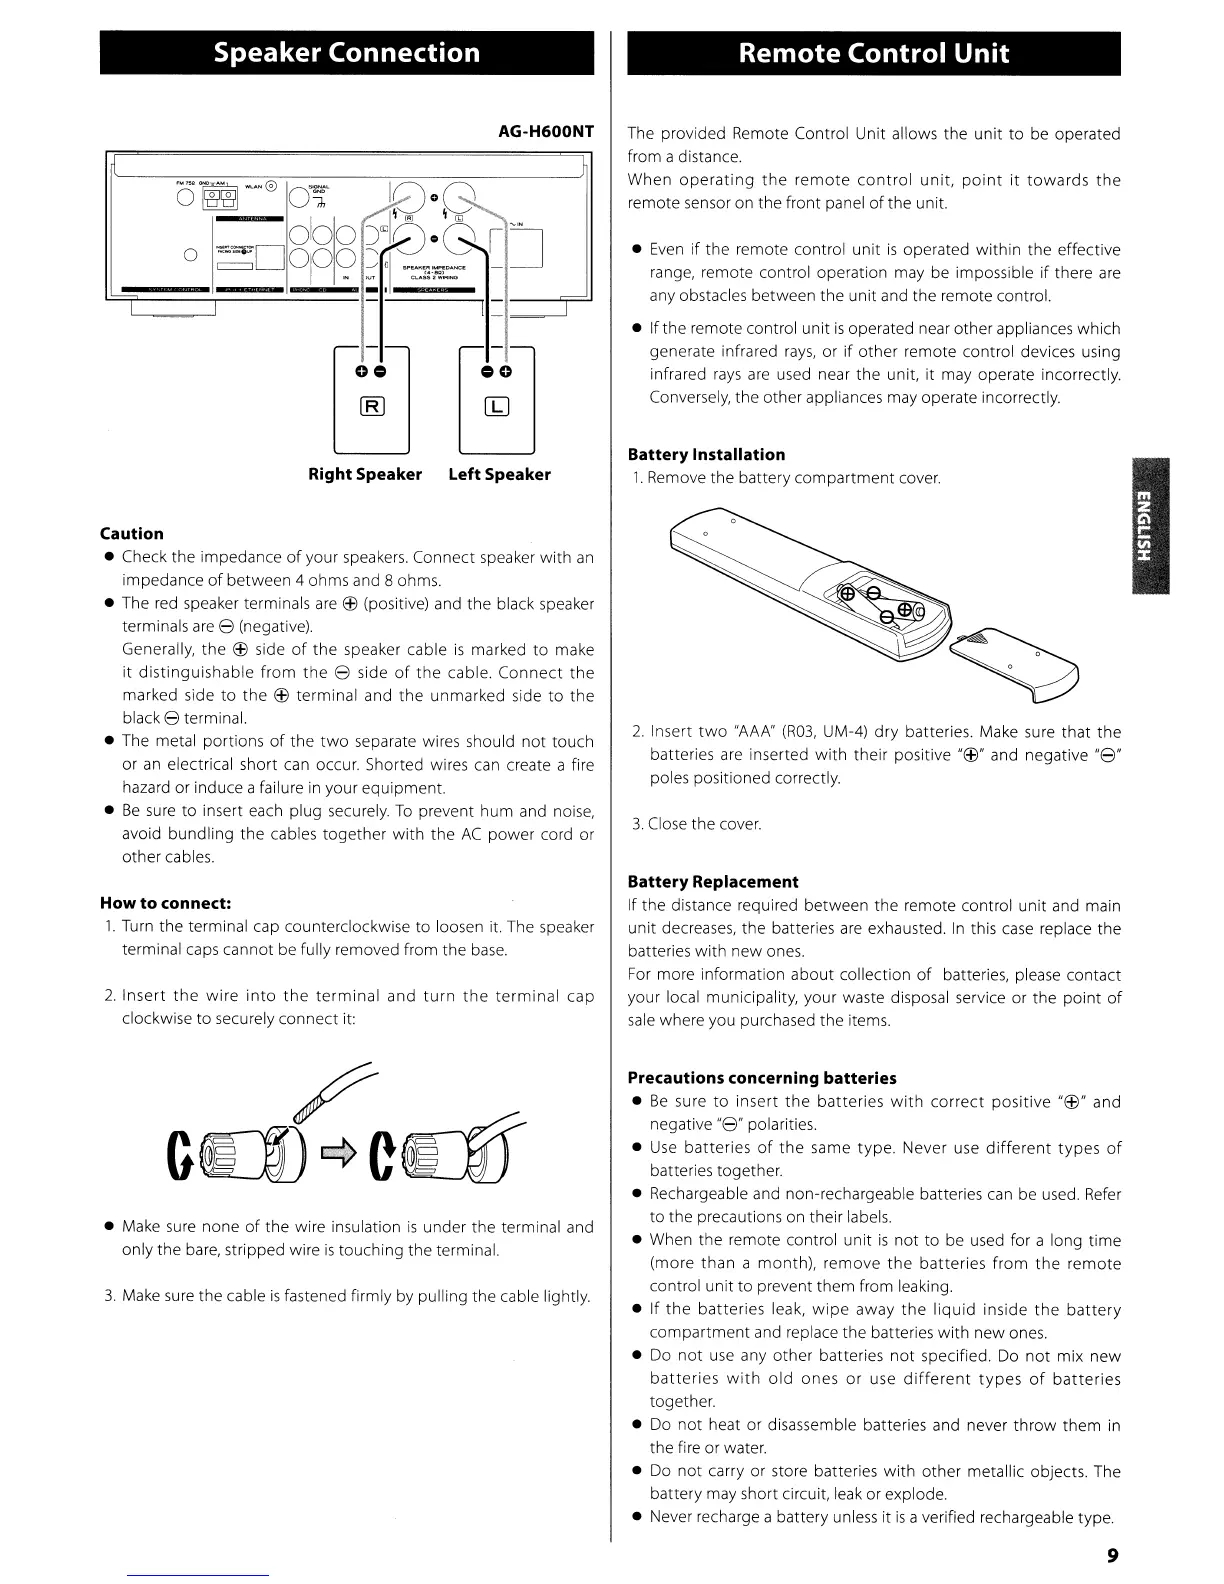
Speaker Connection
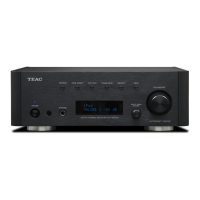
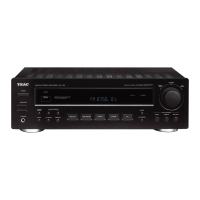
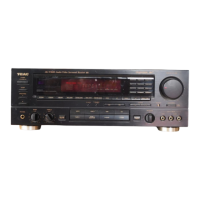
AG-H600NT
O~~0
O~
1[)08
0
~D
0
1
00
~:l8·GIJ
°10?
::"1
~~.
-
_.
I
I
I
- -
Right Speaker Left Speaker
Caution
• Check the impedance
of
your
speakers.
Connect speaker with
an
impedance
of
between 4 ohms and 8 ohms.
• The
red
speaker terminals
are
EfJ
(positive) and the black speaker
terminals
are
8 (negative).
Generally, the
EfJ
side
of
the speaker cable
is
marked to make
it
distinguishable from the 8 side
of
the cable. Connect the
marked side
to
the
EfJ
terminal and
the
unmarked side
to
the
black 8 terminal.
• The metal portions
of
the
two
separate wires should not touch
or
an
electrical short
can
occur. Shorted wires
can
create a fire
hazard or induce a failure
in
your equipment.
•
Be
sure
to insert each plug securely.
To
prevent hum and noise,
avoid bundling the cables together with the
AC
power cord or
other cables.
How
to
connect:
1.
Turn
the terminal cap counterclockwise to loosen it. The speaker
terminal
caps
cannot be fully removed from the
base.
2.
Insert
the
wire
into
the
terminal and
turn
the
terminal cap
clockwise to securely connect it:
•
Make
sure
none
of
the wire insulation
is
under the terminal and
only the
bare,
stripped wire
is
touching the terminal.
3.
Make
sure
the cable
is
fastened firmly by pulling the cable lightly.
Remote Control
Unit
The provided Remote Control Unit allows the unit to be operated
from a distance.
When
operating
the
remote
control
unit,
point
it
towards the
remote sensor on the front panel
of
the unit.
•
Even
if
the remote control unit
is
operated within the effective
range, remote control operation may be impossible
if
there
are
any obstacles between the unit and the remote control.
• If the remote control unit
is
operated near other appliances which
generate infrared
rays,
or
if
other remote control devices using
infrared
rays
are
used near the unit, it may operate incorrectly.
Conversely, the other appliances may operate incorrectly.
Battery Installation
1.
Remove the battery compartment
cover.
2.
Insert
two
"AAA"
(R03,
UM-4)
dry
batteries. Make sure that the
batteries
are
inserted with their positive
"EfJ"
and negative
"8"
poles positioned correctly.
3.
Close
the
cover.
Battery Replacement
If the distance required between the remote control unit and main
unit decreases, the batteries
are
exhausted.
In
this
case
replace the
batteries with new
ones.
For
more information about collection
of
batteries, please contact
your local municipality, your waste disposal service or the point
of
sale
where you purchased the items.
Precautions concerning batteries
•
Be
sure to insert the batteries
with
correct positive
"EfJ"
and
negative
"8"
polarities.
•
Use
batteries
of
the same type. Never
use
different
types
of
batteries together.
• Rechargeable and non-rechargeable batteries
can
be used.
Refer
to the precautions on their labels.
• When the remote control unit
is
not to be
used
for a long time
(more than a month), remove
the
batteries
from
the remote
control unit to prevent them from leaking.
• If the batteries leak,
wipe
away the liquid inside the
battery
compartment and replace the batteries with new ones.
•
Do
not
use
any other batteries
not
specified.
Do
not
mix new
batteries
with
old
ones
or
use
different
types
of
batteries
together.
•
Do
not heat or disassemble batteries and never throw them
in
the fire or water.
•
Do
not carry or store batteries with other metallic objects. The
battery may short circuit,
leak
or explode.
• Never recharge a battery
unless
it
is
a verified rechargeable type.
9
 Loading...