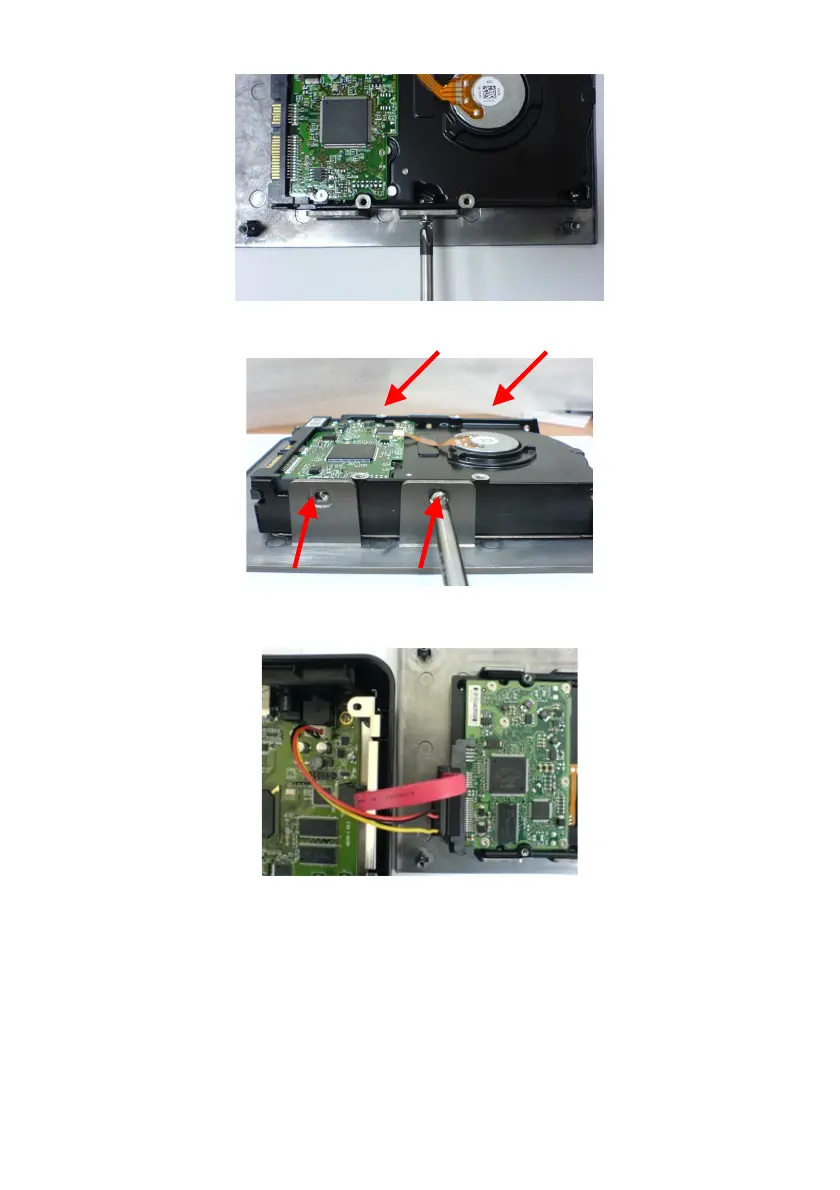
5. Insert the HDD into the case cover as below direction.
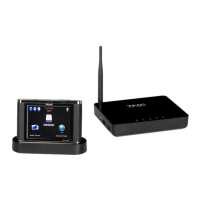
6. Put the HDD on the cover and fix the HDD firmly by the WAP-V6000
accessory HDD screws in the four holes.
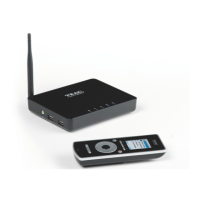
7. Connect the SATA data cable from HDD to the WAP-V6000 board.
8. Connect the HDD power cable from HDD to the WAP-V6000 board.
9. Re-install the bottom tray to the top cover of the WAP-V6000 by its 4 original
screws.
10. Now you can operate your WAP-V6000 again, including the installed HDD.
19