75
2) The proxy server software developed from the SDK. Open the software and input the global
setup. Make sure the auto connection port here is the same as the port you set in the previous
step.
3) Now you can add device. Do not input default port number such as the TCP port in the
mapping port number. The device ID here shall be the same with the ID you input in Figure 4-78.
Click Add button to complete the setup.
4) Now you can boot up the proxy server. When you see the network status is Y, it means your
registration is OK. You can view the proxy server when the device is online.
Important
The server IP address can also be domain. But you need to register a domain name before you
run proxy device server.
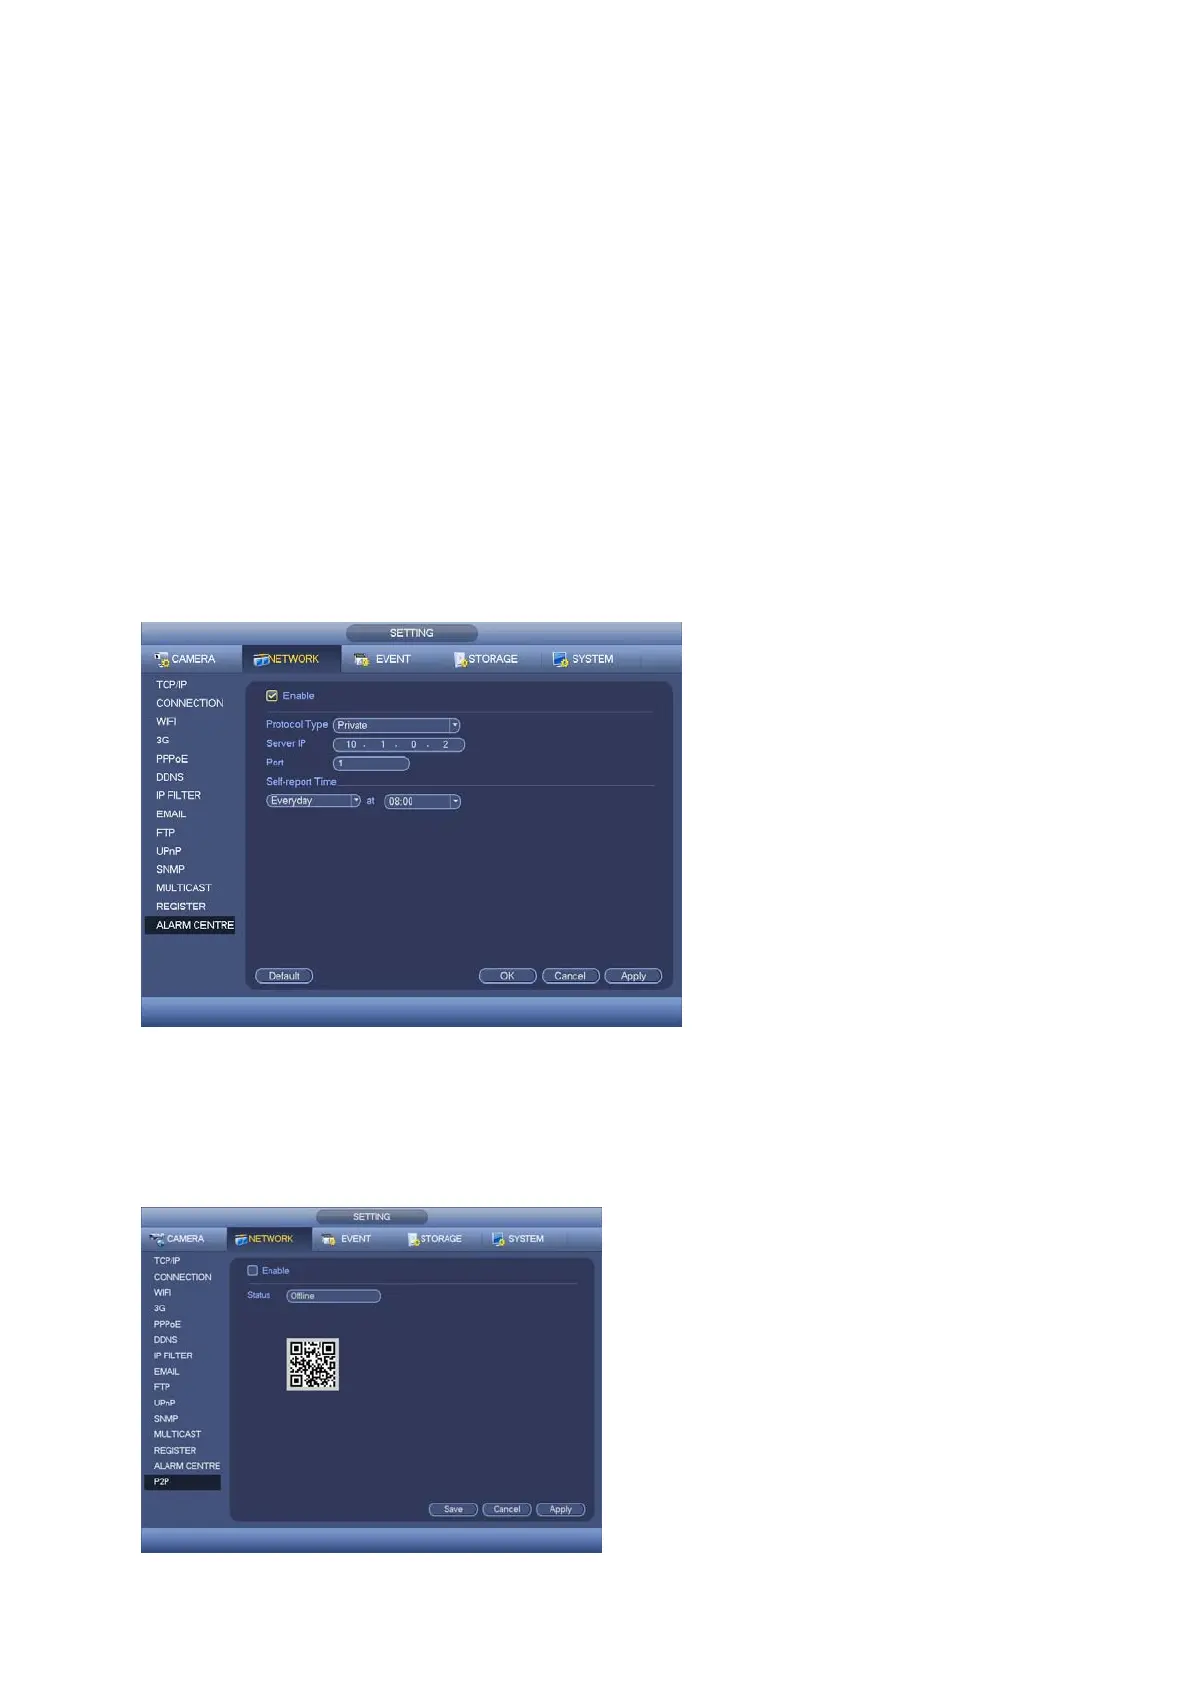
4.10.2.14 Alarm Centre
This interface is reserved for you to develop. See Figure 4-79.
Figure4‐79
4.10.2.15 P2P
The P2P interface is shown as in Figure 4-80.
You can use you cell phone to scan the QR to add the device via the client on the cell phone. For
detailed information, refer to the P2P operation manual included in the resources CD.
Figure4‐80