Step 3: Aim the three slots on the dome body to the three corresponding snaps on the
installation pedestal and then push up slowly until you hear it “click”
Step4: Take out the fastening screw from the accessories bag and screw it (in Figure 3-7)
into the corresponding threaded holes of the dome body to tighten the installation pedestal
and prevent falling. The fastening screw of vandal-proof dome is M2.5*7 hexagon socket
head stainless screw while the fastening screw of non vandal-proof dome is cross recess
self-tapping screw, refer to the actual object in the accessories bag.
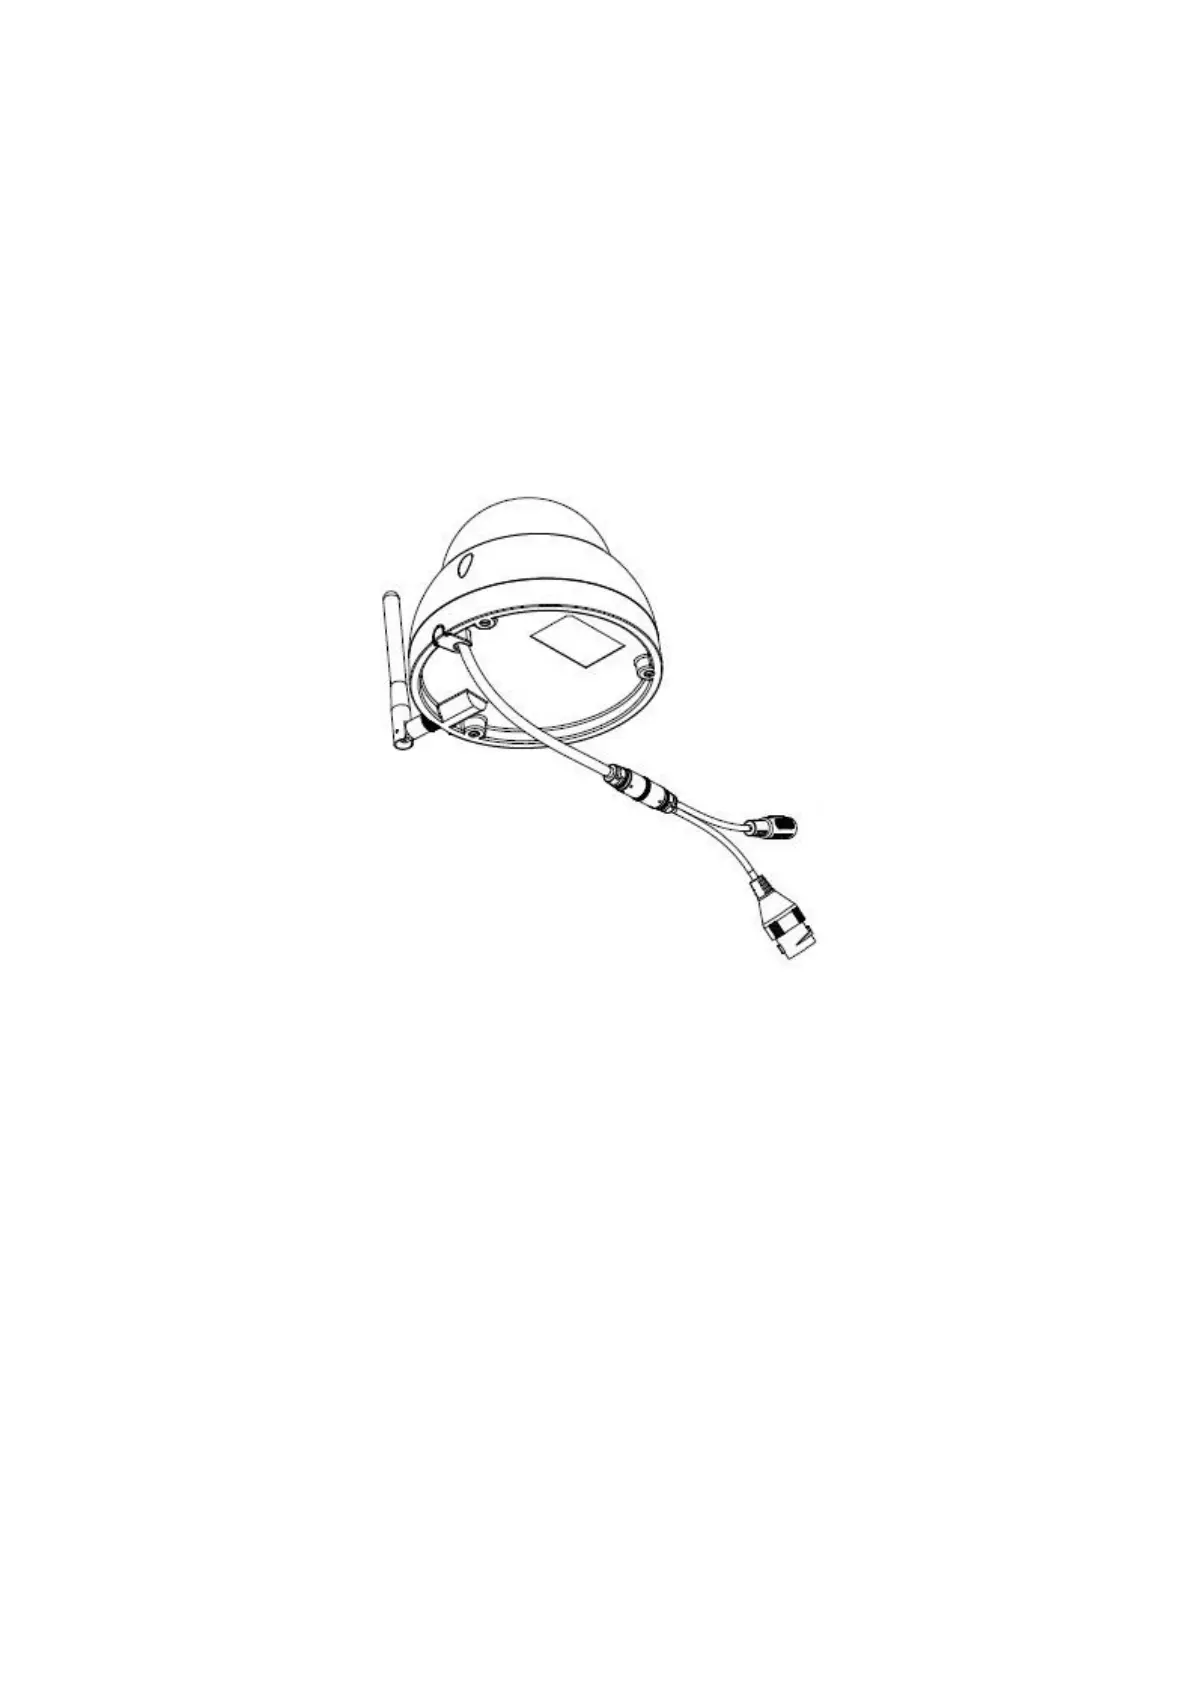
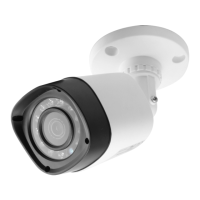
Note: The device supports bottom cable exit and side cable exit; refer to the following
Figure 3-8 for side cable exit.
Figure 3-8
Restore Factory Default Setup Introduction
Important: Use RESET button when device is running. See Figure 3-9 for the location of
RESET button, which is the same for both vandal-proof dome and non vandal-proof dome.
Step 1: Use inner hex wrench in the accessories bag to open dome enclosure by
unfastening three inner hex screws on enclosure.
Step 2: Figure 3-9 shows the position of the Reset button.
Step 3: To reset the device press and hold the Reset button for about 30 seconds.
Step 4: Install the dome back to quick installation pedestal