Performance Ver
ification
e. The absolute difference between the two readings should be small (~ 1.5 dB or less). If the MDO3000 reading is too
low, tighten the preamp more firmly to the MDO3000 by hand and check the reading again.
f. Check at the –30 dBm reference level.
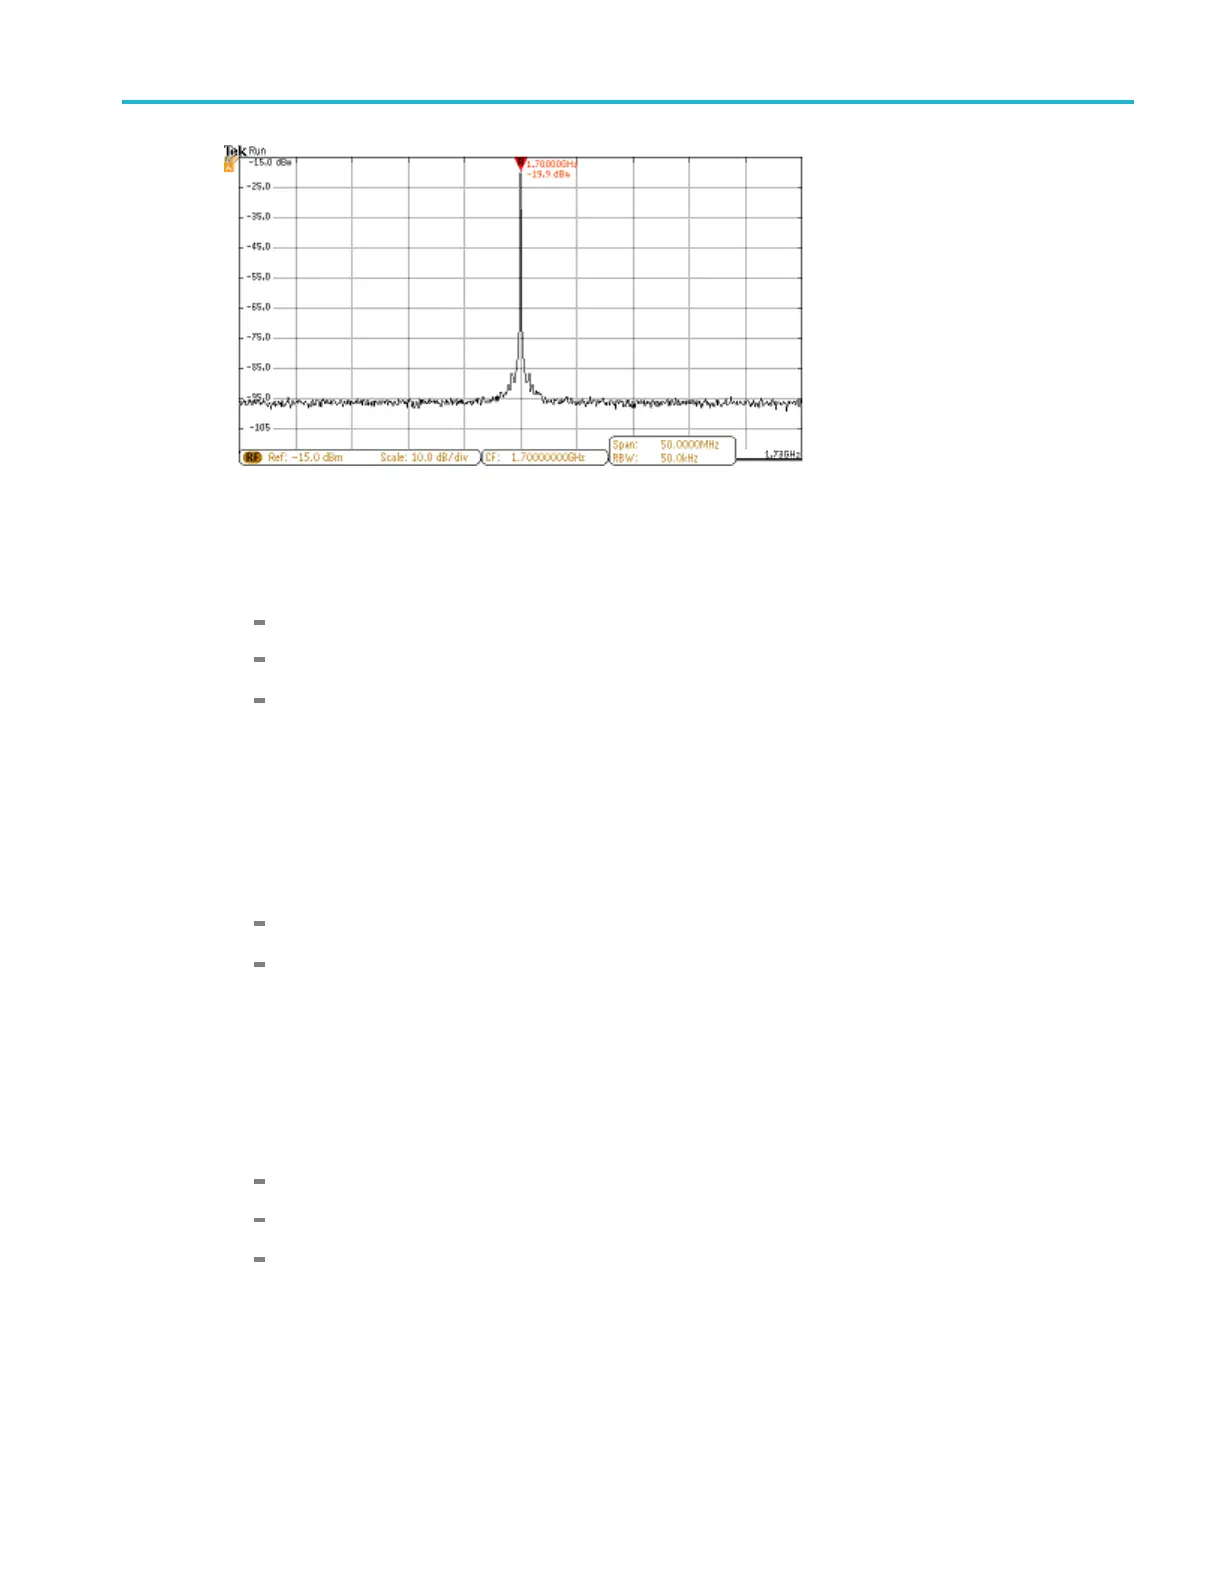
Set the generator to provide a 1.7 GHz, –35 dBm signal.
Set the MDO3000’s reference level to –30 dBm.
Compare the MDO3000 and the power meter readings as before. The absolute difference between the readings
should be ~1.5 dB or less. If the MDO3000 reading is too low, tighten the p reamp m ore firmly to the MDO3000 by
hand and check the reading again.
4. Check at 2.9 GHz
a. Set the reference level to –15 dBm as follows: Push the front-panel Ampl button. Push the side-bezel Ref Level
button. Set the Ref Level to –15 dBm.
b. Set the frequency range as follows:
Set the center frequency to 2.9 GHz.
Set the span to 50 MHz.
c. Set the generator to provide a 2.9 GHz, –20 dBm signal.
d. Note the r eading on the power meter and the readout for the Reference marker on the oscilloscope.
e. The absolute difference between the two readings should be small (~ 1.5 dB or less). If the MDO3000 reading is too
low, tighten the preamp more firmly to the MDO3000 by hand and check the reading again.
f. Check at the –30 dBm reference level.
Set the generator to provide a 2.9 GHz, –35 dBm signal.
Set the MDO3000’s reference level to –30 dBm.
Compare the MDO3000 and the power meter readings as before. The absolute difference between the readings
should be ~1.5 dB or less. If the MDO3000 reading is too low, tighten the p reamp m ore firmly to the MDO3000 by
hand and check the reading again.
This completes the procedure.
MDO3000 Series S pecifications and Performance Verification 103
 Loading...