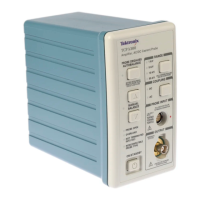
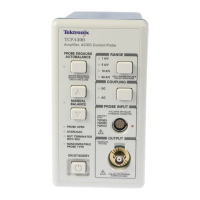
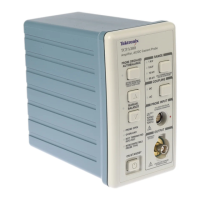
TCP303 and TCP404XL Adjustments
Equipment S ettings
Make or check th
e equipment settings below. (See Table 32.)
Table 32: Equipment settings for DC gain accuracy
Digital multi
meter
Measurement Type
AC volts, aut
orange
Current sou
rce
Output wave
shape/frequency
Square wave
,40Hz
Output Off
TCPA300 an
d TCPA400
Coupling DC
Range: T
CP303
5A/V
Procedure
1. Do not c
lamp the current probe around any conductor, but make sure the
jaws are locked shut.
2. Press
the amplifier PROBE DEGAUSS AUTOBALANCE button. Wait for
the degauss/autobalance routine to complete before proceeding. The routine
is complete when the indicator light turns green.
3. Connect the current probe to the appropriate current loop. (One-turn for the
TCP303 and 5 -turn for the TCP404XL.)
4. Perform the following steps with this information: (See Table 33.)
a. Set
the current source output to the correct current level.
b. Enable the output of the current source.
c. Adjust the DC gain adjustment o n the probe to the expected output value
shown. (See Table 33.)
T
able 33: DC gain accuracy adjustments for the TCP303 and TCP404XL
Probe Range
Current
source
output (A pk)
Expected
output, V
E
(mVAC)
Minimum
output,
mVAC
Maximum
output,
mVAC
TCP303 5 A/V
1.5 A 300.00 299.00 301.10
TCP404XL 1A/mV
5 A 25.00 24.91 25.09
5. Remove the probe from the current loop.
6. If the DC gain adjustment was adjusted, verify the pulse response by repeating
this procedure. (See page 53, TCP303 and TCP404XL Transient Response
and Coarse Gain Adjustment.)
7. When the probe adjustments are done, reinstall the probe access plugs for the
1 μs, 10 μs,andDCGainadjustments.
TCPA300/400 Amplifiers and TCP300/400 Series Current Probes Service Manual 59
 Loading...