When only the lower position is required (for example,
close only), press ↑ / ↓ together to quit.
Set the sash to the normal working height (for example,
500 mm) and press Mute.
Press ↑ / ↓ together to quit, when only 2 positions (lower
and middle) are required.
Set the sash to the full opening height (for example,
750 mm) and press Mute.
The lower, middle and top positions are now calibrated.
Press Mute to quit calibration mode.
16. Use the ↓ button and select Back to Set up menu, then press Mute.
17. Use the ↓ button and select Exit and Save Changes, then press Mute.
18. The controller now enters Run mode.
7.2.1 Calibration notes
The sash may slightly over-run past the calibration points, when the sash motor drive is set to a
fast speed. When calibrating the sash positions, allow a margin for the sash to over-travel past
the calibration height.
For example, before calibrating the lower position, fully close the sash and then open it by 5
mm, or before calibrating the middle position, open the sash to the normal height and then
lower it by 5 mm.
7.2.2 DDA Calibration
This section describes the calibration of the Auto Sash Controller from the AFA4000/E/AS.
Note: Refer to section 7.6 to calibrate the Auto Sash Controller from the Auto Sash keypad
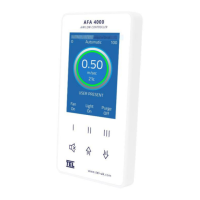
1. From the Run Screen press and hold the Mute button for 5 seconds until the Main Menu is
displayed.
2. Use the ↑ / ↓ buttons to select Set Up Auto Sash. The display shows the message TEL SASH
CLOSER.
3. Press the Mute button to display the current Hardware and Software version, for example, 1.
HW2.0 FW1.1.
4. Press the ↓ button to scroll down and select Setup Menu and press Mute.